
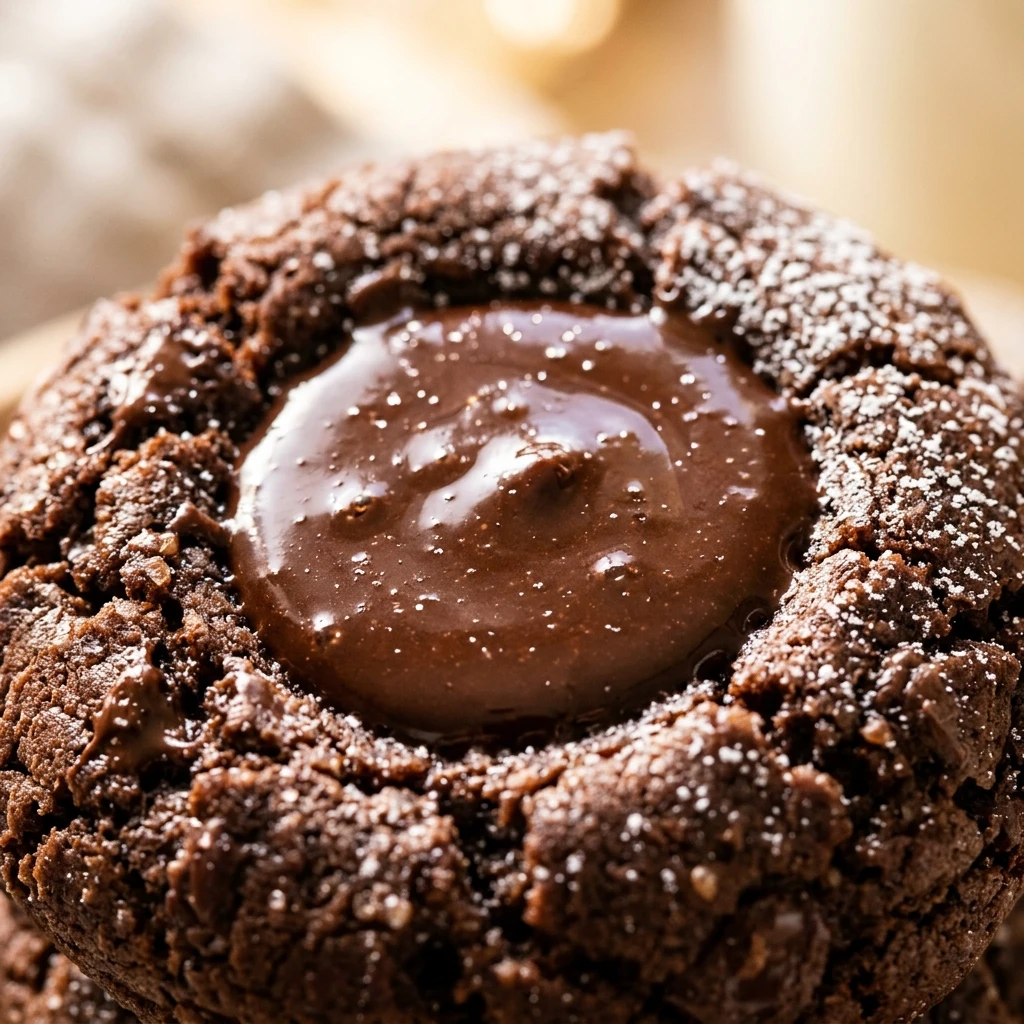
Every year when the holiday lights go up, I find myself reaching for my favorite mixing bowl to kick off the baking season. These Chocolate Thumbprint Cookies have become a staple in my home because they look like little festive treasures on any dessert platter. I love how the rich cocoa base pairs with a silky chocolate center, making every bite feel like a special Christmas gift to myself and my family.
Recipe Details
Recipe Information
- Prep Time: 20 minutes
- Cook Time: 10 minutes
- Total Time: 30 minutes
- Servings: 24 cookies
- Difficulty: Easy
Nutrition Information (Per Serving)
- Calories: 145 calories
- Protein: 2 grams
- Carbs: 18 grams
- Fat: 8 grams
Why You’ll Love This Chocolate Thumbprint Cookies
These cookies are a chocolate lover’s dream come true, offering a double dose of cocoa in every mouthful. The texture is perfectly balanced between a soft shortbread and a fudgy brownie, which makes them stand out during a busy Christmas cookie swap. They are incredibly simple to make, yet they look sophisticated enough to serve at a formal holiday dinner. Since they use pantry staples, you can whip up a batch whenever a last minute guest drops by during the festive season.
Chocolate Thumbprint Cookies Ingredients & Substitutions
- 1 cup unsalted butter, softened to room temperature
- 2/3 cup granulated sugar
- 1 large egg yolk
- 1 teaspoon alcohol-free vanilla extract
- 2 cups all purpose flour
- 1/2 cup unsweetened cocoa powder
- 1/4 teaspoon salt
- 1/2 cup heavy cream
- 1 cup semi sweet chocolate chips
- 2 tablespoons festive red and green sprinkles
For a different flavor profile, you can use brown sugar instead of granulated sugar to give the base a deeper, caramel like note. If you do not have heavy cream on hand, a full fat coconut milk works well for the ganache center. You can also replace the semi sweet chocolate chips with white chocolate chips or even a dollop of fruit jam if you want a classic twist. For those who enjoy a bit of texture, rolling the dough balls in crushed nuts or sparkling sugar before baking adds a lovely crunch.
Step-by-Step Instructions to Make Chocolate Thumbprint Cookies
Step 1: Preparation and Creaming
Start by preheating your oven to 350 degrees Fahrenheit and lining two large baking sheets with parchment paper. In a large mixing bowl, beat the softened butter and granulated sugar together until the mixture is light and fluffy. This should take about two to three minutes of high speed mixing. Add the egg yolk and the alcohol-free vanilla extract, beating again until everything is fully combined and smooth.
Step 2: Mixing the Dry Ingredients
In a separate medium bowl, whisk together the all purpose flour, unsweetened cocoa powder, and salt. Gradually add these dry ingredients to the butter mixture while mixing on a low speed. Continue mixing just until the flour streaks disappear. Be careful not to overwork the dough, as this can make the cookies tough instead of tender.
Step 3: Shaping the Dough
Scoop about one tablespoon of dough at a time and roll it between your palms to form a smooth ball, roughly one inch in diameter. Place the balls on the prepared baking sheets, spacing them about two inches apart. Use your thumb or the back of a small measuring spoon to gently press an indentation into the center of each ball. If the edges crack significantly, you can use your fingers to gently smooth them back together.
Step 4: Baking the Cookies
Place the baking sheets in the oven and bake for 9 to 11 minutes. The cookies should look set on the edges but still feel slightly soft to the touch. Remove them from the oven and, if the centers have puffed up slightly, gently press the indentation again while they are still warm. Let the cookies cool on the baking sheet for five minutes before transferring them to a wire rack to cool completely.
Step 5: Making the Ganache Filling
While the cookies cool, prepare the filling by placing the chocolate chips in a small heat proof bowl. In a small saucepan, heat the heavy cream until it just begins to simmer, then pour it over the chocolate chips. Let it sit for three minutes before whisking until the mixture is glossy and smooth. Allow the ganache to sit at room temperature for about ten minutes until it thickens slightly but is still pourable.
Step 6: Filling and Decorating
Carefully spoon or pipe the chocolate ganache into the center of each cooled cookie. While the chocolate is still wet, add a pinch of festive sprinkles to the top of each one. Allow the ganache to set completely, which usually takes about thirty minutes, before serving or storing. This ensures the centers stay in place and look perfect for your Christmas display.
Tips for Success
To get the best results, ensure your butter is truly at room temperature so it creams properly with the sugar. If the dough feels too soft to roll, chill it in the refrigerator for fifteen minutes before shaping the balls. When making the thumbprint, press slowly and steadily to minimize cracking on the sides. For a perfectly smooth ganache, make sure you do not let the cream reach a rolling boil, as scorching the cream can affect the flavor of the chocolate. Finally, always let the cookies cool entirely before adding the filling, otherwise the ganache might run over the edges.
Variations of Chocolate Thumbprint Cookies
You can easily customize these treats to fit any holiday theme. Try filling the centers with a mint flavored chocolate ganache by adding a drop of peppermint extract for a classic Christmas combination. Another delicious option is to fill the centers with salted caramel or a spoonful of peanut butter for a rich contrast. For a more sophisticated look, skip the sprinkles and drizzle a little bit of melted white chocolate over the finished cookies. You can even roll the dough balls in shredded coconut before baking to give them a snowy, winter appearance.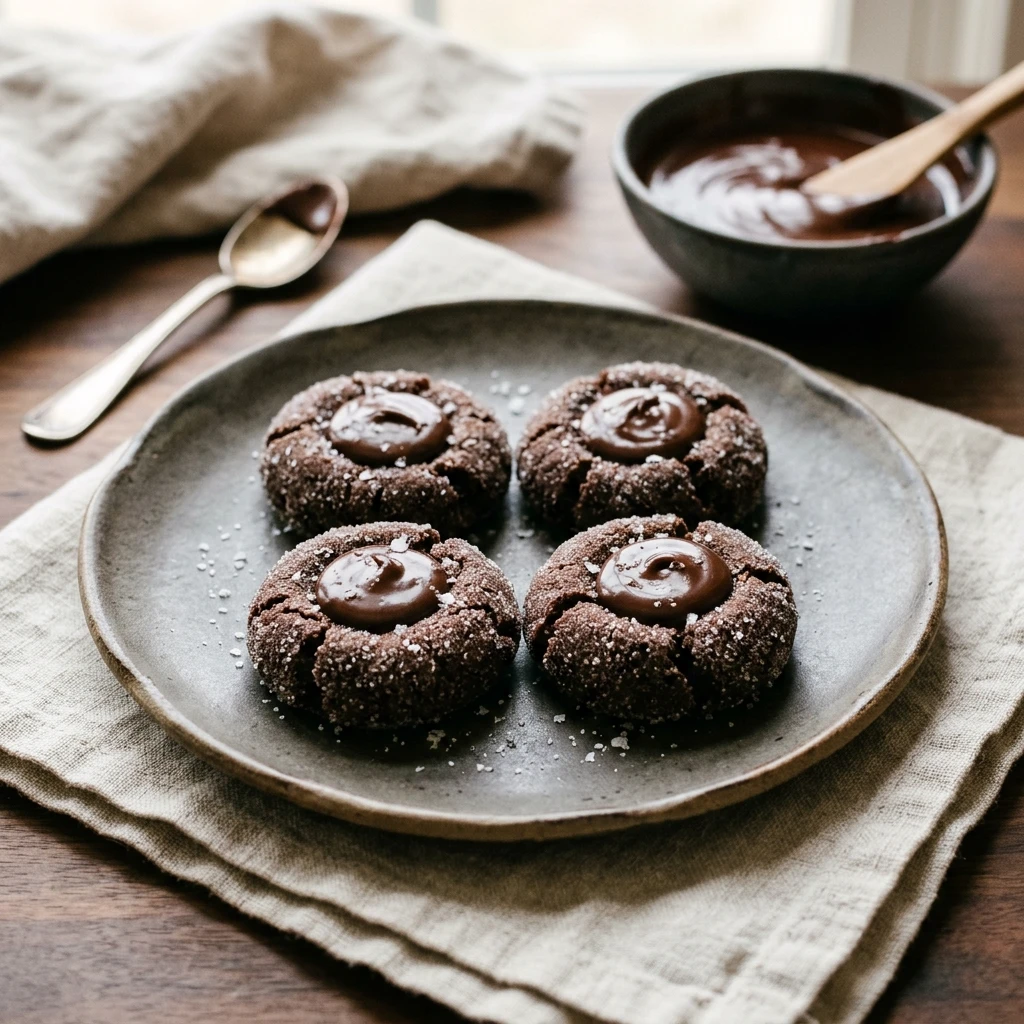
Serving Suggestions: What to Pair with Chocolate Thumbprint Cookies
These cookies are the perfect companion to a warm mug of hot cocoa or a steaming cup of coffee during a cold December afternoon. They also look beautiful when served alongside other holiday favorites like gingerbread men or shortbread on a large dessert platter. If you are hosting a Christmas party, try serving them with a side of cold milk or even a bowl of fresh berries to balance the richness of the chocolate. They also make wonderful homemade gifts when packed into a decorative tin with a festive ribbon.
Storage & Reheating Instructions
Store these cookies in an airtight container at room temperature for up to three days. If you need them to last longer, you can keep them in the refrigerator for up to one week, though you should let them come to room temperature before eating for the best texture. These cookies also freeze remarkably well. Simply place the finished cookies in a freezer safe bag with parchment paper between the layers and freeze for up to two months. To enjoy, thaw them on the counter for about an hour. Reheating is not recommended as it will melt the ganache centers.
Memories Made Around the Table
One of my favorite childhood memories is standing on a stool in my grandmother’s kitchen, waiting for my turn to press my thumb into the soft cookie dough. We would spend hours baking together while Christmas music played in the background and the house smelled like melted chocolate and sugar. Now that I have my own kitchen, I love carrying on this tradition and seeing the same excitement in my guests’ eyes when they see a fresh batch of these cookies. It is amazing how a simple cookie can bring back so much warmth and nostalgia from years past.
FAQs
Why did my cookies crack when I pressed my thumb into them?
Cracking usually happens if the dough is a bit dry or too cold. To prevent this, make sure your ingredients are at room temperature and roll the dough balls until they are very smooth in your hands. You can also use the warmth of your hands to slightly soften the dough ball before pressing the center. If cracks do appear, just gently pinch them back together with your fingers.
Can I make the dough ahead of time?
Yes, you can prepare the dough up to two days in advance. Simply wrap the dough tightly in plastic wrap and store it in the refrigerator. When you are ready to bake, let the dough sit on the counter for about twenty minutes so it becomes pliable enough to roll into balls.
Do I have to use alcohol-free vanilla?
Yes, this recipe specifically calls for alcohol-free vanilla extract to maintain the desired flavor profile and ensure it meets your household preferences. It provides a wonderful, deep aroma that enhances the chocolate without the need for traditional extracts.
How do I know when the cookies are finished baking?
Chocolate cookies can be tricky because you cannot see them browning. Look for the edges to appear matte and firm, while the center should still look slightly soft. They will continue to firm up as they cool on the baking sheet, so avoid overbaking them, which can lead to a dry cookie.
Can I use a different type of chocolate for the filling?
Absolutely. While semi sweet chocolate is a classic choice, dark chocolate provides a more intense flavor, and white chocolate offers a sweeter, creamier center. Just follow the same ratio of chocolate to cream to ensure the ganache sets correctly.
Final Thoughts
Chocolate Thumbprint Cookies are more than just a dessert, they are a celebration of the holiday season in every bite. Whether you are sharing them with neighbors or enjoying them by the fireplace, their rich flavor and festive look are sure to bring joy to your Christmas celebrations. I hope this recipe becomes a cherished part of your holiday traditions just as it has in mine. Happy baking and may your kitchen be filled with the wonderful scent of chocolate all season long.

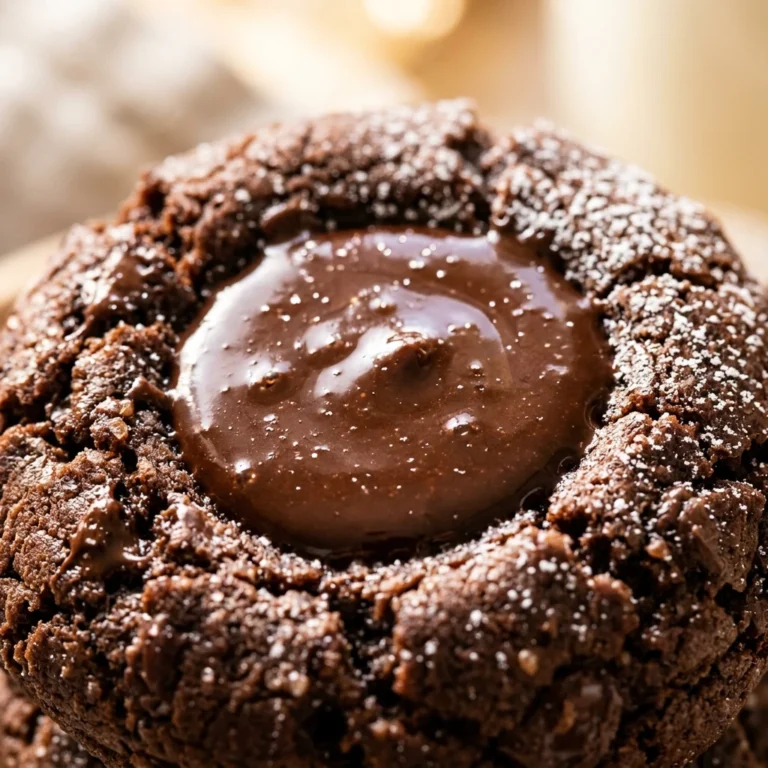
Chocolate Thumbprint Cookies
- Total Time: 30 minutes
Ingredients
- 1 cup unsalted butter, softened to room temperature
- 2/3 cup granulated sugar
- 1 large egg yolk
- 1 teaspoon alcohol-free vanilla extract
- 2 cups all purpose flour
- 1/2 cup unsweetened cocoa powder
- 1/4 teaspoon salt
- 1/2 cup heavy cream
- 1 cup semi sweet chocolate chips
- 2 tablespoons festive red and green sprinkles
Instructions
- Start by preheating your oven to 350 degrees Fahrenheit and lining two large baking sheets with parchment paper. In a large mixing bowl, beat the softened butter and granulated sugar together until the mixture is light and fluffy. This should take about two to three minutes of high speed mixing. Add the egg yolk and the alcohol-free vanilla extract, beating again until everything is fully combined and smooth.
- In a separate medium bowl, whisk together the all purpose flour, unsweetened cocoa powder, and salt. Gradually add these dry ingredients to the butter mixture while mixing on a low speed. Continue mixing just until the flour streaks disappear. Be careful not to overwork the dough, as this can make the cookies tough instead of tender.
- Scoop about one tablespoon of dough at a time and roll it between your palms to form a smooth ball, roughly one inch in diameter. Place the balls on the prepared baking sheets, spacing them about two inches apart. Use your thumb or the back of a small measuring spoon to gently press an indentation into the center of each ball. If the edges crack significantly, you can use your fingers to gently smooth them back together.
- Place the baking sheets in the oven and bake for 9 to 11 minutes. The cookies should look set on the edges but still feel slightly soft to the touch. Remove them from the oven and, if the centers have puffed up slightly, gently press the indentation again while they are still warm. Let the cookies cool on the baking sheet for five minutes before transferring them to a wire rack to cool completely.
- While the cookies cool, prepare the filling by placing the chocolate chips in a small heat proof bowl. In a small saucepan, heat the heavy cream until it just begins to simmer, then pour it over the chocolate chips. Let it sit for three minutes before whisking until the mixture is glossy and smooth. Allow the ganache to sit at room temperature for about ten minutes until it thickens slightly but is still pourable.
- Carefully spoon or pipe the chocolate ganache into the center of each cooled cookie. While the chocolate is still wet, add a pinch of festive sprinkles to the top of each one. Allow the ganache to set completely, which usually takes about thirty minutes, before serving or storing. This ensures the centers stay in place and look perfect for your Christmas display.
- Cook Time: 30 minutes
- Diet: Vegetarian