
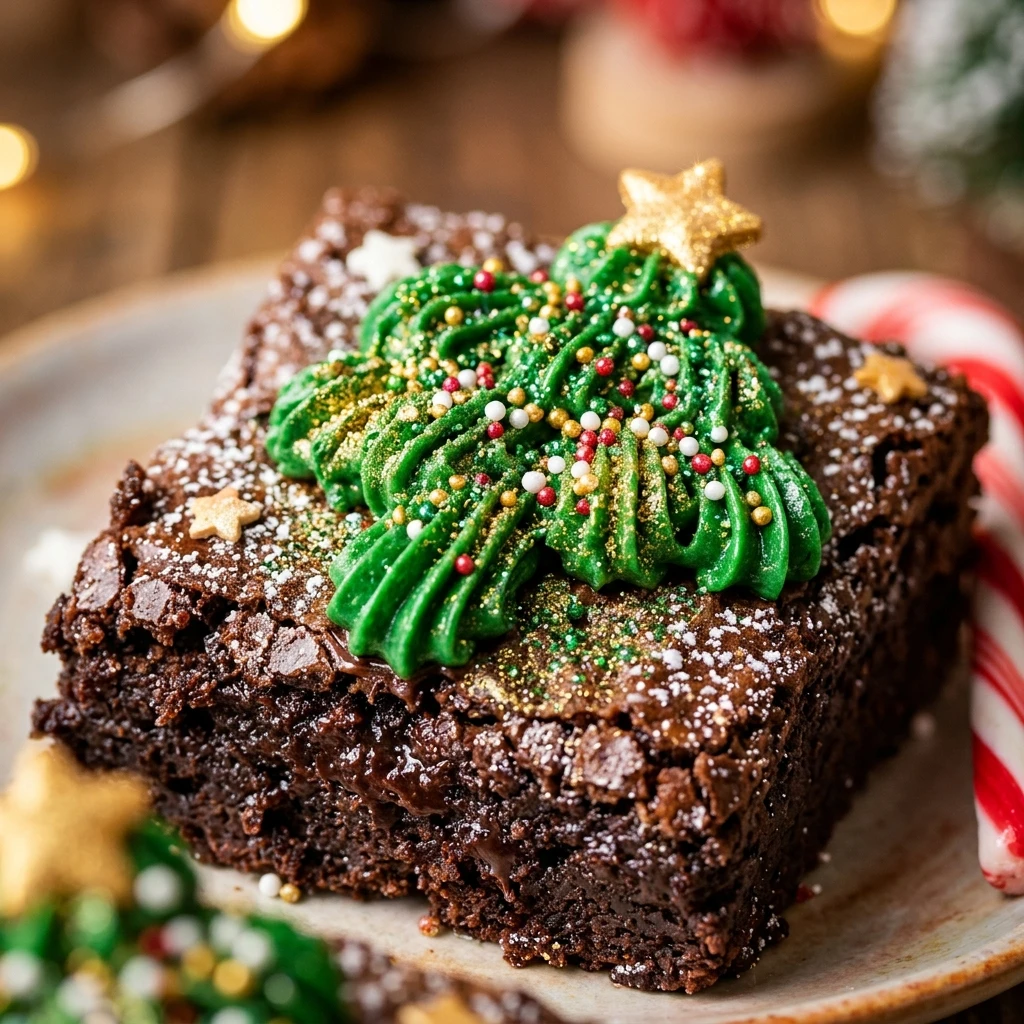
I love the smell of chocolate wafting through my kitchen during the holidays, especially when I am preparing something special for the kids. These Christmas tree brownies are my favorite way to bring a little festive magic to the dessert table without spending hours on intricate piping or professional decorating. I always find that my family gravitates toward these adorable treats because they look just as good as they taste, and they truly capture the spirit of the season in every bite.
Recipe Details
Recipe Information
- Prep Time: 15 minutes
- Cook Time: 25 minutes
- Total Time: 40 minutes
- Servings: 12 brownies
- Difficulty: Easy
Nutrition Information (Per Serving)
- Calories: 210
- Protein: 3g
- Carbs: 28g
- Fat: 10g
Why You’ll Love This Christmas Tree Brownies
This recipe is a holiday winner because it combines the rich, fudgy texture of a classic brownie with a playful, artistic presentation. You do not need to be a master baker to achieve these results, which makes it a perfect project for a cozy afternoon with the family. The combination of cooling peppermint from the candy cane trunks and the deep chocolate of the brownie creates a wonderful flavor profile. Plus, these brownies are incredibly sturdy, making them ideal for holiday parties, school bake sales, or gift boxes for your neighbors.
Christmas Tree Brownies Ingredients & Substitutions
- 1/2 cup unsalted butter, melted
- 1 cup granulated sugar
- 2 large eggs
- 1 teaspoon alcohol-free vanilla extract
- 1/3 cup unsweetened cocoa powder
- 1/2 cup all-purpose flour
- 1/4 teaspoon salt
- 1/4 teaspoon baking powder
- 1/2 cup green frosting or vanilla icing tinted with green food coloring
- 12 small candy canes, broken into 2 inch pieces
- 1 tablespoon assorted festive sprinkles
- 12 small star-shaped candies or yellow sprinkles for the toppers
If you prefer a more intense chocolate flavor, you can use dark cocoa powder or add a handful of chocolate chips to the batter for extra texture. For the trunks, pretzel sticks work perfectly if you want a salty crunch instead of peppermint candy canes. You can also use any type of white frosting tinted with your favorite shade of green food coloring to create the tree foliage, or even use a thick green glaze if you prefer a smoother look.
Step-by-Step Instructions to Make Christmas Tree Brownies
Step 1: Prepare the Oven and Pan
Preheat your oven to 350 degrees Fahrenheit. Line an 8×8 inch square baking pan with parchment paper, leaving a slight overhang on the sides so you can easily lift the brownies out once they are finished. Lightly grease the parchment paper with a small amount of butter or oil to ensure nothing sticks.
Step 2: Mix the Wet Ingredients
In a large mixing bowl, combine the melted butter and granulated sugar. Whisk them together until the mixture is well combined. Add the eggs one at a time, beating well after each addition. Stir in the alcohol-free vanilla extract until the mixture is smooth and glossy.
Step 3: Combine the Dry Ingredients
Sift the cocoa powder, all-purpose flour, salt, and baking powder directly into the wet ingredients. Using a spatula, gently fold the dry ingredients into the wet mixture until just combined. Be careful not to overmix the batter, as this can lead to a cake-like texture rather than a fudgy one.
Step 4: Bake and Cool
Pour the batter into your prepared baking pan and spread it evenly into the corners. Bake for 20 to 25 minutes, or until a toothpick inserted into the center comes out with just a few moist crumbs. Remove the pan from the oven and let the brownies cool completely in the pan. This is a crucial step, as warm brownies will crumble when you try to cut them into shapes.
Step 5: Cut into Tree Triangles
Once the brownies are cold, lift them out of the pan using the parchment paper edges. Cut the large square into three long, equal rectangles. Then, cut each rectangle into a series of triangles to create the tree shapes. You should end up with about 12 trees and a few small scrap pieces for snacking.
Step 6: Decorate the Trees
Insert a small piece of candy cane or a pretzel stick into the bottom of each brownie triangle to serve as the trunk. Fill a piping bag or a plastic bag with the corner snipped off with green frosting. Pipe a zig-zag pattern across each triangle to resemble tinsel or branches. Immediately add your sprinkles and place a star candy at the top of each tree before the frosting sets.
Tips for Success
To get the cleanest cuts, I recommend chilling the baked brownie block in the refrigerator for about 30 minutes before slicing. Use a sharp, non-serrated knife and wipe it clean between every cut to keep the edges sharp. When piping the frosting, make sure it is at room temperature so it flows smoothly without breaking. If you find the candy canes are difficult to insert, you can use a small knife to create a tiny pilot hole in the base of the brownie first.
Variations of Christmas Tree Brownies
You can easily customize these brownies to fit your personal style. Instead of green frosting, try using white frosting to create a snowy winter tree look. You can also experiment with different “ornaments” by using mini chocolate chips, crushed peppermint, or even tiny silver dragées. If you want a more gourmet version, drizzle the brownies with a bit of melted white chocolate or caramel before adding the sprinkles for an extra layer of indulgence.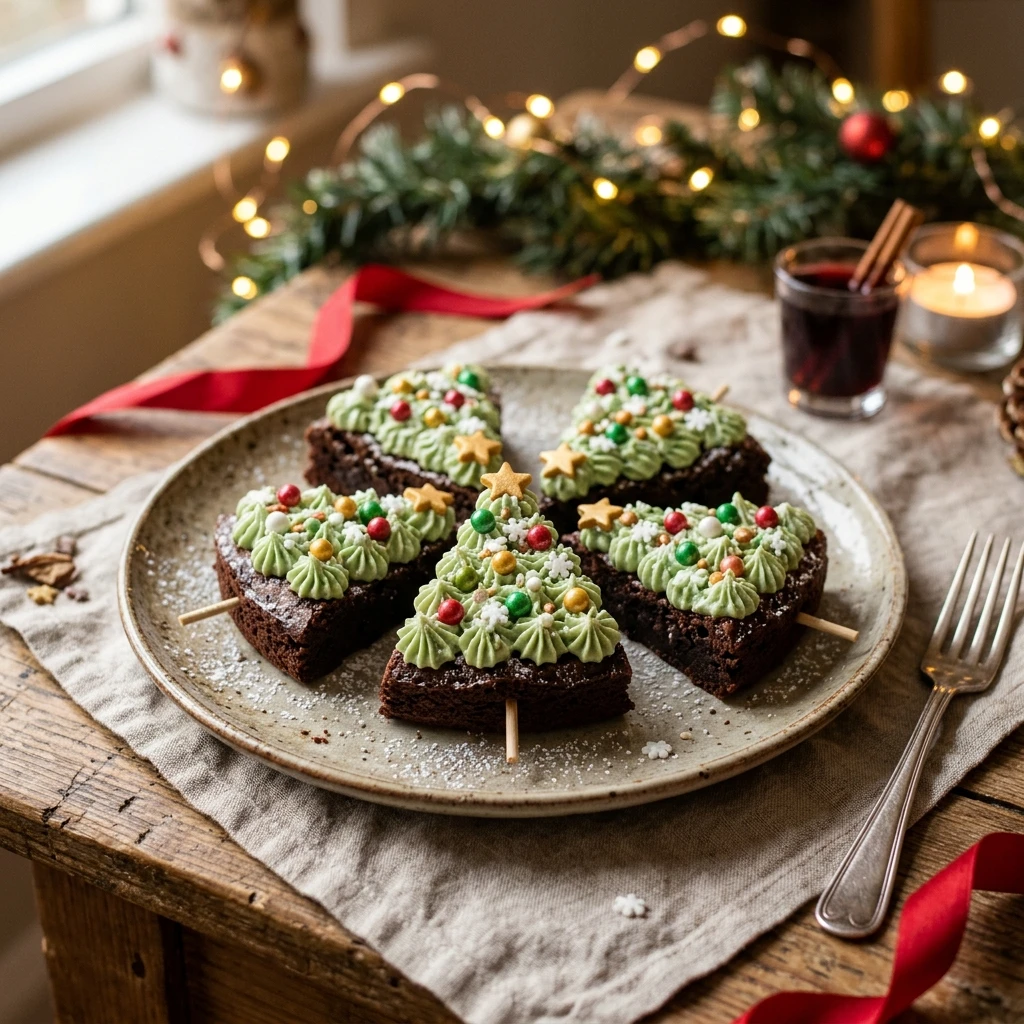
Serving Suggestions: What to Pair with Christmas Tree Brownies
These festive brownies look beautiful on a holiday dessert platter alongside sugar cookies and gingerbread men. I personally love serving them with a warm mug of cocoa or a glass of cold milk. If you are hosting a dinner party, you can serve a single brownie tree on a small plate with a scoop of peppermint ice cream or a dollop of whipped cream on the side. They also make wonderful party favors when individually wrapped in clear cellophane bags with a red ribbon.
Storage & Reheating Instructions
Store your Christmas tree brownies in an airtight container at room temperature for up to three days. If you need to keep them longer, they will stay fresh in the refrigerator for up to a week. Because of the frosting and candy cane trunks, I do not recommend reheating them in the microwave, as the frosting will melt and the candy canes may become sticky. If you need to freeze them, it is best to freeze the brownie triangles undecorated and add the frosting and trunks once they have thawed to room temperature.
Memories Made Around the Table
Some of my fondest holiday memories involve sitting around the kitchen table with my siblings, each of us trying to out-decorate the other. I remember the laughter when someone’s “tree” ended up with a crooked trunk or way too many sprinkles. These brownies bring that same joy to my own children now. We put on some festive music, lay out all the decorating supplies, and just enjoy the process of creating something together. It is not just about the dessert, it is about the time spent making something with love.
FAQs
How do I make sure the brownies don’t crumble when I cut them?
The secret is letting them cool completely. If you cut them while they are even slightly warm, the structure has not fully set. For the most precise triangles, chill the brownies in the fridge for at least 30 minutes before you start slicing.
Can I use a boxed brownie mix for this recipe?
Yes, you can definitely use a store-bought mix if you are short on time. Just follow the package directions for an 8×8 inch pan and then follow the cutting and decorating steps provided in this recipe.
What if I don’t have a piping bag for the frosting?
You can easily make a DIY piping bag by using a heavy-duty sandwich bag. Simply fill the bag with frosting and snip off a tiny bit of one corner. This gives you enough control to create the zig-zag pattern on the trees.
Can I make these brownies ahead of time?
You can bake the brownies a day in advance and keep them in an airtight container. I recommend decorating them on the day you plan to serve them to ensure the candy cane trunks stay crisp and the frosting looks fresh.
Why did my candy canes break when I tried to put them in?
Candy canes can be brittle. To avoid breaking them, make sure you are using small, thin candy canes and use a small knife to pre-poke a hole in the bottom of the brownie triangle. This removes the pressure and allows the trunk to slide in easily.
Final Thoughts
Christmas tree brownies are a delightful addition to any holiday celebration. They are simple enough for beginners but festive enough to impress any guest. Whether you are making them for a party or just as a fun weekend activity, these treats are sure to bring a smile to everyone’s face. Enjoy the process of decorating and the delicious reward of a fudgy, chocolatey holiday snack.

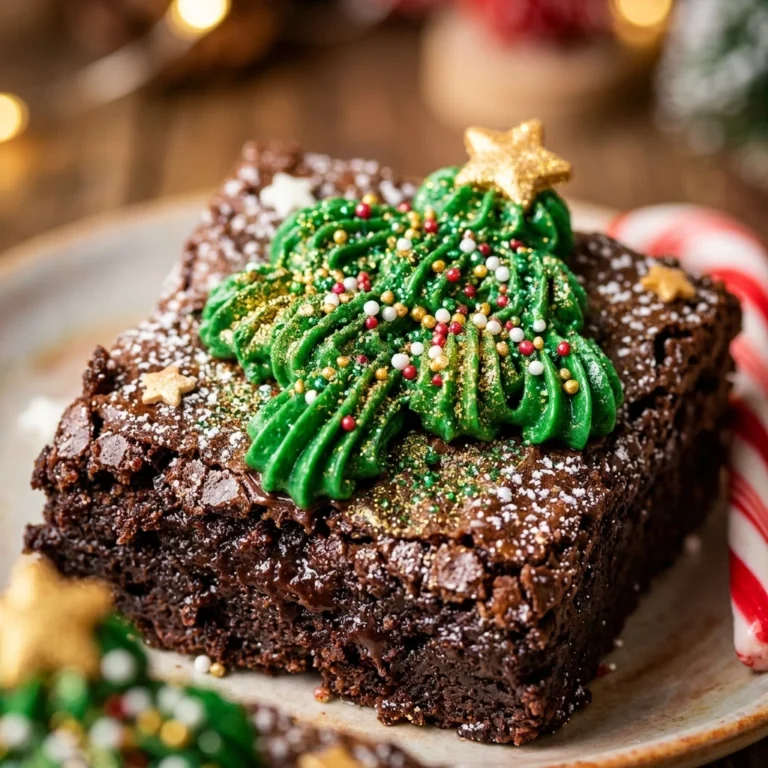
Christmas tree brownies
- Total Time: 40 minutes
Ingredients
- 1/2 cup unsalted butter, melted
- 1 cup granulated sugar
- 2 large eggs
- 1 teaspoon alcohol-free vanilla extract
- 1/3 cup unsweetened cocoa powder
- 1/2 cup all-purpose flour
- 1/4 teaspoon salt
- 1/4 teaspoon baking powder
- 1/2 cup green frosting or vanilla icing tinted with green food coloring
- 12 small candy canes, broken into 2 inch pieces
- 1 tablespoon assorted festive sprinkles
- 12 small star-shaped candies or yellow sprinkles for the toppers
Instructions
- Preheat your oven to 350 degrees Fahrenheit. Line an 8×8 inch square baking pan with parchment paper, leaving a slight overhang on the sides so you can easily lift the brownies out once they are finished. Lightly grease the parchment paper with a small amount of butter or oil to ensure nothing sticks.
- In a large mixing bowl, combine the melted butter and granulated sugar. Whisk them together until the mixture is well combined. Add the eggs one at a time, beating well after each addition. Stir in the alcohol-free vanilla extract until the mixture is smooth and glossy.
- Sift the cocoa powder, all-purpose flour, salt, and baking powder directly into the wet ingredients. Using a spatula, gently fold the dry ingredients into the wet mixture until just combined. Be careful not to overmix the batter, as this can lead to a cake-like texture rather than a fudgy one.
- Pour the batter into your prepared baking pan and spread it evenly into the corners. Bake for 20 to 25 minutes, or until a toothpick inserted into the center comes out with just a few moist crumbs. Remove the pan from the oven and let the brownies cool completely in the pan. This is a crucial step, as warm brownies will crumble when you try to cut them into shapes.
- Once the brownies are cold, lift them out of the pan using the parchment paper edges. Cut the large square into three long, equal rectangles. Then, cut each rectangle into a series of triangles to create the tree shapes. You should end up with about 12 trees and a few small scrap pieces for snacking.
- Insert a small piece of candy cane or a pretzel stick into the bottom of each brownie triangle to serve as the trunk. Fill a piping bag or a plastic bag with the corner snipped off with green frosting. Pipe a zig-zag pattern across each triangle to resemble tinsel or branches. Immediately add your sprinkles and place a star candy at the top of each tree before the frosting sets.
- Cook Time: 40 minutes
- Diet: Vegetarian