
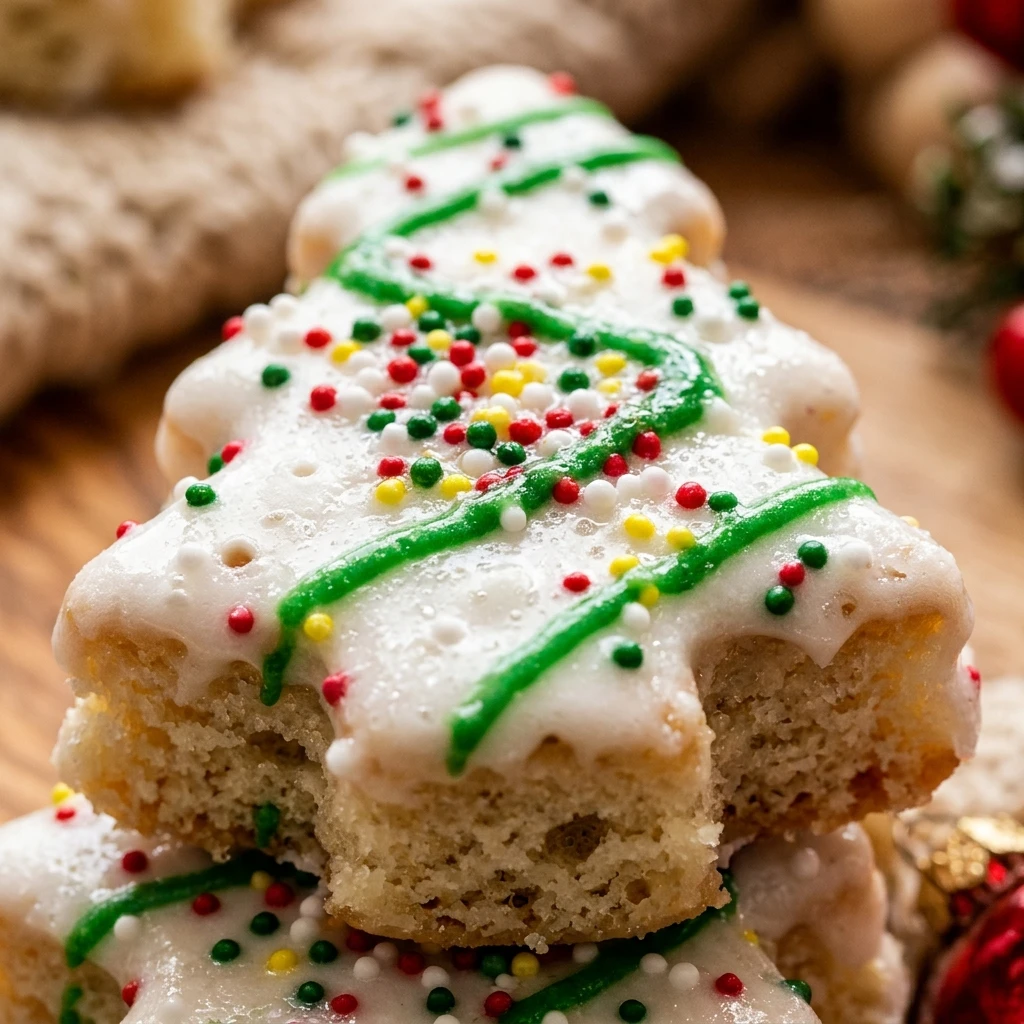
I always find myself wandering down the snack aisle during the holidays, looking at those iconic green and red boxes with a bit of longing. Growing up, those tree-shaped cakes were the highlight of my December, but once I changed my diet, I thought those days were over. I am so excited to share my version of Gluten-Free Little Debbie Christmas Trees, which capture all that creamy, cakey goodness without any of the ingredients that usually keep me from enjoying them. I hope these bring as much joy to your holiday table as they do to mine.
Recipe Details
Recipe Information
- Prep Time: 45 minutes
- Cook Time: 15 minutes
- Total Time: 60 minutes
- Servings: 12 cakes
- Difficulty: Medium
Nutrition Information (Per Serving)
- Calories: 340
- Protein: 3g
- Carbs: 48g
- Fat: 16g
Why You’ll Love This Gluten-Free Little Debbie Christmas Trees
These treats are the ultimate nostalgic holiday snack, offering that perfect balance of soft vanilla cake and sweet cream filling. I love that they look exactly like the store bought versions, making them a stunning addition to any Christmas dessert platter. They are surprisingly fun to assemble, and since they are made from scratch, you know exactly what is going into your holiday treats. Your friends and family will be amazed that these are homemade and free of gluten.
Gluten-Free Little Debbie Christmas Trees Ingredients & Substitutions
- 1.5 cups gluten-free all-purpose flour blend with xanthan gum
- 1 cup granulated sugar
- 1.5 teaspoons baking powder
- 0.25 teaspoon salt
- 0.5 cup unsalted butter, softened at room temperature
- 2 large eggs
- 0.5 cup whole milk
- 2 teaspoons alcohol-free vanilla
- 1 cup vanilla buttercream or cream cheese frosting
- 12 ounces white chocolate melting wafers or white candy melts
- 2 tablespoons green sanding sugar
- 1 tube red decorating icing
For the best results, use a high quality gluten-free flour blend that is specifically designed for baking. If you need a dairy-free option, you can easily substitute the butter with a plant based stick butter, use almond or oat milk instead of cow milk, and ensure your white chocolate wafers are dairy-free. If you cannot find alcohol-free vanilla, you can use the seeds from half of a vanilla bean or a teaspoon of maple syrup for a subtle sweetness. You can also swap the white chocolate coating for a dark chocolate version if you prefer a richer flavor profile for your holiday trees.
Step-by-Step Instructions to Make Gluten-Free Little Debbie Christmas Trees
Step 1: Preheat and Prepare the Pan
Preheat your oven to 350 degrees Fahrenheit. Line a 9 by 13 inch baking pan with parchment paper, making sure to leave a little overhang on the sides so you can easily lift the cake out later. Lightly grease the parchment with a bit of butter or oil to ensure the cake does not stick.
Step 2: Mix the Cake Batter
In a large mixing bowl, cream together the softened butter and granulated sugar until the mixture is light and fluffy. Add the eggs one at a time, beating well after each addition. Stir in the alcohol-free vanilla. In a separate bowl, whisk together the gluten-free flour, baking powder, and salt. Gradually add the dry ingredients to the butter mixture, alternating with the milk, until everything is just combined. Be careful not to overmix, as you want the cake to remain light.
Step 3: Bake and Cool
Pour the batter into your prepared baking pan and spread it out evenly with a spatula. Bake for 12 to 15 minutes, or until a toothpick inserted into the center comes out clean. Allow the cake to cool completely in the pan. Once cool, lift the cake out using the parchment paper and place it on a flat cutting board.
Step 4: Cut the Tree Shapes
Use a tree-shaped cookie cutter to cut out 24 small trees from the sheet of cake. If you do not have a cookie cutter, you can cut the cake into triangles using a sharp knife. Since these will be sandwiched together, try to make sure you have an even number of shapes.
Step 5: Fill the Sandwiches
Take one cake tree and spread a thin, even layer of vanilla frosting on the flat side. Place another cake tree on top to create a sandwich. Repeat this process until you have 12 sandwich cakes. Place these on a tray and put them in the freezer for about 20 minutes. Chilling them helps the cake stay together when you dip it in the warm chocolate.
Step 6: Coat with White Chocolate
Melt the white chocolate wafers in a microwave-safe bowl in 30-second intervals, stirring in between until smooth. Using a fork or a dipping tool, carefully dip each chilled cake sandwich into the melted chocolate. Let the excess chocolate drip off before placing the cake back onto parchment paper. While the chocolate is still wet, sprinkle the edges or the top with green sanding sugar.
Step 7: Decorate with Red Icing
Once the white chocolate has fully set and hardened, use the red decorating icing to pipe small zig-zag lines or dots across the trees to mimic the look of traditional Christmas ornaments and garland. Let the icing dry before serving.
Tips for Success
To ensure your Gluten-Free Little Debbie Christmas Trees turn out perfectly, make sure your cake is completely cool before you attempt to cut the shapes. If the cake is even slightly warm, it may crumble. I find that freezing the sandwiches before dipping is the most important step, as it prevents the crumbs from getting into your smooth white chocolate coating. When dipping, work quickly but gently. If your melted chocolate starts to thicken, simply pop it back in the microwave for ten seconds to loosen it up again.
Variations of Gluten-Free Little Debbie Christmas Trees
While the classic white tree is a favorite, you can easily change things up. Try using a chocolate cake base instead of vanilla for a double chocolate treat. You can also mix a drop of peppermint extract into your frosting for a festive minty flavor. If you want a different look, use green-colored white chocolate for the coating and decorate with white icing instead. You can even add a small pretzel stick at the bottom to serve as a tree trunk for a cute added touch.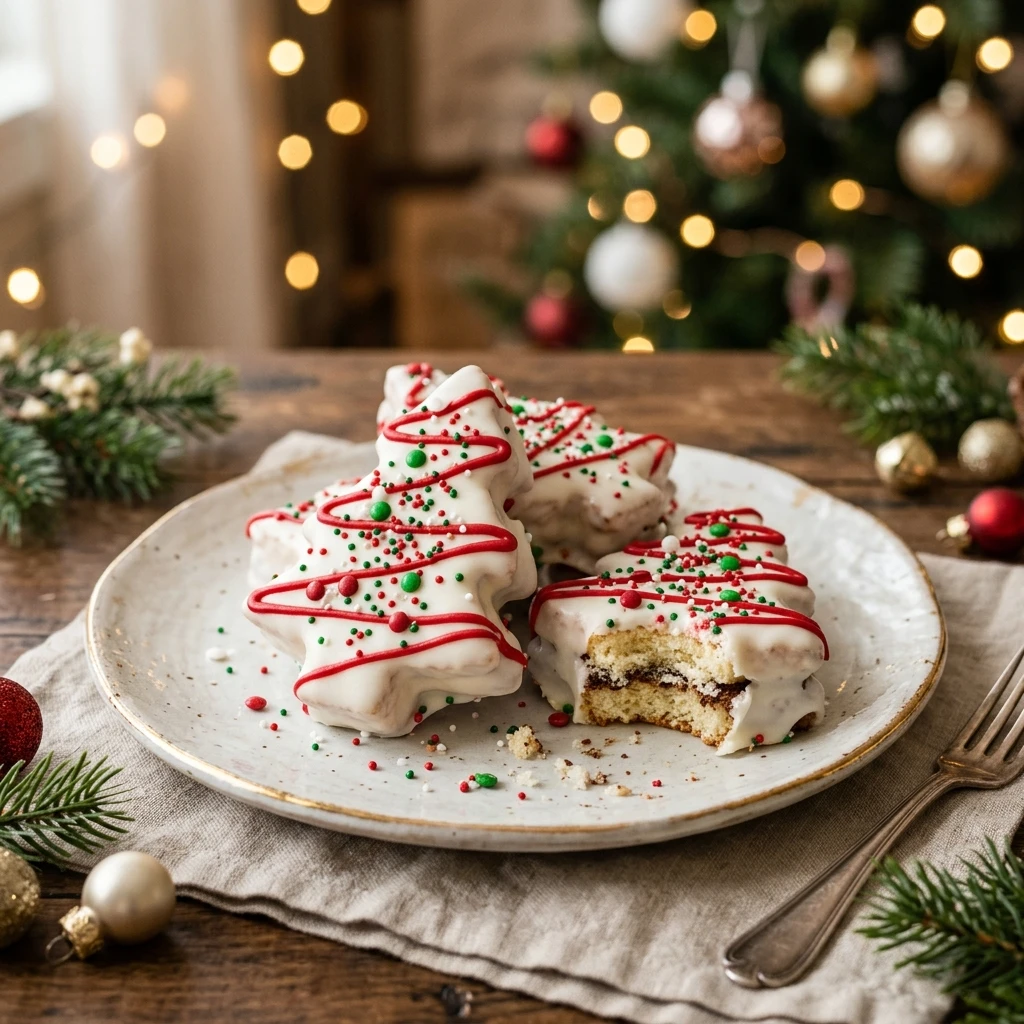
Serving Suggestions: What to Pair with Gluten-Free Little Debbie Christmas Trees
These sweet cakes are perfect when served alongside a hot cup of cocoa or a warm spiced cider. If you are hosting a holiday party, they look beautiful on a wooden serving board surrounded by fresh cranberries and sprigs of rosemary for a festive touch. They also pair wonderfully with a scoop of vanilla bean ice cream if you want to serve them as a more substantial plated dessert. For a fun kids activity, you can set out the plain white-coated trees and let the little ones do the red icing decorations themselves.
Storage & Reheating Instructions
Store your finished trees in an airtight container at room temperature for up to three days. If your kitchen is particularly warm, you may want to keep them in the refrigerator to prevent the chocolate coating from softening. They can be refrigerated for up to a week. If you want to make them further in advance, these cakes freeze beautifully. Simply place them in a single layer in a freezer-safe bag or container for up to one month. Thaw them at room temperature for an hour before serving. Reheating is not recommended as it will melt the chocolate coating.
Memories Made Around the Table
Every time I smell the vanilla and sugar in the oven, I am transported back to my grandmother’s kitchen. We used to spend the whole week before Christmas baking enough treats to feed the entire neighborhood. Making these specific cakes always brings a smile to my face because they represent a bridge between the traditions I grew up with and the way I cook for my family today. Seeing my own kids get excited about the red icing stripes makes the holiday feel truly complete.
FAQs
Can I make these cakes ahead of time?
Yes, you can bake the cake and even assemble the sandwiches a day before. Just keep them well-wrapped in the refrigerator until you are ready to dip them in the chocolate coating and decorate.
How do I prevent the cake from crumbling?
Gluten-free cakes can be delicate. Ensure you use a flour blend with xanthan gum, and do not skip the freezing step before dipping. The cold temperature helps hold the cake structure together against the weight of the chocolate.
Can I use store-bought frosting?
Absolutely. Using a high quality store-bought vanilla frosting is a great time-saver for this recipe. Just make sure to check the label to ensure it meets your dietary needs.
What if I don’t have a tree cookie cutter?
You can easily cut the sheet cake into simple triangles using a ruler and a sharp knife. They will still look like festive trees once you add the green sugar and red icing stripes.
Why is my white chocolate thick and clumpy?
White chocolate can be finicky. Make sure no water gets into the bowl, as even a drop can cause it to seize. If it is too thick, you can stir in a teaspoon of coconut oil or vegetable shortening to help it reach a dipping consistency.
Final Thoughts
Creating your own Gluten-Free Little Debbie Christmas Trees is such a rewarding way to celebrate the holiday season. Not only do they taste better than the boxed version, but the effort you put into making them makes them a special gift for your loved ones. I hope this recipe becomes a new tradition in your home and brings a little extra sweetness to your Christmas celebrations this year. Happy baking and merry Christmas.
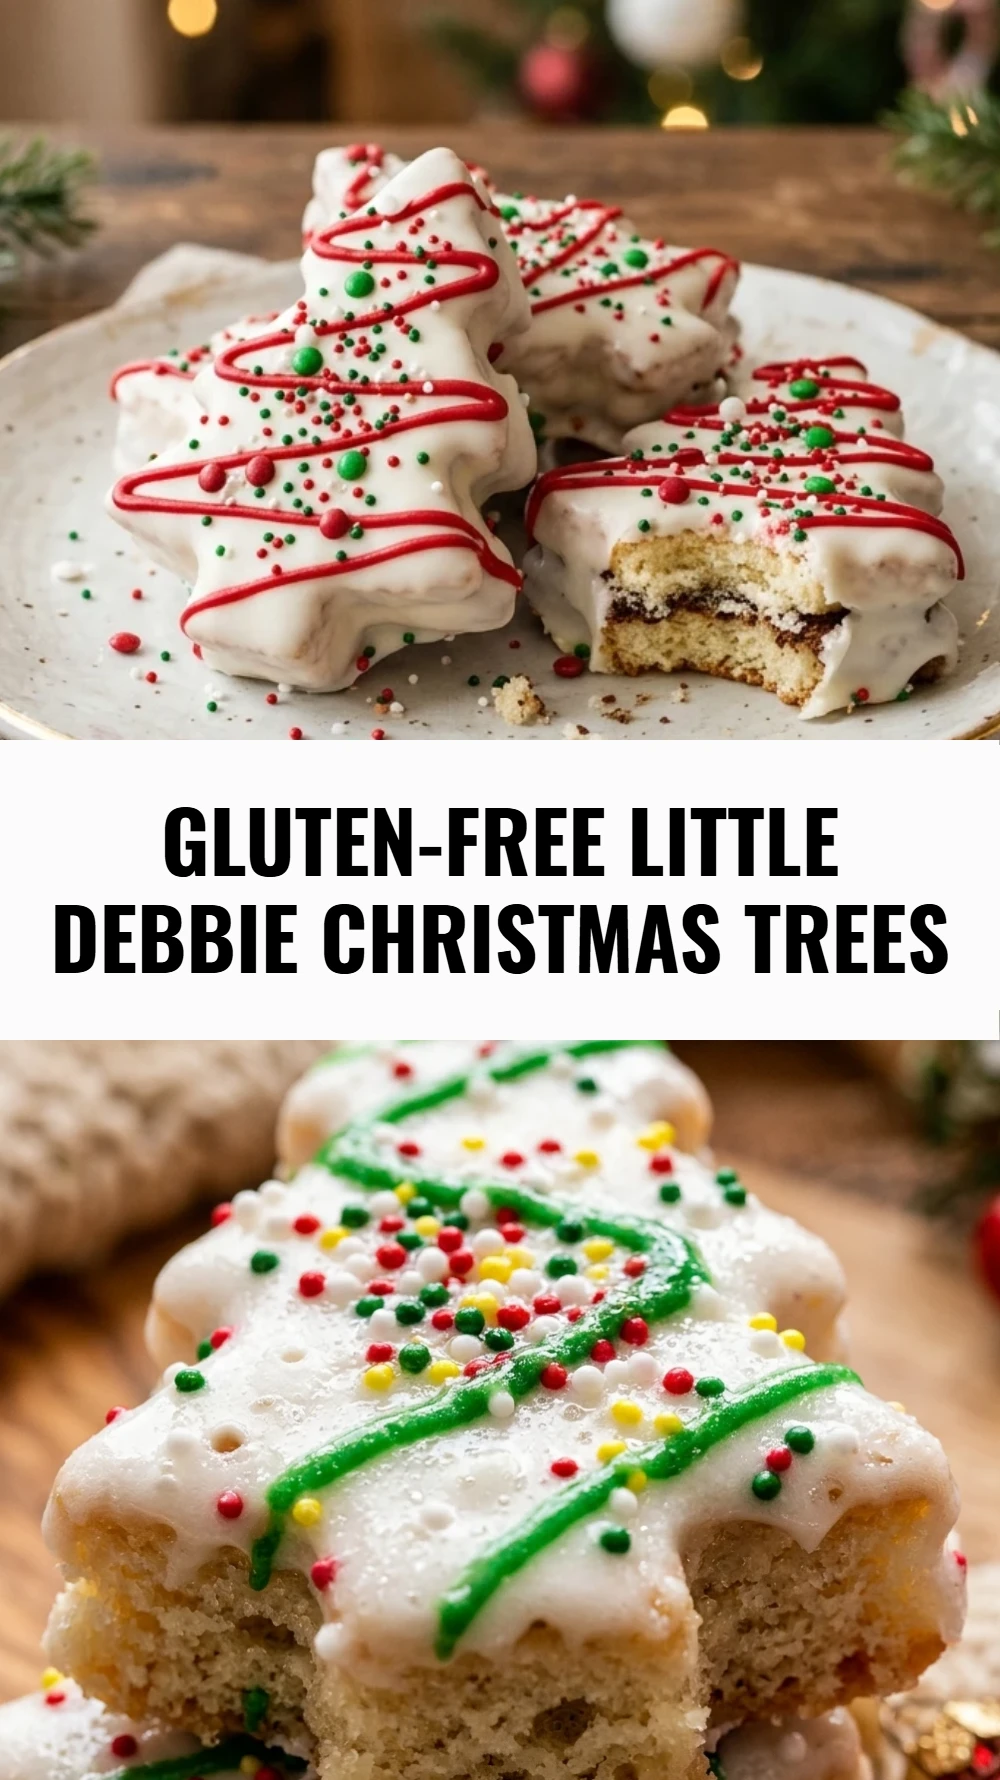
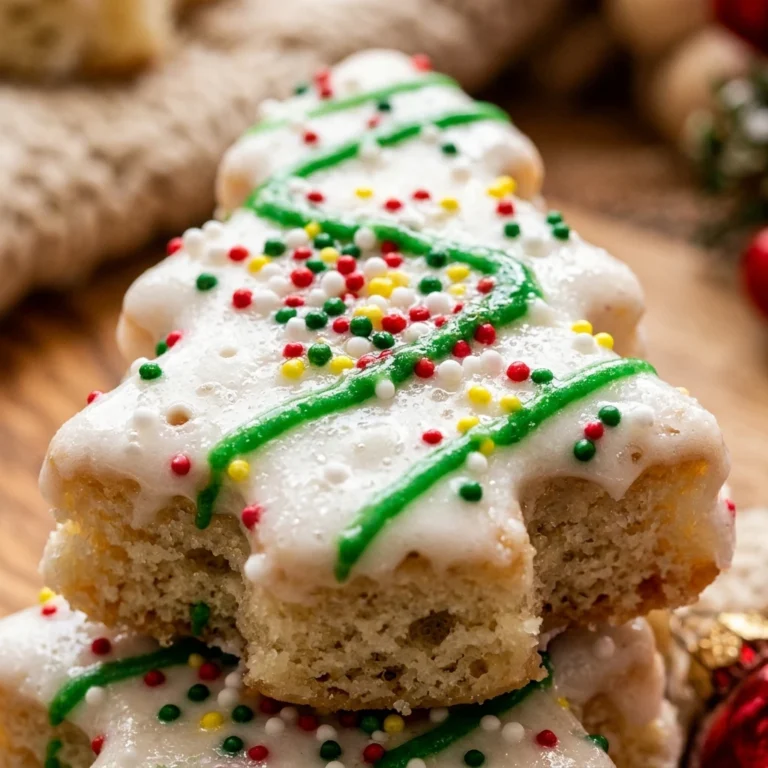
Gluten-Free Little Debbie Christmas Trees
- Total Time: 1 hour
Ingredients
- 1.5 cups gluten-free all-purpose flour blend with xanthan gum
- 1 cup granulated sugar
- 1.5 teaspoons baking powder
- 0.25 teaspoon salt
- 0.5 cup unsalted butter, softened at room temperature
- 2 large eggs
- 0.5 cup whole milk
- 2 teaspoons alcohol-free vanilla
- 1 cup vanilla buttercream or cream cheese frosting
- 12 ounces white chocolate melting wafers or white candy melts
- 2 tablespoons green sanding sugar
- 1 tube red decorating icing
Instructions
- Preheat your oven to 350 degrees Fahrenheit. Line a 9 by 13 inch baking pan with parchment paper, making sure to leave a little overhang on the sides so you can easily lift the cake out later. Lightly grease the parchment with a bit of butter or oil to ensure the cake does not stick.
- In a large mixing bowl, cream together the softened butter and granulated sugar until the mixture is light and fluffy. Add the eggs one at a time, beating well after each addition. Stir in the alcohol-free vanilla. In a separate bowl, whisk together the gluten-free flour, baking powder, and salt. Gradually add the dry ingredients to the butter mixture, alternating with the milk, until everything is just combined. Be careful not to overmix, as you want the cake to remain light.
- Pour the batter into your prepared baking pan and spread it out evenly with a spatula. Bake for 12 to 15 minutes, or until a toothpick inserted into the center comes out clean. Allow the cake to cool completely in the pan. Once cool, lift the cake out using the parchment paper and place it on a flat cutting board.
- Use a tree-shaped cookie cutter to cut out 24 small trees from the sheet of cake. If you do not have a cookie cutter, you can cut the cake into triangles using a sharp knife. Since these will be sandwiched together, try to make sure you have an even number of shapes.
- Take one cake tree and spread a thin, even layer of vanilla frosting on the flat side. Place another cake tree on top to create a sandwich. Repeat this process until you have 12 sandwich cakes. Place these on a tray and put them in the freezer for about 20 minutes. Chilling them helps the cake stay together when you dip it in the warm chocolate.
- Melt the white chocolate wafers in a microwave-safe bowl in 30-second intervals, stirring in between until smooth. Using a fork or a dipping tool, carefully dip each chilled cake sandwich into the melted chocolate. Let the excess chocolate drip off before placing the cake back onto parchment paper. While the chocolate is still wet, sprinkle the edges or the top with green sanding sugar.
- Once the white chocolate has fully set and hardened, use the red decorating icing to pipe small zig-zag lines or dots across the trees to mimic the look of traditional Christmas ornaments and garland. Let the icing dry before serving.
- Cook Time: 60 minutes
- Diet: Gluten-Free