
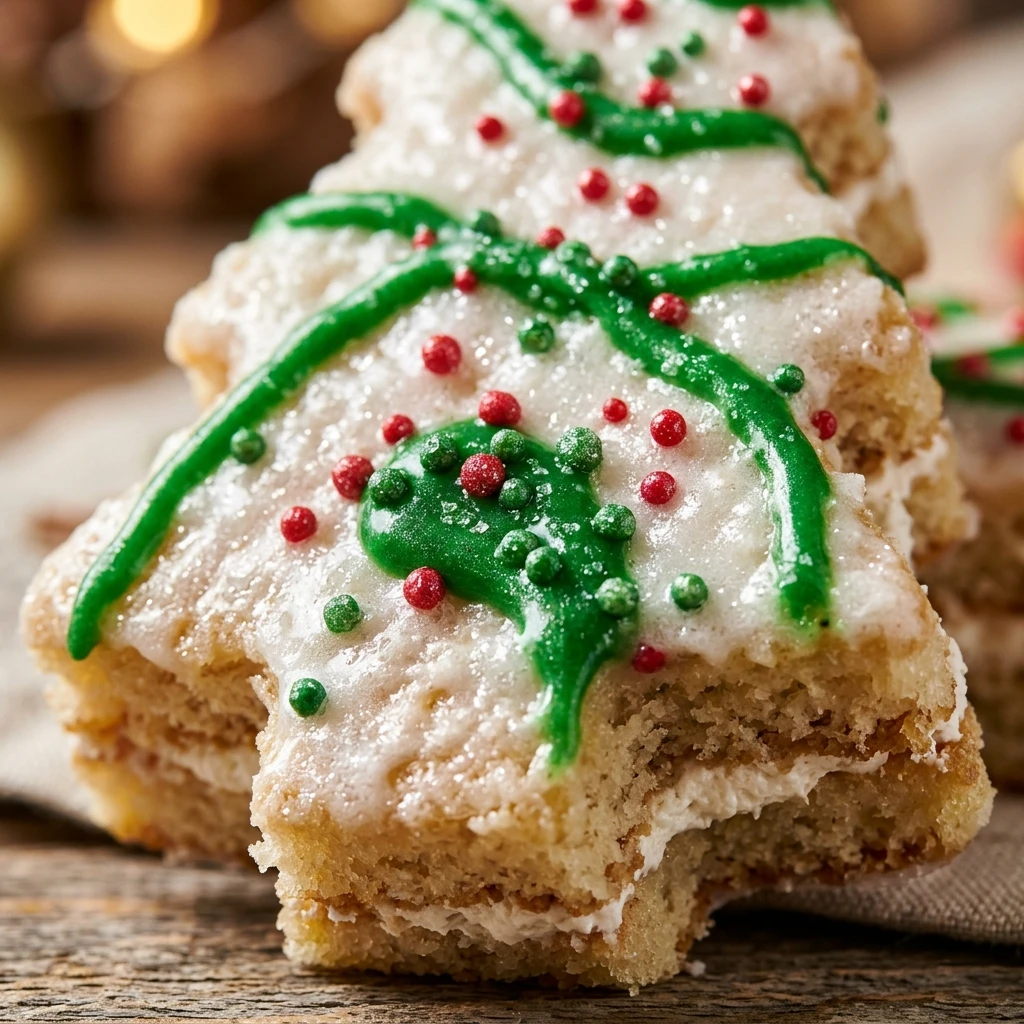
I remember the pure joy of spotting those iconic tree cakes in the grocery aisle every December when I was a child, their bright colors always signaling that Christmas was finally here. Now that I follow a gluten-free lifestyle, I wanted to recreate that festive magic at home so my family doesn’t have to miss out on our favorite holiday tradition. This homemade version captures all the nostalgia of the original snacks but uses fresh ingredients and a soft sponge that everyone can enjoy together around the tree.
Recipe Details
Recipe Information
- **Prep Time:** 45 minutes
- **Cook Time:** 15 minutes
- **Total Time:** 60 minutes
- **Servings:** 12 cakes
- **Difficulty:** Medium
Nutrition Information (Per Serving)
- **Calories:** 310 kcal
- **Protein:** 3g
- **Carbs:** 42g
- **Fat:** 15g
Why You’ll Love This Festive Treat
This recipe brings back the classic flavor of a childhood favorite without any of the gluten or preservatives found in store-bought boxes. You will love the combination of the light, airy sponge cake and the sweet marshmallow filling that mimics the original texture perfectly. It is a wonderful project for the holiday season because it allows you to get creative with decorations while ensuring a safe, delicious dessert for guests with dietary restrictions. Plus, the homemade white chocolate coating adds a rich, buttery finish that elevates the entire experience.
This Festive Treat Ingredients & Substitutions
- 1 1/2 cups gluten-free all-purpose flour blend with xanthan gum
- 1 cup granulated sugar
- 1/2 cup unsalted butter, softened
- 2 large eggs
- 1/2 cup whole milk
- 1 1/2 teaspoons baking powder
- 1 teaspoon alcohol-free vanilla extract
- 1/4 teaspoon salt
- 1/2 cup marshmallow fluff for the filling
- 12 ounces white chocolate melting wafers
- 2 tablespoons vegetable shortening
- Green sanding sugar and red decorating icing for garnish
If you prefer a dairy-free version, you can substitute the butter and milk with your favorite plant-based alternatives such as coconut oil and almond milk. For those who cannot find marshmallow fluff, a thick frosting made from powdered sugar and a little water can serve as a substitute filling. You can also experiment with different gluten-free flour blends, but ensure they contain xanthan gum to maintain the structure of the cake during the cutting process.
Step-by-Step Instructions to Make This Festive Treat
Step 1: Preparation and Preheating
Preheat your oven to 350 degrees Fahrenheit and grease a standard jelly roll pan or a large rimmed baking sheet. Line the bottom with parchment paper to ensure the thin cake layer releases easily after baking. This step is crucial because the cake is delicate and needs a smooth surface to prevent breaking.
Step 2: Mixing the Cake Batter
In a large mixing bowl, cream together the softened butter and granulated sugar until the mixture is light and fluffy. Add the eggs one at a time, beating well after each addition, then stir in the alcohol-free vanilla extract. In a separate bowl, whisk together the gluten-free flour, baking powder, and salt. Gradually add the dry ingredients to the wet ingredients, alternating with the milk, until a smooth batter forms.
Step 3: Baking the Sponge
Pour the batter into the prepared baking pan and spread it into an even layer using an offset spatula. Bake for 12 to 15 minutes, or until the top is golden brown and springs back when lightly touched. Allow the cake to cool completely in the pan before attempting to cut it, as gluten-free cakes can be fragile while warm.
Step 4: Cutting the Tree Shapes
Once the cake is cool, use a tree-shaped cookie cutter to stamp out your shapes. You should be able to get about 24 individual trees if you place the cutter efficiently. Carefully remove the trees from the pan and set them aside. If the cake feels too soft, you can place the pan in the freezer for 10 minutes to firm it up before cutting.
Step 5: Assembling the Layers
Spread a thin layer of marshmallow fluff onto the bottom side of half of the cake trees. Top each one with a second cake tree to create a sandwich. Press down very gently so the filling spreads to the edges without squeezing out. Place the assembled sandwiches on a wire rack over a piece of parchment paper.
Step 6: Coating and Decorating
Melt the white chocolate wafers and vegetable shortening in the microwave in 30-second intervals, stirring until completely smooth. Dip each cake sandwich into the chocolate or pour the chocolate over them to coat the top and sides. While the chocolate is still wet, sprinkle with green sanding sugar and use the red icing to create the signature stripes. Let the chocolate set completely before serving.
Tips for Success
To get the cleanest cuts, make sure your cookie cutter is sharp and press straight down without twisting. If you find the white chocolate is too thick to pour, add another teaspoon of vegetable shortening to thin it out to a ribbon-like consistency. It is also helpful to tap the wire rack gently after coating the cakes to help the excess chocolate drip away, which results in a much smoother finish on the sides. Always ensure your cake is completely cool before adding the filling, otherwise the marshmallow fluff will melt and create a mess.
Variations of This Festive Treat
You can easily customize these cakes for different holiday vibes by changing the coating colors or flavors. Try using dark chocolate for a rich “Midnight Tree” version, or add a drop of peppermint extract to the cake batter for a minty Christmas twist. If you want a more colorful look, you can use different colors of sanding sugar or even edible gold glitter to make the trees sparkle. For a faster version, you can skip the sandwiching step and simply coat single layers of cake, which makes them easier for small children to handle.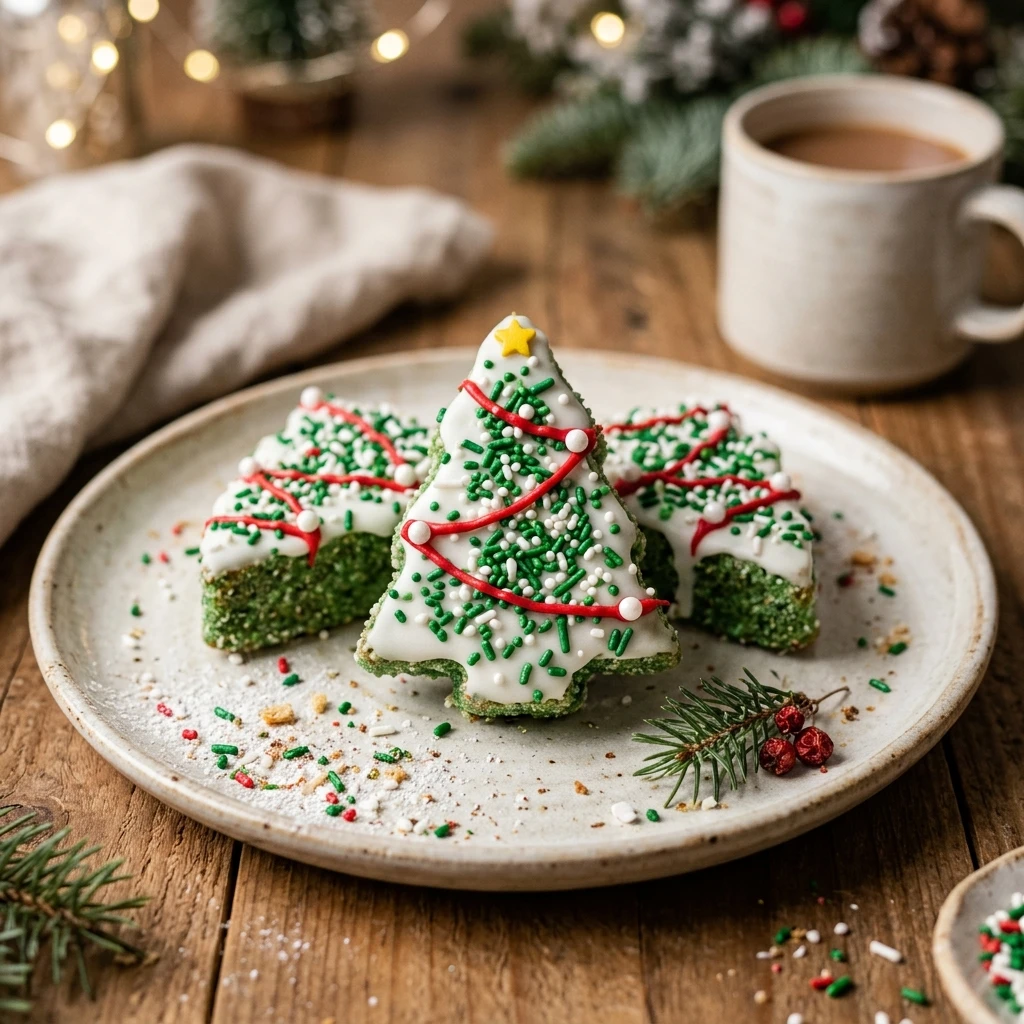
Serving Suggestions: What to Pair with This Festive Treat
These festive trees are the perfect accompaniment to a steaming mug of hot cocoa topped with marshmallows. They also look beautiful arranged on a holiday dessert platter alongside gingerbread cookies and peppermint bark. If you are hosting a Christmas party, try serving them with a side of fresh berries or a dollop of whipped cream to balance the sweetness of the white chocolate. They are excellent for school parties or office potlucks because they are individually portioned and easy to transport.
Storage & Reheating Instructions
Store your finished treats in an airtight container at room temperature for up to three days. If your kitchen is particularly warm, it is better to keep them in the refrigerator to prevent the chocolate coating from softening. These cakes do not require reheating and are best enjoyed at room temperature. If you want to make them ahead of time, you can freeze the uncoated cake shapes for up to a month and then assemble and dip them when you are ready to celebrate.
Memories Made Around the Table
Some of my favorite holiday memories involve sitting at the kitchen table with my siblings, competing to see who could decorate the most beautiful tree. These cakes represent more than just a snack, they represent the time spent together laughing and getting sugar everywhere while the snow fell outside. Now that I make these for my own children, I love seeing their faces light up when they realize they can have the same treats I used to talk about. Baking these together has become a new tradition that bridges the gap between my past and our family’s present.
FAQs
Can I make these cakes ahead of time?
Yes, you can prepare the cake and fill the sandwiches a day in advance. However, I recommend waiting to do the chocolate coating until the day you plan to serve them for the best texture and appearance. Store the uncoated sandwiches in the fridge to keep the filling firm.
How do I prevent the gluten-free cake from crumbling?
The key is to ensure your flour blend has xanthan gum and to let the cake cool entirely before cutting. If you still have trouble, chilling the cake in the freezer for 15 minutes before using the cookie cutter will make the structure much more stable and easy to work with.
Can I use actual marshmallows instead of fluff?
Marshmallow fluff is preferred because it stays soft at room temperature. If you use melted marshmallows, they may become too chewy or tough once they cool down. If you cannot find fluff, a thick vanilla buttercream is a better alternative than melted marshmallows.
What if I do not have a tree-shaped cookie cutter?
You can print out a tree template on paper, cut it out, and use it as a guide to cut the shapes with a small sharp knife. Alternatively, you can simply cut the cake into rectangles or triangles for a simpler look that still tastes exactly the same.
How do I get the red stripes to look so straight?
The easiest way is to use a small piping bag with a very fine tip. If you are using store-bought icing tubes, practice your pressure on a piece of parchment paper first. Move your hand in a steady, continuous motion across the cake without stopping to avoid lumps.
Final Thoughts
Creating these gluten-free treats is a wonderful way to bring the spirit of Christmas into your kitchen while catering to everyone’s needs. The effort of cutting and dipping the trees is well worth it when you see the joy they bring to the dessert table. Whether you are reliving your own childhood memories or creating new ones with your loved ones, these little cakes are sure to become a staple in your holiday baking rotation for years to come.

Gluten-Free Little Debbie Christmas Trees
- Total Time: 1 hour
Ingredients
- 1 1/2 cups gluten-free all-purpose flour blend with xanthan gum
- 1 cup granulated sugar
- 1/2 cup unsalted butter, softened
- 2 large eggs
- 1/2 cup whole milk
- 1 1/2 teaspoons baking powder
- 1 teaspoon alcohol-free vanilla extract
- 1/4 teaspoon salt
- 1/2 cup marshmallow fluff for the filling
- 12 ounces white chocolate melting wafers
- 2 tablespoons vegetable shortening
- Green sanding sugar and red decorating icing for garnish
Instructions
- Preheat your oven to 350 degrees Fahrenheit and grease a standard jelly roll pan or a large rimmed baking sheet. Line the bottom with parchment paper to ensure the thin cake layer releases easily after baking.
- In a large mixing bowl, cream together the softened butter and granulated sugar until the mixture is light and fluffy. Add the eggs one at a time, beating well after each addition, then stir in the alcohol-free vanilla extract. In a separate bowl, whisk together the gluten-free flour, baking powder, and salt. Gradually add the dry ingredients to the wet ingredients, alternating with the milk, until a smooth batter forms.
- Pour the batter into the prepared baking pan and spread it into an even layer using an offset spatula. Bake for 12 to 15 minutes, or until the top is golden brown and springs back when lightly touched. Allow the cake to cool completely in the pan before attempting to cut it, as gluten-free cakes can be fragile while warm.
- Once the cake is cool, use a tree-shaped cookie cutter to stamp out your shapes. You should be able to get about 24 individual trees if you place the cutter efficiently. Carefully remove the trees from the pan and set them aside. If the cake feels too soft, you can place the pan in the freezer for 10 minutes to firm it up before cutting.
- Spread a thin layer of marshmallow fluff onto the bottom side of half of the cake trees. Top each one with a second cake tree to create a sandwich. Press down very gently so the filling spreads to the edges without squeezing out. Place the assembled sandwiches on a wire rack over a piece of parchment paper.
- Melt the white chocolate wafers and vegetable shortening in the microwave in 30-second intervals, stirring until completely smooth. Dip each cake sandwich into the chocolate or pour the chocolate over them to coat the top and sides. While the chocolate is still wet, sprinkle with green sanding sugar and use the red icing to create the signature stripes. Let the chocolate set completely before serving.
- Cook Time: 60 minutes
- Diet: Gluten-Free