
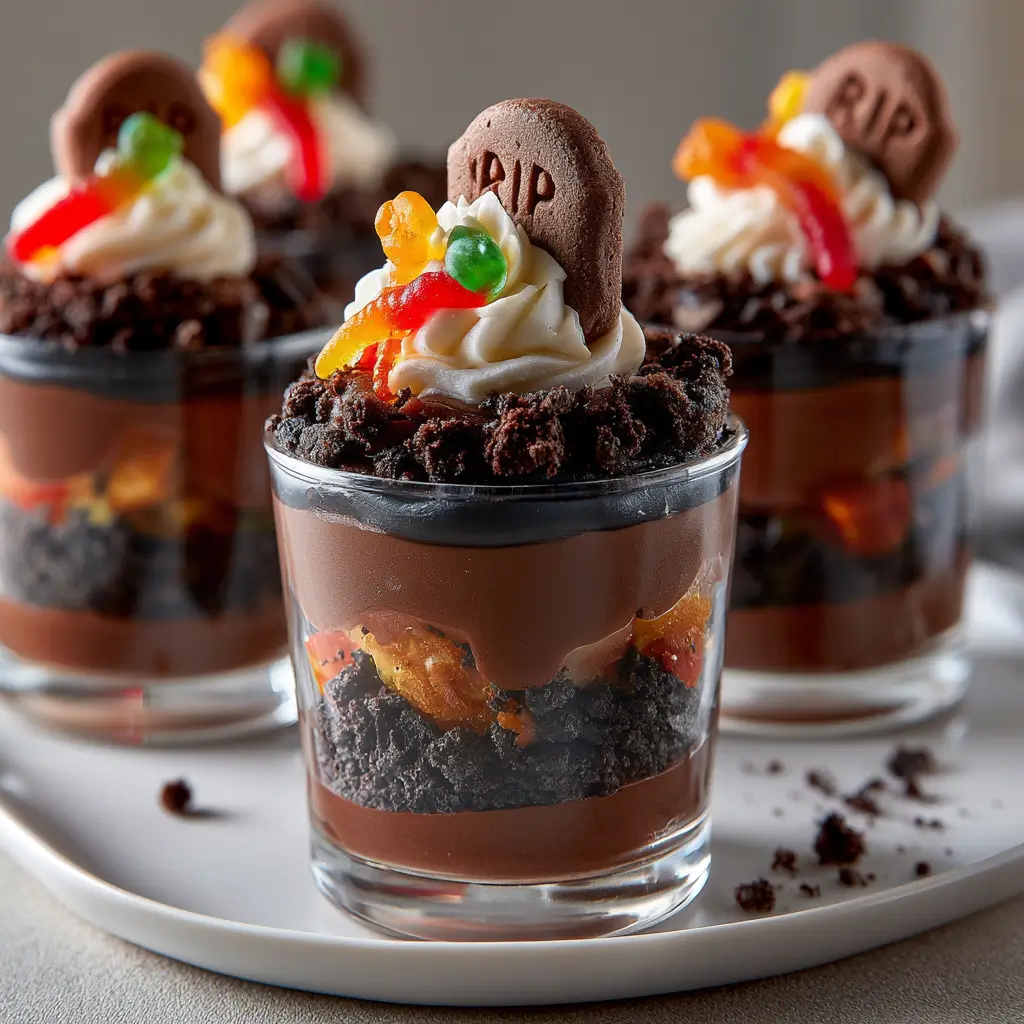
These Halloween Dirt Cups are a fun, no-fuss spooky treat that always gets smiles at the table. They come together with creamy chocolate pudding, crunchy cookie crumbs, and playful graveyard toppings for a dessert that feels just right for October.

Halloween Dirt Cups
Equipment
- 1 Clear cups or small glass jars
- 1 Food Processor optional
- 1 Rolling Pin optional
Ingredients
- 1 package chocolate pudding mix instant variety
- 2 cups milk
- 1 container whipped topping thawed
- 1 package chocolate sandwich cookies crushed into fine crumbs
- 1 package candy pumpkins
- 1 package cookie tombstones or rectangular cookies for decorating
- Optional gummy worms or chocolate sprinkles
Instructions
- Prepare the chocolate pudding according to the package directions, then let it thicken for a few minutes so it is easy to layer.
- Gently fold the whipped topping into the pudding until smooth and creamy. This gives the cups a soft, mousse-like texture.
- Crush the chocolate sandwich cookies into fine crumbs. A food processor works quickly, but a sealed bag and rolling pin do the job well too.
- Spoon a layer of cookie crumbs into the bottom of each cup, add a layer of pudding, then repeat until the cups are nearly full. Finish with a generous sprinkle of cookie crumbs on top.
- Place candy pumpkins, tombstone cookies, and any extra toppings on the surface. Add gummy worms if you want a playful, spooky look.
Notes
Why You’ll Love This This Dessert
This dessert is easy to assemble, kid-friendly, and perfect for parties or school celebrations. It uses simple ingredients, can be made ahead, and looks festive with very little effort.
This Dessert Ingredients & Substitutions
- Chocolate pudding mix, use your favorite instant variety
- Milk, for preparing the pudding
- Whipped topping, for a lighter, fluffier filling
- Chocolate sandwich cookies, crushed into fine crumbs
- Candy pumpkins, for a bright Halloween touch
- Cookie tombstones or rectangular cookies, for decorating the graveyard scene
- Optional, gummy worms or chocolate sprinkles for extra spooky flair
If you want a dairy-free version, use a plant-based milk and a non-dairy whipped topping. You can also swap the chocolate sandwich cookies for any crisp chocolate cookie that crushes well.
Step-by-Step Instructions to Make This Dessert
Step 1, Make the pudding
Prepare the chocolate pudding according to the package directions, then let it thicken for a few minutes so it is easy to layer.
Step 2, Fold in the topping
Gently fold the whipped topping into the pudding until smooth and creamy. This gives the cups a soft, mousse-like texture.
Step 3, Crush the cookies
Crush the chocolate sandwich cookies into fine crumbs. A food processor works quickly, but a sealed bag and rolling pin do the job well too.
Step 4, Assemble the cups
Spoon a layer of cookie crumbs into the bottom of each cup, add a layer of pudding, then repeat until the cups are nearly full. Finish with a generous sprinkle of cookie crumbs on top.
Step 5, Decorate the graveyard
Place candy pumpkins, tombstone cookies, and any extra toppings on the surface. Add gummy worms if you want a playful, spooky look.
Tips for Success
Use clear cups so the layers show through nicely. Chill the cups for at least 30 minutes before serving, because the flavors settle and the dessert firms up a bit. If you are making these ahead, add the cookie crumbs and decorations close to serving time so they stay fresh and crisp.
Variations of This Dessert
You can make these cups with vanilla pudding and extra cocoa mixed into the crumbs for a lighter chocolate flavor. For a cookies-and-cream version, use vanilla pudding and add crushed chocolate cookies between the layers. You can also make a bigger trifle-style version in one bowl for family-style serving.
Serving Suggestions: What to Pair with This Dessert
These cups are fun on their own, but they also pair nicely with a Halloween snack board, warm apple cider, or a simple tray of fresh fruit. For a party spread, serve them after a savory meal so the sweet layers feel extra special.
Storage & Reheating Instructions
Store assembled dirt cups covered in the refrigerator for up to 2 days. The cookie crumbs will soften over time, so for the best texture, assemble them the same day you plan to serve them. This dessert does not need reheating.
Memories Made Around the Table
There is something so charming about a dessert that invites a little creativity. Kids love adding the toppings, and adults usually get a kick out of the graveyard theme too, which makes these cups feel festive and memorable.
FAQs
Can I make Halloween Dirt Cups ahead of time?
Yes, you can make them several hours in advance or even the day before. For the best texture, add the final cookie crumb layer and decorations shortly before serving.
What cups work best for this recipe?
Clear plastic cups, small glass jars, or dessert bowls all work well. Clear containers show off the layers and make the spooky theme more fun.
Can I use homemade pudding?
Absolutely. Homemade chocolate pudding works beautifully if you want a richer flavor. Just make sure it is fully cooled before folding in the whipped topping.
How do I keep the cookie crumbs from getting soggy?
Assemble the dessert close to serving time and keep it chilled until you are ready. Adding a thicker layer of crumbs on top also helps preserve a bit of crunch.
Final Thoughts
These Halloween Dirt Cups are playful, simple, and always a hit when you want a spooky dessert without much stress. They are the kind of treat that brings a little fun to the table and a lot of smiles with every spoonful.