
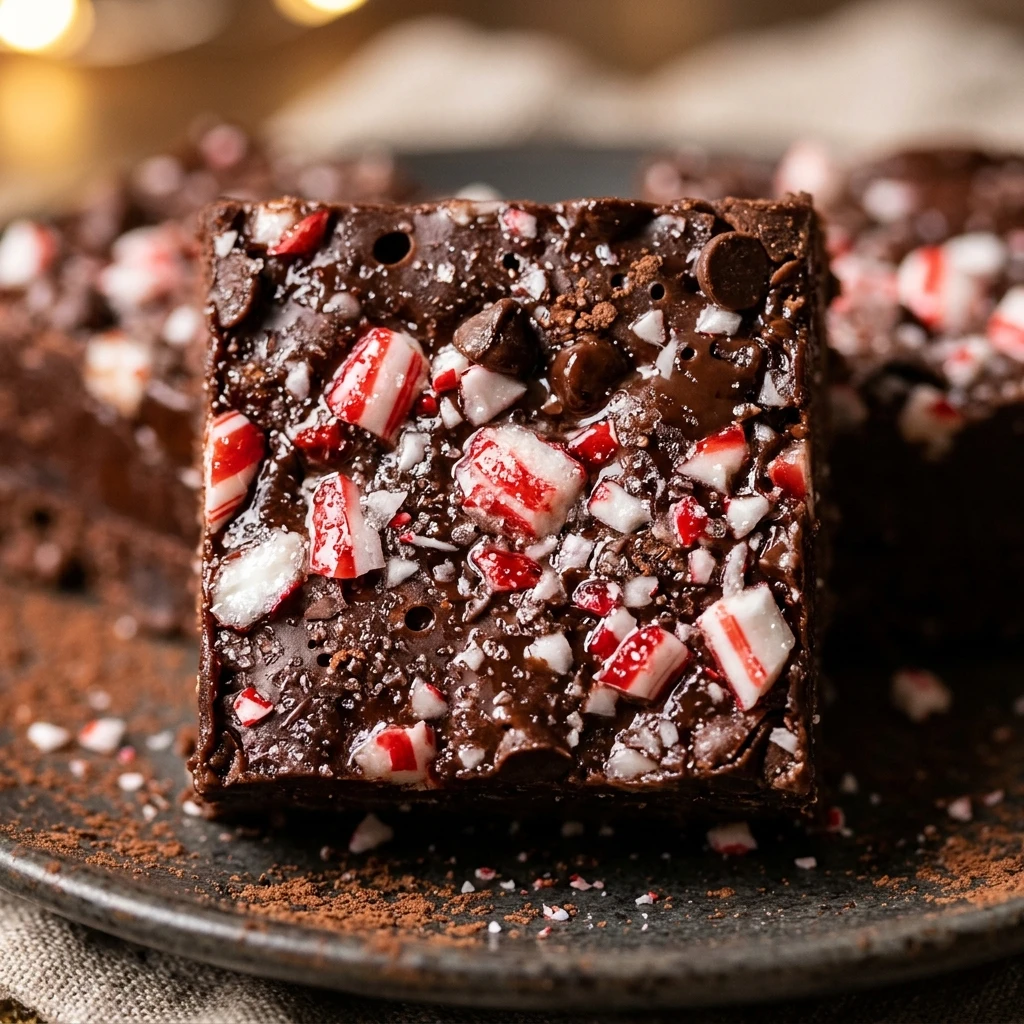
I always find that nothing says Christmas quite like the smell of peppermint and rich chocolate wafting through the house. I love making this fudge every December because it combines the cozy flavor of a steaming mug of cocoa with the satisfying snap of festive candy canes. It is a simple treat that looks beautiful on a holiday dessert platter, and I often find myself sneaking a piece while wrapping gifts late at night.
Recipe Details
Recipe Information
- Prep Time: 15 minutes
- Cook Time: 10 minutes
- Total Time: 25 minutes
- Servings: 24 squares
- Difficulty: Easy
Nutrition Information (Per Serving)
- Calories: 165
- Protein: 2g
- Carbs: 22g
- Fat: 8g
Why You’ll Love This Hot Chocolate Peppermint Fudge
This recipe is a holiday favorite because it captures the essence of a winter campfire in a single bite. The base is incredibly creamy and rich, while the mini marshmallows add that classic hot chocolate texture that everyone recognizes. Because it requires very little actual cooking, it is the perfect project for busy holiday weekends when you want a homemade treat without spending hours in the kitchen. Plus, the bright red and white peppermint topping adds a festive pop of color that makes it look like it came from a professional confectionery.
Hot Chocolate Peppermint Fudge Ingredients & Substitutions
- 3 cups semi-sweet chocolate chips
- 1 can (14 ounces) sweetened condensed milk
- 2 tablespoons unsweetened cocoa powder
- 1 teaspoon alcohol-free vanilla extract
- 1/4 teaspoon fine sea salt
- 1 1/2 cups mini marshmallows
- 1/2 cup crushed peppermint candy canes
- 1 tablespoon unsalted butter
If you prefer a deeper flavor, you can swap the semi-sweet chips for dark chocolate chips, or use milk chocolate for a sweeter profile. For those who do not have candy canes on hand, peppermint crunch baking bits work perfectly well. If you find yourself without mini marshmallows, you can omit them or use marshmallow fluff swirled into the top, though the texture will be much softer. Always ensure your vanilla is the alcohol-free variety to maintain the best flavor profile for this specific treat.
Step-by-Step Instructions to Make Hot Chocolate Peppermint Fudge
Step 1: Preparation
Line an 8×8 inch square baking pan with parchment paper, leaving a slight overhang on the sides. This makes it much easier to lift the fudge out once it has set. Lightly grease the parchment with a tiny bit of butter or oil to ensure the marshmallows don’t stick to the edges.
Step 2: Melting the Base
In a large heavy-bottomed saucepan over medium-low heat, combine the chocolate chips, sweetened condensed milk, and butter. Stir constantly with a heat-resistant spatula to prevent the chocolate from scorching. Continue heating until the mixture is completely smooth and the chocolate has fully melted into the milk.
Step 3: Adding Flavor and Color
Once the mixture is smooth, whisk in the unsweetened cocoa powder, alcohol-free vanilla extract, and salt. The cocoa powder adds that distinct hot chocolate depth that sets this apart from standard chocolate fudge. Remove the pan from the heat immediately after these ingredients are incorporated.
Step 4: Folding in Marshmallows
Let the chocolate mixture cool for about two minutes so the marshmallows do not melt completely. Gently fold in one cup of the mini marshmallows. You want them to be distributed throughout the fudge while still holding their shape for that classic hot cocoa look.
Step 5: Setting the Fudge
Pour the mixture into your prepared baking pan and spread it evenly with a spatula. Press the remaining half cup of mini marshmallows and the crushed peppermint candy canes firmly into the top of the fudge. This ensures the toppings stay attached when you eventually slice the squares.
Step 6: Chilling and Slicing
Place the pan in the refrigerator for at least three to four hours, or until the fudge is completely firm. Once set, use the parchment paper overhang to lift the fudge block onto a cutting board. Use a sharp knife dipped in hot water and wiped dry to slice the fudge into 24 even squares.
Tips for Success
To get the best results, always melt your chocolate over low heat. If the heat is too high, the chocolate can become grainy or separate. I recommend using high-quality chocolate chips because they are the main flavor component of the dish. When crushing your candy canes, place them in a sealed plastic bag and use a rolling pin to break them into various sizes, as this creates a more rustic and appealing texture on top. If your knife gets sticky while cutting, simply clean it and re-warm it between slices for the cleanest edges.
Variations of Hot Chocolate Peppermint Fudge
There are many ways to put a unique twist on this holiday staple. You can drizzle the finished fudge with melted white chocolate to mimic the look of foam on a latte. If you enjoy a bit of crunch, try adding half a cup of chopped toasted pecans or walnuts into the batter along with the marshmallows. For those who love a salty-sweet combination, a light sprinkle of coarse flake salt on top of the peppermint adds a sophisticated touch. You can even swap the peppermint for crushed malted milk balls if you want a different take on the chocolate theme.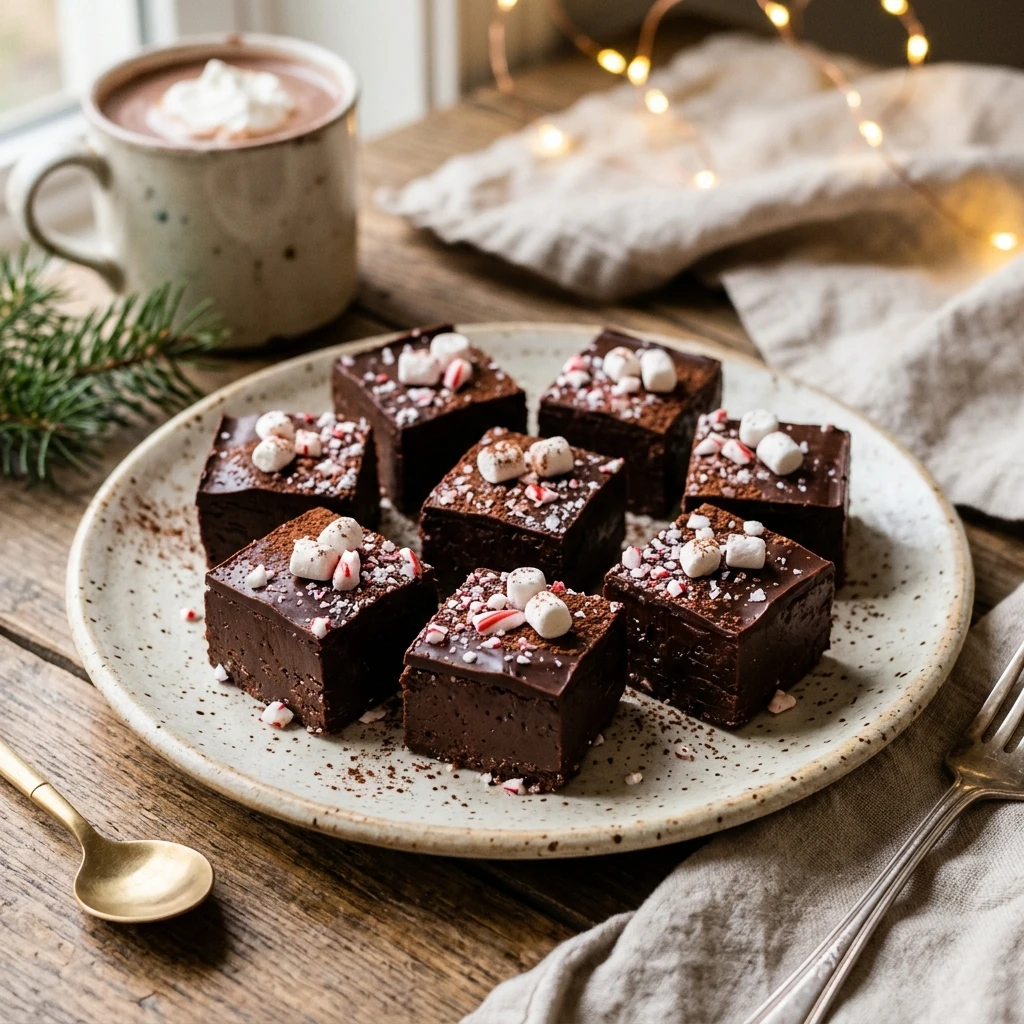
Serving Suggestions: What to Pair with Hot Chocolate Peppermint Fudge
This fudge is quite rich, so it pairs beautifully with a cold glass of milk or a tart fruit tea. For a full Christmas dessert spread, serve it alongside ginger snaps or shortbread cookies to provide a variety of textures. It also makes an excellent topping if crumbled over a bowl of simple vanilla bean ice cream. If you are hosting a party, try serving small squares in individual paper cupcake liners to make it easy for guests to grab a piece without getting their hands sticky.
Storage & Reheating Instructions
Store your fudge in an airtight container with layers separated by parchment paper to prevent sticking. It will stay fresh at room temperature for up to five days, or in the refrigerator for up to two weeks. I personally prefer keeping it in the fridge as it maintains a fudgier, firmer bite. You can also freeze this fudge for up to three months. To thaw, simply move it to the refrigerator 24 hours before you plan to serve it. Reheating is not recommended as it will melt the marshmallows and ruin the set of the fudge.
Memories Made Around the Table
I remember one specific Christmas Eve when my kitchen was a disaster zone of flour and sugar, but the moment I finished topping this fudge, everything felt calm. My children helped me crush the candy canes, and their excitement as they sprinkled the “snow” over the chocolate is a memory I cherish every year. We sat around the table later that night, testing the first batch while watching old holiday movies. It has since become the one treat our neighbors specifically ask for in their gift baskets, and seeing their faces light up when they see the peppermint topping makes all the stirring worthwhile.
FAQs
Can I make this fudge in the microwave?
Yes, you can melt the chocolate chips and condensed milk in a microwave-safe bowl in 30-second intervals. Stir between each interval until smooth, then proceed with stirring in the cocoa, vanilla, and marshmallows as directed in the stovetop method.
Why did my marshmallows melt into the fudge?
This usually happens if the chocolate mixture is too hot when you fold them in. Make sure to let the mixture sit for a couple of minutes off the heat before adding the marshmallows so they retain their shape and provide that signature texture.
How do I get clean cuts when slicing the fudge?
The secret is using a warm, sharp knife. Run your knife under hot water, wipe it completely dry, and then make your cut. Repeat this process for every single slice to ensure the marshmallows and chocolate don’t tear or smear.
Can I use peppermint extract instead of candy canes?
You can add half a teaspoon of peppermint extract to the chocolate base if you want a stronger mint flavor throughout the fudge. However, I still recommend the crushed candy canes on top for the festive look and the satisfying crunch they provide.
Does this fudge need to be refrigerated?
While it can sit out at room temperature for a party, it is best stored in the refrigerator. The marshmallows can soften if it gets too warm, and the chocolate base holds its structure much better when kept in a cool environment.
Final Thoughts
Hot Chocolate Peppermint Fudge is the ultimate holiday treat that brings the warmth of a winter beverage into a handheld dessert. Its simple preparation and festive appearance make it a staple for Christmas gifting and family gatherings alike. Whether you are a seasoned baker or a beginner looking for a reliable holiday recipe, this fudge is sure to bring a bit of magic to your kitchen this season. Enjoy the process of making it, and even more, enjoy the smiles it brings to those who share it with you.

Hot Chocolate Peppermint Fudge
- Total Time: 25 minutes
Ingredients
- 3 cups semi-sweet chocolate chips
- 1 can (14 ounces) sweetened condensed milk
- 2 tablespoons unsweetened cocoa powder
- 1 teaspoon alcohol-free vanilla extract
- 1/4 teaspoon fine sea salt
- 1 1/2 cups mini marshmallows
- 1/2 cup crushed peppermint candy canes
- 1 tablespoon unsalted butter
Instructions
- Line an 8×8 inch square baking pan with parchment paper, leaving a slight overhang on the sides. Lightly grease the parchment with a tiny bit of butter or oil to ensure the marshmallows don’t stick to the edges.
- In a large heavy-bottomed saucepan over medium-low heat, combine the chocolate chips, sweetened condensed milk, and butter. Stir constantly with a heat-resistant spatula to prevent the chocolate from scorching. Continue heating until the mixture is completely smooth and the chocolate has fully melted into the milk.
- Once the mixture is smooth, whisk in the unsweetened cocoa powder, alcohol-free vanilla extract, and salt. Remove the pan from the heat immediately after these ingredients are incorporated.
- Let the chocolate mixture cool for about two minutes so the marshmallows do not melt completely. Gently fold in one cup of the mini marshmallows.
- Pour the mixture into your prepared baking pan and spread it evenly with a spatula. Press the remaining half cup of mini marshmallows and the crushed peppermint candy canes firmly into the top of the fudge.
- Place the pan in the refrigerator for at least three to four hours, or until the fudge is completely firm. Once set, use the parchment paper overhang to lift the fudge block onto a cutting board. Use a sharp knife dipped in hot water and wiped dry to slice the fudge into 24 even squares.
- Cook Time: 25 minutes
- Diet: Vegetarian