
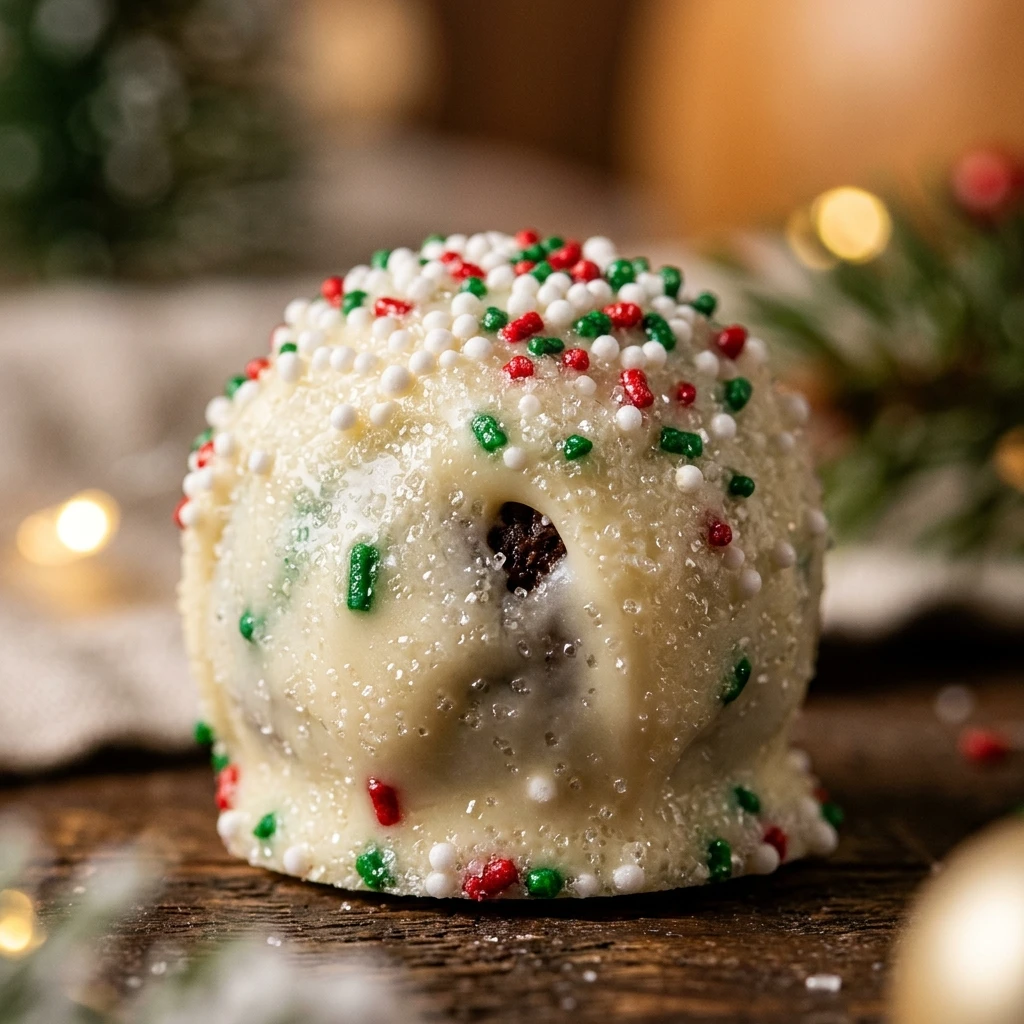
I always look forward to seeing those iconic boxes of snacks hit the shelves because they signal the start of the holiday season in my home. These Little Debbie Christmas Tree Cake Truffles are my favorite way to turn a childhood snack into a fancy looking holiday dessert that everyone loves. I find so much joy in seeing the smiles on my family’s faces when I bring out a platter of these nostalgic, creamy treats during our annual tree decorating party.
Recipe Details
Recipe Information
- Prep Time: 20 minutes
- Cook Time: 5 minutes
- Total Time: 25 minutes
- Servings: 15 truffles
- Difficulty: Easy
Nutrition Information (Per Serving)
- Calories: 185 calories
- Protein: 2 grams
- Carbs: 24 grams
- Fat: 9 grams
Why You’ll Love Little Debbie Christmas Tree Cake Truffles
This recipe takes the classic flavors of vanilla cake and creamy filling and transforms them into a bite-sized indulgence. You will love how simple the process is, requiring only a few ingredients and no actual baking. The combination of the soft cake interior and the crisp white chocolate shell provides a satisfying texture that feels much more sophisticated than a standard snack cake. They are perfect for gifting to neighbors or adding a festive touch to any Christmas dessert board without spending hours in the kitchen.
Little Debbie Christmas Tree Cake Truffles Ingredients & Substitutions
- 1 box (10 count) Little Debbie Christmas Tree Cakes, vanilla flavor
- 4 ounces cream cheese, softened to room temperature
- 1 cup white chocolate melting wafers or high-quality white chocolate chips
- 1 teaspoon alcohol-free vanilla extract
- Green sanding sugar for garnish
- Red decorating icing for the signature stripe
If you cannot find the specific brand of snack cakes, any vanilla snack cake with a cream filling will work just as well. You can substitute the cream cheese with two tablespoons of vanilla frosting if you prefer a much sweeter and denser truffle. For the coating, almond bark is a great alternative to melting wafers as it melts smoothly and sets quickly. If you want a different flavor profile, try using dark chocolate for the outer shell to balance the sweetness of the cake center.
Step-by-Step Instructions to Make Little Debbie Christmas Tree Cake Truffles
Step 1: Crumble the Cakes
Unwrap all of the snack cakes and place them into a large mixing bowl. Use a fork or your hands to break the cakes into small crumbs. You want to make sure the outer icing and the inner cream filling are well incorporated into the cake crumbs so the mixture is uniform.
Step 2: Combine with Cream Cheese
Add the softened cream cheese and the alcohol-free vanilla extract to the bowl of cake crumbs. Use a hand mixer on low speed or a sturdy spatula to blend the ingredients together until a thick, cohesive dough forms. The mixture should be moist enough to hold its shape when pressed together.
Step 3: Roll the Truffles
Line a baking sheet with parchment paper. Scoop out about one tablespoon of the mixture at a time and roll it between your palms to form a smooth ball, roughly one inch in diameter. Place each ball onto the prepared baking sheet, leaving a little space between them.
Step 4: Chill the Centers
Place the baking sheet into the refrigerator for at least 30 minutes, or the freezer for 15 minutes. This step is crucial because it firms up the dough, making it much easier to dip into the warm chocolate without falling apart or losing its shape.
Step 5: Melt the Coating
Place your white chocolate melting wafers in a microwave-safe bowl. Heat in 30-second intervals, stirring well between each session, until the chocolate is completely smooth and liquid. Be careful not to overheat the chocolate, as white chocolate can scorch easily.
Step 6: Dip and Decorate
Using a fork or a dipping tool, submerge each chilled cake ball into the melted chocolate. Lift it out and gently tap the fork against the side of the bowl to let excess chocolate drip off. Place the truffle back onto the parchment paper. While the chocolate is still wet, sprinkle with green sanding sugar and add a drizzle of red icing to mimic the original cake design. Let them sit until the shells are completely hardened.
Tips for Success
Make sure your cream cheese is truly at room temperature before mixing, otherwise you might end up with small lumps in your truffle centers. If the mixture feels too sticky to roll, chill the entire bowl for ten minutes before forming the balls. When dipping, work in small batches and keep the remaining cake balls in the fridge so they stay firm. Using a deep, narrow bowl for the melted chocolate makes the dipping process much cleaner and ensures the truffles get a full, even coat.
Variations of Little Debbie Christmas Tree Cake Truffles
While the vanilla cakes are the classic choice, you can easily swap them for the chocolate version of the Christmas tree cakes for a double chocolate experience. For a peppermint twist, add a tiny drop of peppermint extract to the cake mixture and top the finished truffles with crushed candy canes instead of sugar. You could also experiment with the shapes, pressing the mixture into small silicone molds to create stars or actual tree shapes instead of traditional round truffles.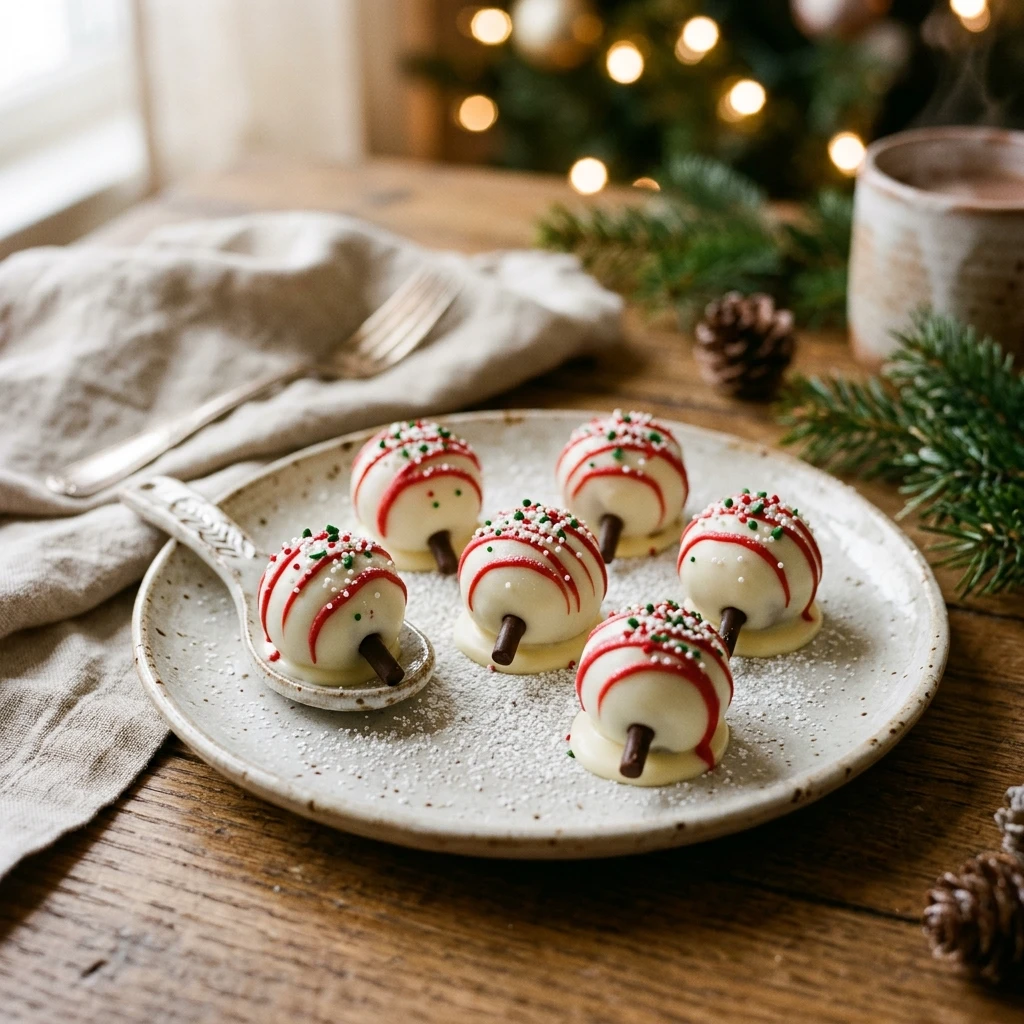
Serving Suggestions: What to Pair with Little Debbie Christmas Tree Cake Truffles
These truffles are quite sweet, so they pair wonderfully with a hot cup of black coffee or a strong peppermint tea. If you are serving them at a party, arrange them on a platter alongside fresh berries or tart apple slices to provide a refreshing contrast. They also make a beautiful addition to a hot cocoa bar where guests can enjoy them as a decadent side treat. For a festive presentation, place each truffle in a small metallic cupcake liner before serving.
Storage & Reheating Instructions
Store these truffles in an airtight container in the refrigerator for up to one week. Because they contain cream cheese, they should not be left out at room temperature for more than two hours. If you want to make them further in advance, you can freeze the finished truffles for up to two months. Simply thaw them in the refrigerator overnight before serving. There is no need to reheat these, as they are best enjoyed chilled or at a cool room temperature.
Memories Made Around the Table
I remember sitting at my grandmother’s kitchen table every December, waiting for her to open a fresh box of these cakes. We would sit and talk for hours, and it became a tradition that I have carried into my own home. Turning them into truffles has become a new way for me to share that nostalgia with my friends. Now, every time I smell the sweet scent of white chocolate and vanilla, I am transported back to those cozy afternoons filled with laughter and holiday spirit.
FAQs
Can I make these truffles ahead of time?
Yes, these are excellent for making ahead. You can prepare the cake balls and keep them in the fridge for up to two days before dipping them in chocolate. Once fully decorated, they stay fresh and delicious for a full week in the refrigerator.
Do I need to remove the frosting from the cakes before crumbling?
No, you should include the entire cake, including the outer frosting and the green sprinkles. Everything gets mixed together to create the flavor and texture of the truffle center. It all blends perfectly once the cream cheese is added.
Why is my white chocolate thick and clumpy?
White chocolate is very sensitive to heat and moisture. Ensure your bowl and utensils are completely dry, and melt the chocolate slowly at low power. If it does become too thick, you can stir in a teaspoon of vegetable oil or coconut oil to help thin it out and restore the shine.
Can I use a food processor to crumble the cakes?
Absolutely, a food processor is a great tool for this. It will create a very fine, even crumb in just a few pulses. Just be careful not to over-process it into a paste before you even add the cream cheese.
Do these truffles need to be refrigerated?
Yes, because the centers contain cream cheese, they should be stored in the refrigerator to keep them safe and to maintain the best texture. They taste best when they have a slight chill to them.
Final Thoughts
These Little Debbie Christmas Tree Cake Truffles are a delightful way to celebrate the holiday season with a touch of nostalgia. They are simple to prepare, visually festive, and always a hit with guests of all ages. Whether you are making them for a party or just to enjoy during a cozy night in, they are sure to become a new favorite in your holiday recipe collection. Happy holidays and enjoy every sweet bite!

Little Debbie Christmas Tree Cake Truffles
- Total Time: 25 minutes
Ingredients
- 1 box (10 count) Little Debbie Christmas Tree Cakes, vanilla flavor
- 4 ounces cream cheese, softened to room temperature
- 1 cup white chocolate melting wafers or high-quality white chocolate chips
- 1 teaspoon alcohol-free vanilla extract
- Green sanding sugar for garnish
- Red decorating icing for the signature stripe
Instructions
- Step 1: Crumble the Cakes. Unwrap all of the snack cakes and place them into a large mixing bowl. Use a fork or your hands to break the cakes into small crumbs. You want to make sure the outer icing and the inner cream filling are well incorporated into the cake crumbs so the mixture is uniform.
- Step 2: Combine with Cream Cheese. Add the softened cream cheese and the alcohol-free vanilla extract to the bowl of cake crumbs. Use a hand mixer on low speed or a sturdy spatula to blend the ingredients together until a thick, cohesive dough forms. The mixture should be moist enough to hold its shape when pressed together.
- Step 3: Roll the Truffles. Line a baking sheet with parchment paper. Scoop out about one tablespoon of the mixture at a time and roll it between your palms to form a smooth ball, roughly one inch in diameter. Place each ball onto the prepared baking sheet, leaving a little space between them.
- Step 4: Chill the Centers. Place the baking sheet into the refrigerator for at least 30 minutes, or the freezer for 15 minutes. This step is crucial because it firms up the dough, making it much easier to dip into the warm chocolate without falling apart or losing its shape.
- Step 5: Melt the Coating. Place your white chocolate melting wafers in a microwave-safe bowl. Heat in 30-second intervals, stirring well between each session, until the chocolate is completely smooth and liquid. Be careful not to overheat the chocolate, as white chocolate can scorce easily.
- Step 6: Dip and Decorate. Using a fork or a dipping tool, submerge each chilled cake ball into the melted chocolate. Lift it out and gently tap the fork against the side of the bowl to let excess chocolate drip off. Place the truffle back onto the parchment paper. While the chocolate is still wet, sprinkle with green sanding sugar and add a drizzle of red icing to mimic the original cake design. Let them sit until the shells are completely hardened.
- Cook Time: 25 minutes
- Diet: Vegetarian