
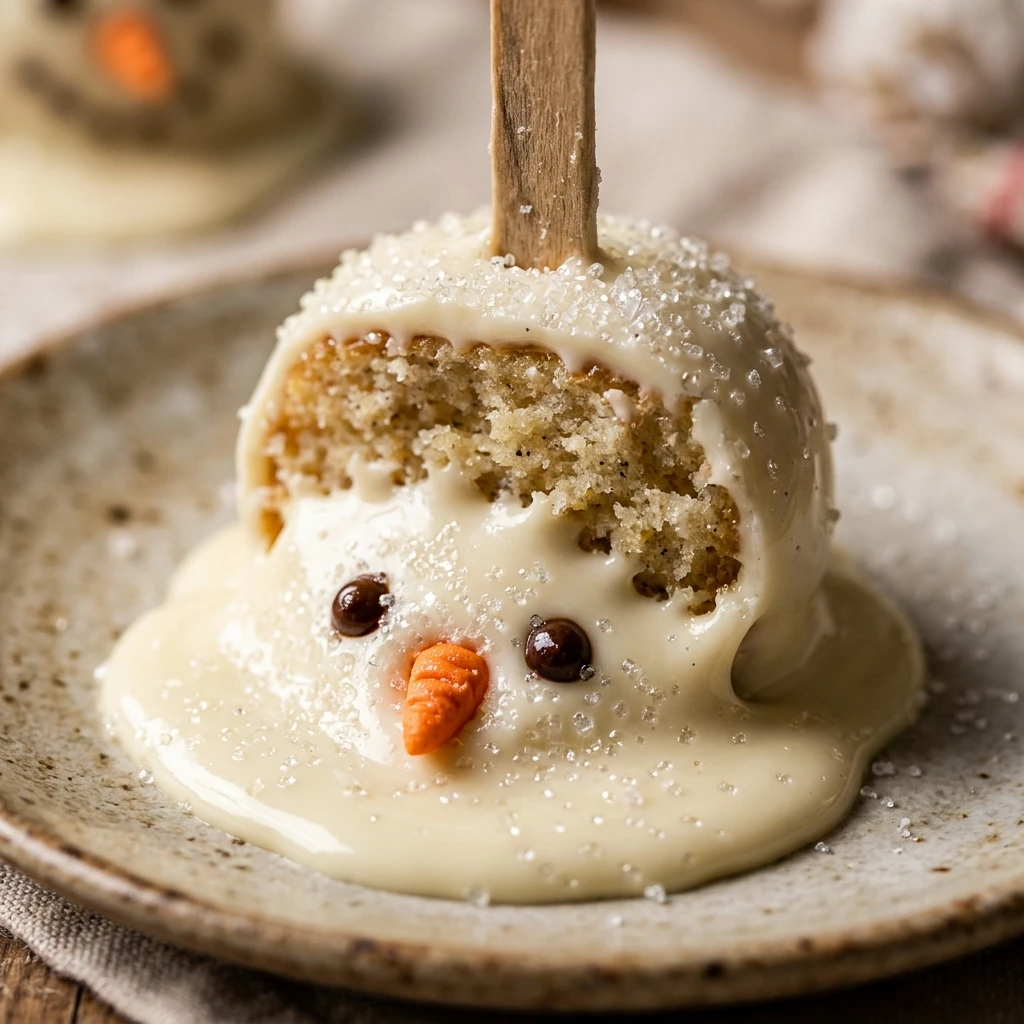
I love making these Melted Snowman Cake Pops during the holidays because they capture the whimsical magic of winter in every bite. My family always laughs when they see these little guys “puddling” on their sticks, and they are a massive hit at our annual Christmas party. They are just as delicious as they are adorable, making them the perfect festive treat for kids and adults alike.
Recipe Details
Recipe Information
- Prep Time: 1 hour
- Cook Time: 30 minutes
- Total Time: 1 hour 30 minutes
- Servings: 24 pops
- Difficulty: Medium
Nutrition Information (Per Serving)
- Calories: 185
- Protein: 2g
- Carbs: 26g
- Fat: 8g
Why You’ll Love This Melted Snowman Cake Pops
These Melted Snowman Cake Pops are the ultimate crowd-pleaser because they combine a classic dessert with a playful holiday theme. Since they are meant to look like they are melting, you do not have to worry about making them perfectly round or smooth, which takes the stress out of decorating. The combination of moist cake, creamy frosting, and a crunchy chocolate shell is irresistible. Plus, they look absolutely stunning on a Christmas dessert table, adding a touch of humor and charm to your festive celebrations.
Melted Snowman Cake Pops Ingredients & Substitutions
- 1 baked vanilla cake (9×13 inch size, cooled completely)
- 1/2 cup vanilla frosting
- 12 ounces white chocolate melting wafers
- 24 lollipop sticks
- 1 teaspoon alcohol-free vanilla extract
- 12 large gelatin-free marshmallows (cut in half)
- Orange decorating icing for the carrot noses
- Black edible ink pen or black decorating icing for the eyes and mouth
- Pretzel sticks, broken into small pieces for the arms
You can use any cake flavor you like, such as chocolate or red velvet, as long as it crumbles well. If you do not have white chocolate wafers, white chocolate chips mixed with a teaspoon of coconut oil will work beautifully for the coating. For the snowman’s nose, tiny pieces of dried apricots or orange gumdrops are great alternatives to icing if you prefer a different texture.
Step-by-Step Instructions to Make Melted Snowman Cake Pops
Step 1: Crumble the Cake
In a large bowl, crumble the cooled vanilla cake into fine crumbs using your hands or a fork. Ensure there are no large chunks remaining so the texture of the pops stays consistent. Stir in the alcohol-free vanilla extract for an extra boost of flavor.
Step 2: Mix in the Frosting
Add the vanilla frosting to the cake crumbs. Use a sturdy spoon or your hands to mix until the frosting is fully incorporated and the mixture holds together when squeezed. It should have a dough-like consistency that is moist but not overly sticky.
Step 3: Roll the Cake Balls
Scoop about one tablespoon of the cake mixture at a time and roll it into a ball. Place the balls on a baking sheet lined with parchment paper. Once all the balls are formed, place the tray in the freezer for about 20 minutes to firm them up, which makes dipping much easier.
Step 4: Melt the Chocolate Coating
Place the white chocolate melting wafers in a microwave-safe bowl. Heat in 30-second intervals, stirring in between, until the chocolate is smooth and completely melted. Be careful not to overheat the chocolate, as it can become thick and clumped.
Step 5: Assemble and Dip
Dip the tip of a lollipop stick into the melted chocolate and then insert it into a chilled cake ball. Dip the entire ball into the white chocolate, allowing the excess to drip off. To create the melted look, let some of the chocolate pool at the base of the ball on the parchment paper, or purposely drizzle extra chocolate around the bottom.
Step 6: Add the Snowman Head
While the white chocolate is still wet, place a marshmallow half on top of the cake ball to represent the snowman’s head. Press it down gently so it sticks. This gives the appearance of a snowman starting to lose his shape in the winter sun.
Step 7: Decorate the Face and Arms
Once the coating has set, use the orange icing to draw a small triangle for the carrot nose on the marshmallow. Use the black icing or edible pen to dot on eyes and a coal-like smile. Finally, gently press the pretzel pieces into the sides of the cake ball to serve as the twig arms.
Tips for Success
For the best results, always ensure your cake balls are cold before dipping, as this helps the chocolate set quickly. If the chocolate starts to thicken while you are working, simply pop it back in the microwave for 10 seconds. When creating the “melted” base, do not be afraid to let the chocolate run a little, it adds to the character of the treat. If the marshmallows are too tall, you can squish them slightly with your thumb before placing them on the pops to give them a more slumped, melting appearance.
Variations of Melted Snowman Cake Pops
You can easily customize these treats to fit your personal style or different holiday themes. For a minty twist, add a drop of peppermint extract to the cake mixture and use crushed candy canes as a garnish. You can also use fruit leather or sour belts to create colorful scarves for your snowmen. If you want a more colorful look, try using a light blue tinted white chocolate for the base to represent a snowy landscape.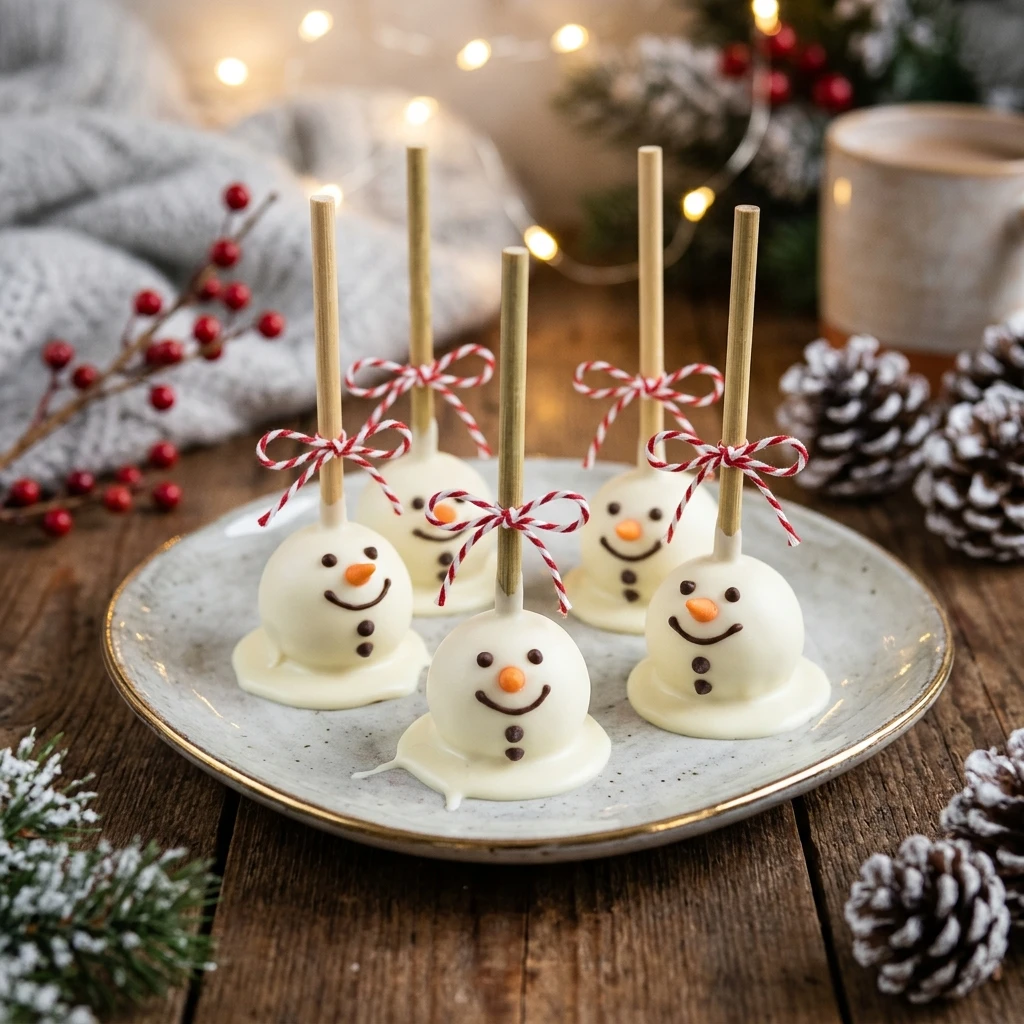
Serving Suggestions: What to Pair with Melted Snowman Cake Pops
These cake pops are a delight when served alongside a steaming mug of hot cocoa topped with whipped cream. They also look beautiful when placed on a tiered dessert stand as part of a Christmas cookie spread. For a fun party idea, you can serve them in a glass jar filled with granulated sugar to mimic the look of a snowbank. They also make wonderful party favors when wrapped individually in cellophane bags with a festive ribbon.
Storage & Reheating Instructions
Store your cake pops in an airtight container in the refrigerator for up to five days. The cool temperature helps keep the chocolate coating crisp and the cake moist. If you need to store them for longer, they can be frozen for up to one month. To freeze, place them in a single layer in a container, separating layers with parchment paper. Thaw them in the refrigerator overnight before serving. Reheating is not recommended, as it will melt the decorative chocolate coating.
Memories Made Around the Table
I remember one Christmas afternoon when my kitchen was filled with the scent of vanilla and the sound of my children’s laughter as we tried to give each snowman a unique personality. Some of our snowmen had very long pretzel arms, while others had slightly crooked smiles that made them look even more endearing. We spent hours decorating them, and the joy of seeing the kids’ faces light up when they showed their creations to their grandparents is a memory I treasure every year. These treats are more than just food, they are a way to bring everyone together for a bit of holiday fun.
FAQs
How do I prevent the cake pops from falling off the sticks?
The key is to dip the tip of the lollipop stick into the melted chocolate before inserting it into the cake ball. This acts like glue and secures the stick in place. Additionally, make sure the cake balls are chilled but not frozen solid, as extreme cold can cause the chocolate to crack.
Can I make these Melted Snowman Cake Pops in advance?
Yes, you can definitely make these a day or two ahead of your event. Just keep them stored in the refrigerator so the decorations stay intact and the cake remains fresh. They actually taste great when the flavors have had a little time to meld together.
What if my white chocolate is too thick for dipping?
If your chocolate is too thick, you can stir in a teaspoon of vegetable oil or melted coconut oil. This will thin out the consistency and make it much smoother for dipping, ensuring a nice even coat on your cake pops.
How do I stop the chocolate from cracking?
Cracking usually happens when there is a large temperature difference between the cold cake ball and the hot chocolate. Let your cake balls sit at room temperature for a few minutes after taking them out of the freezer before you begin the dipping process.
Can I use a cake mix for this recipe?
Absolutely. Using a boxed cake mix is a great time-saver and works perfectly for this recipe. Just bake it according to the package instructions, let it cool completely, and then proceed with crumbling it for the pops.
Final Thoughts
Melted Snowman Cake Pops are a delightful way to bring a bit of festive cheer into your home this winter. They are simple to prepare, fun to decorate, and guaranteed to put a smile on everyone’s face. Whether you are hosting a large Christmas gathering or just looking for a fun afternoon activity with the family, these treats are the perfect choice. Give them a try and enjoy the sweet, whimsical magic of the holiday season.
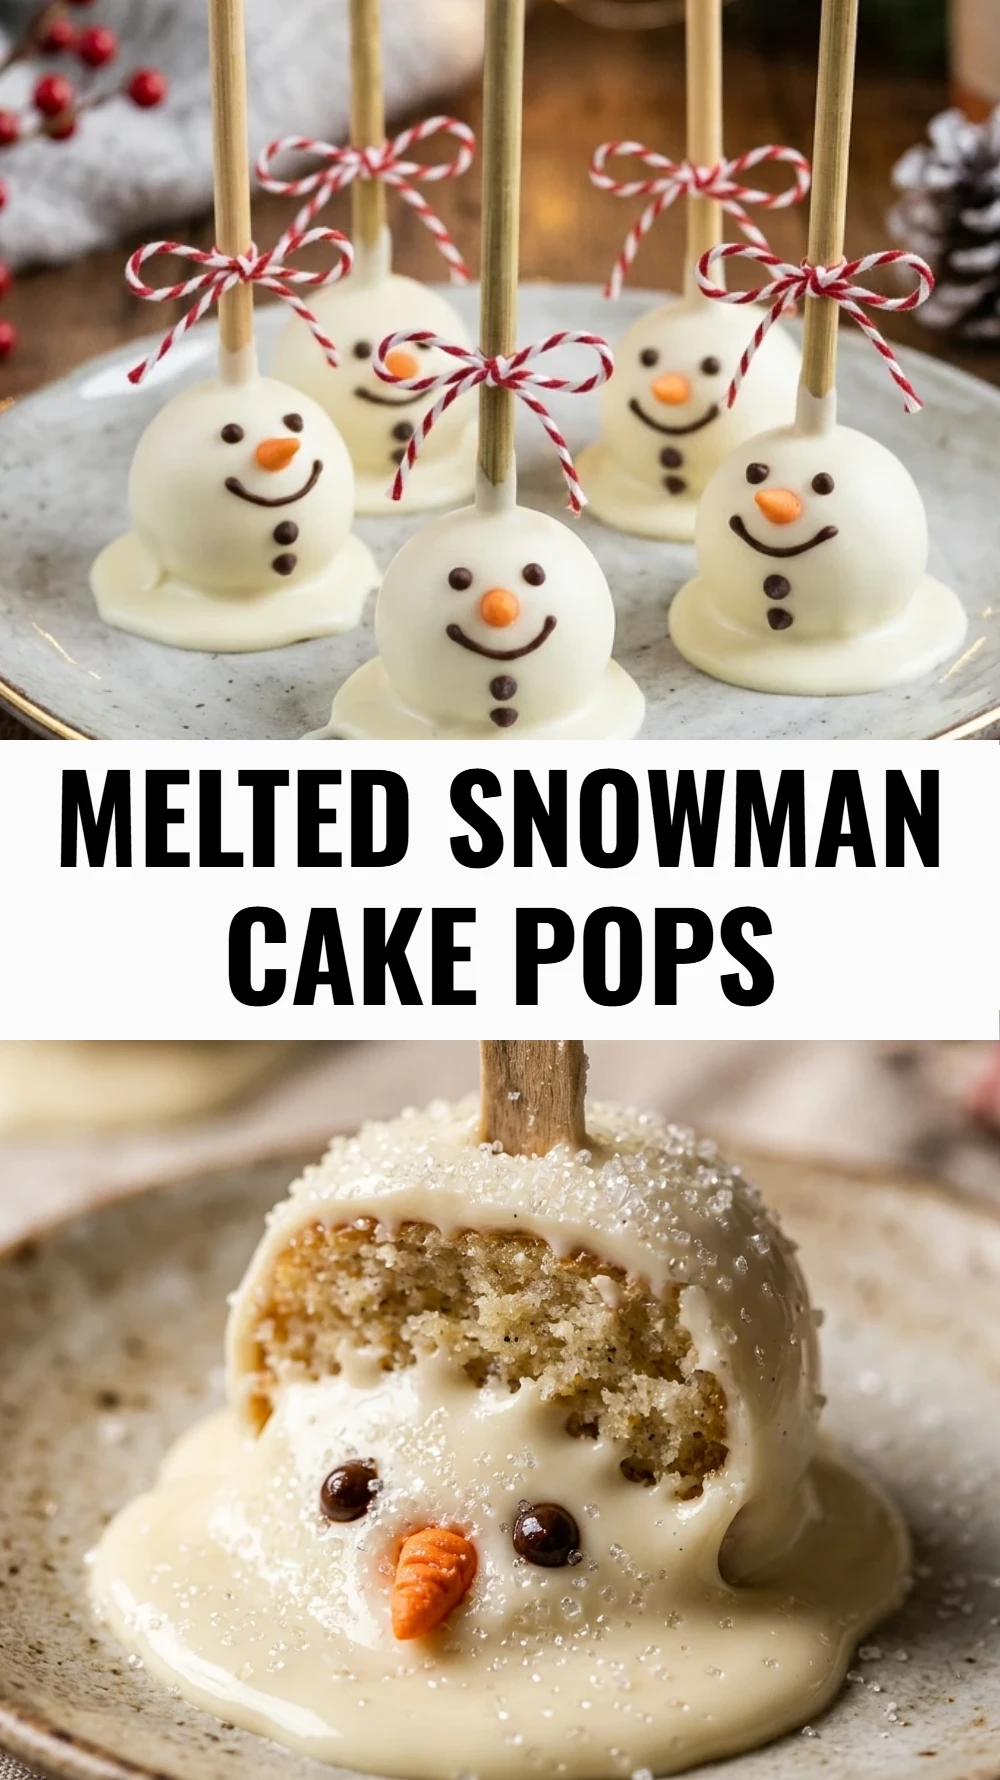

Melted Snowman Cake Pops
- Total Time: 1 hour 30 minutes
Ingredients
- 1 baked vanilla cake (9×13 inch size, cooled completely)
- 1/2 cup vanilla frosting
- 12 ounces white chocolate melting wafers
- 24 lollipop sticks
- 1 teaspoon alcohol-free vanilla extract
- 12 large gelatin-free marshmallows (cut in half)
- Orange decorating icing for the carrot noses
- Black edible ink pen or black decorating icing for the eyes and mouth
- Pretzel sticks, broken into small pieces for the arms
Instructions
- Step 1: Crumble the Cake In a large bowl, crumble the cooled vanilla cake into fine crumbs using your hands or a fork. Ensure there are no large chunks remaining so the texture of the pops stays consistent. Stir in the alcohol-free vanilla extract for an extra boost of flavor.
- Step 2: Mix in the Frosting Add the vanilla frosting to the cake crumbs. Use a sturdy spoon or your hands to mix until the frosting is fully incorporated and the mixture holds together when squeezed. It should have a dough-like consistency that is moist but not overly sticky.
- Step 3: Roll the Cake Balls Scoop about one tablespoon of the cake mixture at a time and roll it into a ball. Place the balls on a baking sheet lined with parchment paper. Once all the balls are formed, place the tray in the freezer for about 20 minutes to firm them up, which makes dipping much easier.
- Step 4: Melt the Chocolate Coating Place the white chocolate melting wafers in a microwave-safe bowl. Heat in 30-second intervals, stirring in between, until the chocolate is smooth and completely melted. Be careful not to overheat the chocolate, as it can become thick and clumped.
- Step 5: Assemble and Dip Dip the tip of a lollipop stick into the melted chocolate and then insert it into a chilled cake ball. Dip the entire ball into the white chocolate, allowing the excess to drip off. To create the melted look, let some of the chocolate pool at the base of the ball on the parchment paper, or purposely drizzle extra chocolate around the bottom.
- Step 6: Add the Snowman Head While the white chocolate is still wet, place a marshmallow half on top of the cake ball to represent the snowman’s head. Press it down gently so it sticks. This gives the appearance of a snowman starting to lose his shape in the winter sun.
- Step 7: Decorate the Face and Arms Once the coating has set, use the orange icing to draw a small triangle for the carrot nose on the marshmallow. Use the black icing or edible pen to dot on eyes and a coal-like smile. Finally, gently press the pretzel pieces into the sides of the cake ball to serve as the twig arms.
- Cook Time: 1 hour 30 minutes
- Diet: Vegetarian