
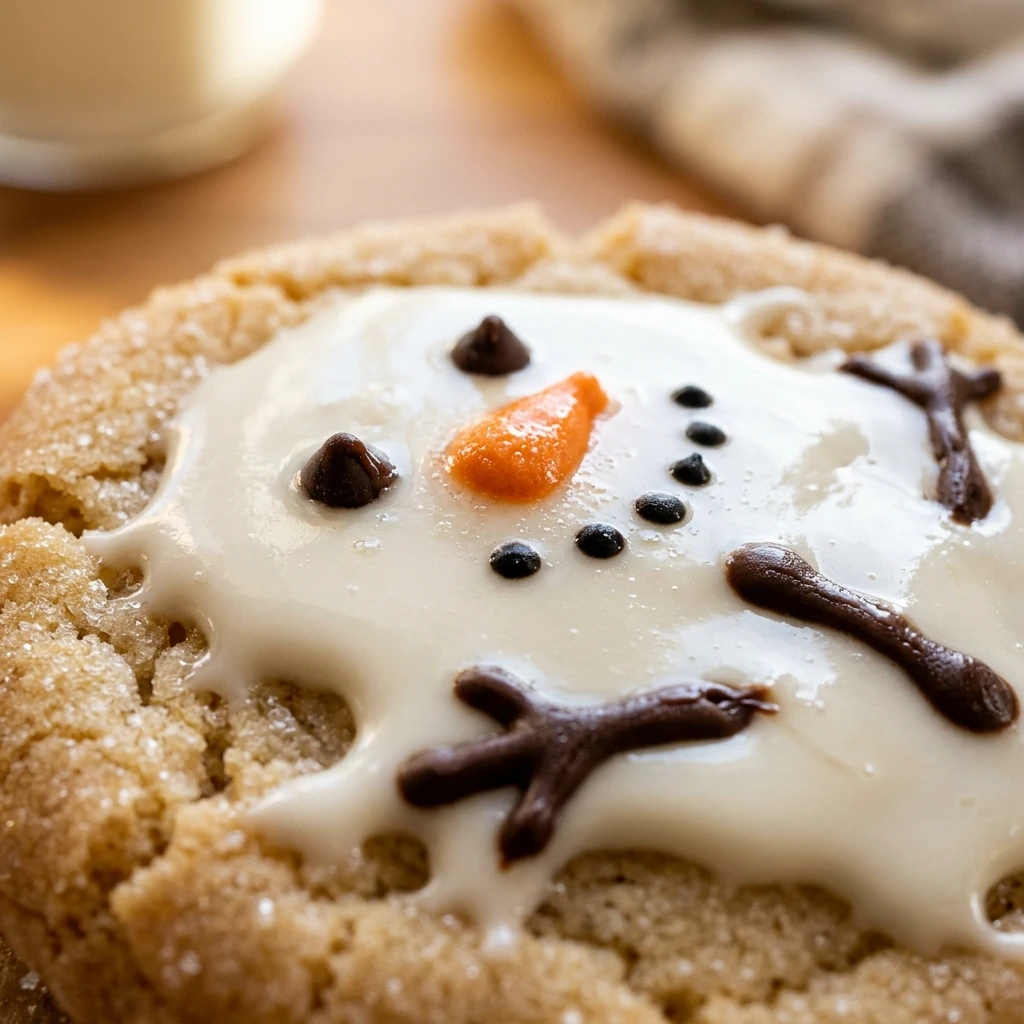
I love how these Melted Snowman Cookies bring a bit of whimsy to the holiday season. Every time I set a tray of these out at a Christmas party, they disappear within minutes because they look so charming and sweet. These are perfect for making with the family while a festive movie plays in the background, as the “melted” look means they do not have to be perfect to be beautiful.
Recipe Details
Recipe Information
- Prep Time: 30 minutes
- Cook Time: 10 minutes
- Total Time: 40 minutes
- Servings: 12 cookies
- Difficulty: Easy
Nutrition Information (Per Serving)
- Calories: 215 kcal
- Protein: 2 g
- Carbs: 33 g
- Fat: 9 g
Why You’ll Love This Melted Snowman Cookies
These Melted Snowman Cookies are the ultimate holiday treat because they combine a classic, buttery sugar cookie base with a playful, creative topping. They are incredibly easy to decorate, making them a fantastic project for children who want to help in the kitchen. Since the design is supposed to look like a snowman melting in the winter sun, there is no pressure to make the icing look neat or uniform. Plus, the combination of a soft cookie, fluffy marshmallow, and sweet icing is a crowd pleaser for all ages.
Melted Snowman Cookies Ingredients & Substitutions
- 1/2 cup butter, softened
- 3/4 cup granulated sugar
- 1 large egg, room temperature
- 1 teaspoon alcohol-free vanilla extract
- 1.5 cups all-purpose flour
- 1/2 teaspoon baking powder
- 1/4 teaspoon salt
- 12 large marshmallows
- 1 cup white chocolate chips or white cookie icing
- 1 tube orange decorating gel
- 1 tube black decorating gel
If you prefer a different base, you can use a gluten free flour blend in a 1 to 1 ratio or substitute the butter with a light tasting vegetable oil. For the decoration, royal icing can replace the melted white chocolate if you want a flatter, more matte look. If you do not have decorating gels, you can mix a small amount of powdered sugar with water and food coloring to create your own piping icing for the faces and buttons.
Step-by-Step Instructions to Make Melted Snowman Cookies
Step 1: Prepare the Cookie Dough
In a large mixing bowl, cream together the softened butter and granulated sugar until the mixture is light and fluffy. Add the egg and the alcohol-free vanilla extract, beating until well combined. In a separate bowl, whisk together the flour, baking powder, and salt, then gradually add the dry ingredients to the wet ingredients until a soft dough forms.
Step 2: Bake the Cookies
Preheat your oven to 350 degrees Fahrenheit and line a baking sheet with parchment paper. Roll the dough into 12 even balls and place them on the prepared sheet, flattening them slightly with the palm of your hand. Bake for 8 to 10 minutes, or until the edges are just barely golden, then remove them from the oven and let them cool completely on a wire rack.
Step 3: Create the Snowman Puddle
Melt your white chocolate chips in a microwave safe bowl in 20 second intervals, stirring until smooth. Spoon a dollop of the melted chocolate or white icing onto the center of each cooled cookie. Use the back of the spoon to spread the icing toward the edges in an irregular, wavy shape to mimic the look of a melting puddle of snow.
Step 4: Attach the Snowman Head
While the white icing is still wet, place one large marshmallow near the edge of the “puddle” on each cookie. Press it down gently so it stays in place. This serves as the head of your melting snowman. If the icing has already set, you can use a tiny dot of extra melted chocolate to act as glue.
Step 5: Decorate the Faces and Arms
Use the orange decorating gel to draw a small triangle on each marshmallow for a carrot nose. Use the black decorating gel to add dots for the eyes and a coal mouth on the marshmallow. Finally, draw two stick arms and three buttons on the “melted” body on top of the cookie base to finish the look.
Tips for Success
- Ensure your cookies are completely cool before adding the icing, otherwise the “puddle” will run right off the edges and the marshmallow might melt too much.
- If your marshmallows are too tall, you can cut them in half horizontally to make the snowman head a bit more proportionate to the cookie.
- Work with one cookie at a time when applying the marshmallow so the icing does not dry before the head is attached.
- Use a toothpick to help guide the decorating gel if you find the tubes difficult to control for small details like eyes.
Variations of Melted Snowman Cookies
- Peppermint Snowmen: Add a half teaspoon of peppermint extract to the dough and sprinkle crushed candy canes over the wet white icing for a minty Christmas twist.
- Chocolate Chip Base: Use a classic chocolate chip cookie recipe as the base instead of a plain sugar cookie for extra texture and flavor.
- Colorful Scarves: Use red or green fruit leather or sour candy strips to wrap around the base of the marshmallow to give your snowmen little winter scarves.
- Sparkly Snow: Sprinkle a bit of clear sanding sugar over the white icing while it is wet to give the melted snow a glistening, icy effect.
Serving Suggestions: What to Pair with Melted Snowman Cookies
These festive treats are best served alongside a steaming mug of hot cocoa topped with whipped cream. They also look wonderful as part of a larger Christmas cookie platter featuring gingerbread men and peppermint bark. If you are hosting a holiday party, consider serving them with a cold glass of milk or a spicy apple cider to balance the sweetness of the icing and marshmallows.
Storage & Reheating Instructions
Store these cookies in a single layer in an airtight container at room temperature for up to three days. It is not recommended to stack them, as the decorations and marshmallows can become squashed or sticky. If you must stack them, place a sheet of parchment paper between the layers very carefully. These cookies do not require reheating, as the icing and marshmallows are best enjoyed at room temperature.
Memories Made Around the Table
I remember making these for the first time with my cousins during a particularly snowy December. We spent the whole afternoon competing to see who could make the most “dramatic” melting snowman, and the kitchen was covered in white icing and orange gel. Even though some of our snowmen looked more like blobs than winter creatures, the laughter we shared was the best part of the day. Now, every time I smell sugar cookies in the oven, I think of those messy, happy holiday afternoons.
FAQs
Can I make the cookies in advance?
Yes, you can bake the sugar cookies up to two days in advance and store them in an airtight container. However, I recommend waiting to do the decorating until the day you plan to serve them so the marshmallows stay fresh and the icing looks its best.
What if I cannot find decorating gel?
You can easily make your own by mixing a little bit of powdered sugar with a few drops of water and food coloring. Place the mixture in a small plastic bag and snip off a tiny corner to create a DIY piping bag for the snowman faces.
Do I have to use white chocolate for the puddle?
Not at all. You can use a simple glaze made of powdered sugar and milk, or even a thick royal icing. The goal is just to have a white, opaque liquid look that will firm up enough to hold the marshmallow in place.
Can I freeze these cookies?
You can freeze the undecorated baked cookies for up to a month. I do not recommend freezing the decorated cookies, as the marshmallows can become tough and the icing may crack or bleed when thawing.
How do I stop the marshmallows from falling over?
If your marshmallows are sliding, wait about thirty seconds after spreading the icing so it begins to thicken slightly. You can also lightly dampen the bottom of the marshmallow with a tiny bit of water or extra icing to help it “grab” the surface of the cookie.
Final Thoughts
Melted Snowman Cookies are a joyful addition to any holiday celebration. They bring a sense of humor and creativity to the dessert table that is often missing from more traditional bakes. Whether you are an expert baker or just looking for a fun weekend activity with the kids, these cookies are sure to bring a smile to everyone’s face this Christmas. Enjoy the process of decorating and the delicious results.

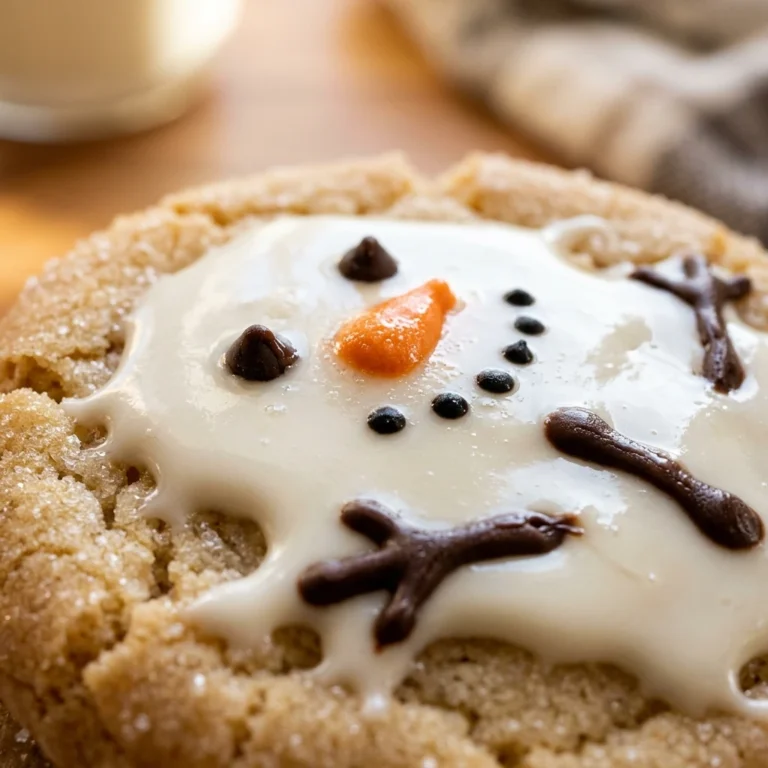
Melted Snowman Cookies
- Total Time: 40 minutes
Ingredients
- 1/2 cup butter, softened
- 3/4 cup granulated sugar
- 1 large egg, room temperature
- 1 teaspoon alcohol-free vanilla extract
- 1.5 cups all-purpose flour
- 1/2 teaspoon baking powder
- 1/4 teaspoon salt
- 12 large marshmallows
- 1 cup white chocolate chips or white cookie icing
- 1 tube orange decorating gel
- 1 tube black decorating gel
Instructions
- Step 1: Prepare the Cookie Dough In a large mixing bowl, cream together the softened butter and granulated sugar until the mixture is light and fluffy. Add the egg and the alcohol-free vanilla extract, beating until well combined. In a separate bowl, whisk together the flour, baking powder, and salt, then gradually add the dry ingredients to the wet ingredients until a soft dough forms.
- Step 2: Bake the Cookies Preheat your oven to 350 degrees Fahrenheit and line a baking sheet with parchment paper. Roll the dough into 12 even balls and place them on the prepared sheet, flattening them slightly with the palm of your hand. Bake for 8 to 10 minutes, or until the edges are just barely golden, then remove them from the oven and let them cool completely on a wire rack.
- Step 3: Create the Snowman Puddle Melt your white chocolate chips in a microwave safe bowl in 20 second intervals, stirring until smooth. Spoon a dollop of the melted chocolate or white icing onto the center of each cooled cookie. Use the back of the spoon to spread the icing toward the edges in an irregular, wavy shape to mimic the look of a melting puddle of snow.
- Step 4: Attach the Snowman Head While the white icing is still wet, place one large marshmallow near the edge of the “puddle” on each cookie. Press it down gently so it stays in place. This serves as the head of your melting snowman. If the icing has already set, you can use a tiny dot of extra melted chocolate to act as glue.
- Step 5: Decorate the Faces and Arms Use the orange decorating gel to draw a small triangle on each marshmallow for a carrot nose. Use the black decorating gel to add dots for the eyes and a coal mouth on the marshmallow. Finally, draw two stick arms and three buttons on the “melted” body on top of the cookie base to finish the look.
- Cook Time: 40 minutes
- Diet: Vegetarian