
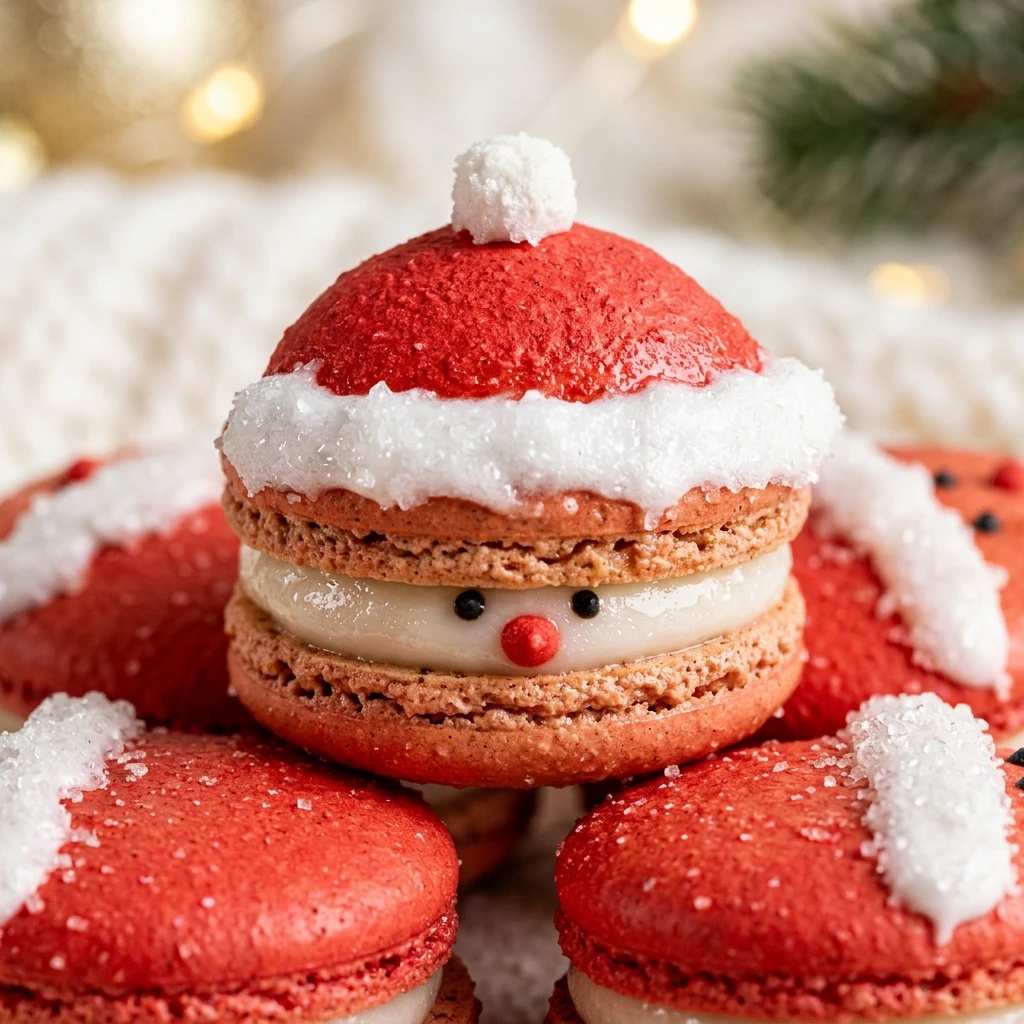
I always look forward to the holiday season when my kitchen transforms into a festive workshop filled with the scent of sugar and spice. These Santa Claus Macarons are my favorite way to bring a bit of North Pole magic to the dessert table, and they never fail to make my guests smile. I love how the bright red hats and fluffy white beards turn a classic French pastry into a whimsical Christmas treat that captures the spirit of the season.
Recipe Details
Recipe Information
- Prep Time: 1 hour
- Cook Time: 15 minutes
- Total Time: 1 hour 15 minutes
- Servings: 20 macarons
- Difficulty: Hard
Nutrition Information (Per Serving)
- Calories: 95
- Protein: 2g
- Carbs: 12g
- Fat: 5g
Why You’ll Love This Santa Claus Macarons
There is something truly special about serving a dessert that looks just as good as it tastes. These Santa Claus Macarons combine the sophisticated, chewy texture of a traditional macaron with a playful holiday design that delights children and adults alike. They are the perfect centerpiece for a Christmas cookie exchange, offering a pop of bright red color and a sweet, creamy white chocolate filling. While macarons have a reputation for being tricky, the joy of seeing Santa’s little face come together makes every bit of effort worth it.
Santa Claus Macarons Ingredients & Substitutions
- 140 grams Super fine almond flour
- 130 grams Powdered sugar
- 100 grams Egg whites, room temperature
- 90 grams Granulated sugar
- 1/2 teaspoon Cream of tartar
- 1 teaspoon Alcohol-free vanilla extract
- Red gel food coloring
- 100 grams White chocolate chips
- 50 milliliters Heavy cream
- 1 Black edible ink marker
- Small white nonpareils or sprinkles
If you cannot find almond flour, finely ground cashew flour works as a great alternative for the shells. For the filling, you can use a dairy-free cream and plant-based white chocolate if you prefer to avoid traditional dairy. If you do not have a black edible marker, a tiny bit of melted dark chocolate applied with a toothpick works perfectly for the eyes, and a drop of pink food coloring can create rosy cheeks.
Step-by-Step Instructions to Make Santa Claus Macarons
Step 1: Sift the Dry Ingredients
Start by sifting your almond flour and powdered sugar together into a large bowl. It is important to do this twice to ensure there are no large clumps, which helps create that signature smooth macaron top. Discard any large pieces of almond that do not pass through the sieve.
Step 2: Whisk the Meringue
In a clean glass or metal bowl, beat the egg whites and cream of tartar on medium speed until they become frothy. Gradually add the granulated sugar one tablespoon at a time, increasing the speed to high. Continue whisking until you achieve stiff, glossy peaks. Towards the end of the process, add the alcohol-free vanilla extract and enough red gel food coloring to reach a vibrant Santa hat red.
Step 3: Fold the Batter
Carefully fold the dry ingredients into the meringue using a silicone spatula. Use a circular motion and cut through the center, a process known as macaronage. Continue folding until the batter reaches a lava-like consistency, where it flows slowly off the spatula in a continuous ribbon. If you want a white beard, you may want to separate a small portion of the batter before adding the red dye to the main batch.
Step 4: Pipe the Santa Shapes
Transfer the red batter to a piping bag fitted with a round tip. On a baking sheet lined with parchment paper, pipe circles for the main face and hat area. If you kept some batter white, pipe a small white border for the fur of the hat and a round circle for the pom-pom. Tap the tray firmly against the counter several times to release trapped air bubbles. Use a toothpick to pop any remaining bubbles on the surface.
Step 5: Rest and Bake the Shells
Let the piped macarons sit at room temperature for about 30 to 45 minutes. This allows a skin to form on the top, which is essential for developing the macaron feet. Once they are dry to the touch, bake in a preheated oven at 300 degrees Fahrenheit for 14 to 16 minutes. Allow them to cool completely on the tray before attempting to remove them.
Step 6: Assemble and Decorate
To make the filling, heat the heavy cream until it just begins to simmer, then pour it over the white chocolate chips. Let it sit for two minutes and stir until smooth. Once the ganache has cooled and thickened, pipe it onto the flat side of one shell and sandwich it with another. Use your edible ink pen to draw eyes on the shells, and add white nonpareils or extra white ganache to create the fluffy texture of Santa’s beard and hat trim.
Tips for Success
Consistency is key when making these treats. Always weigh your ingredients using a digital kitchen scale rather than using cups, as macarons require precision. Make sure your mixing bowl is completely free of grease or oil, as even a tiny amount can prevent the egg whites from whipping properly. If the weather is particularly humid, you may need to let your macarons rest longer before baking to ensure the skin forms correctly. Finally, be patient with the cooling process, as moving them too early can cause the shells to stick or break.
Variations of Santa Claus Macarons
You can easily customize the flavor profile of these holiday treats by adding different extracts to the ganache. A peppermint-infused white chocolate filling adds a refreshing winter touch, while a pinch of cinnamon or nutmeg in the shells can create a gingerbread-inspired experience. For a different look, you could use green food coloring to create “Elf Macarons” or use the same technique to make round reindeer with pretzel antlers.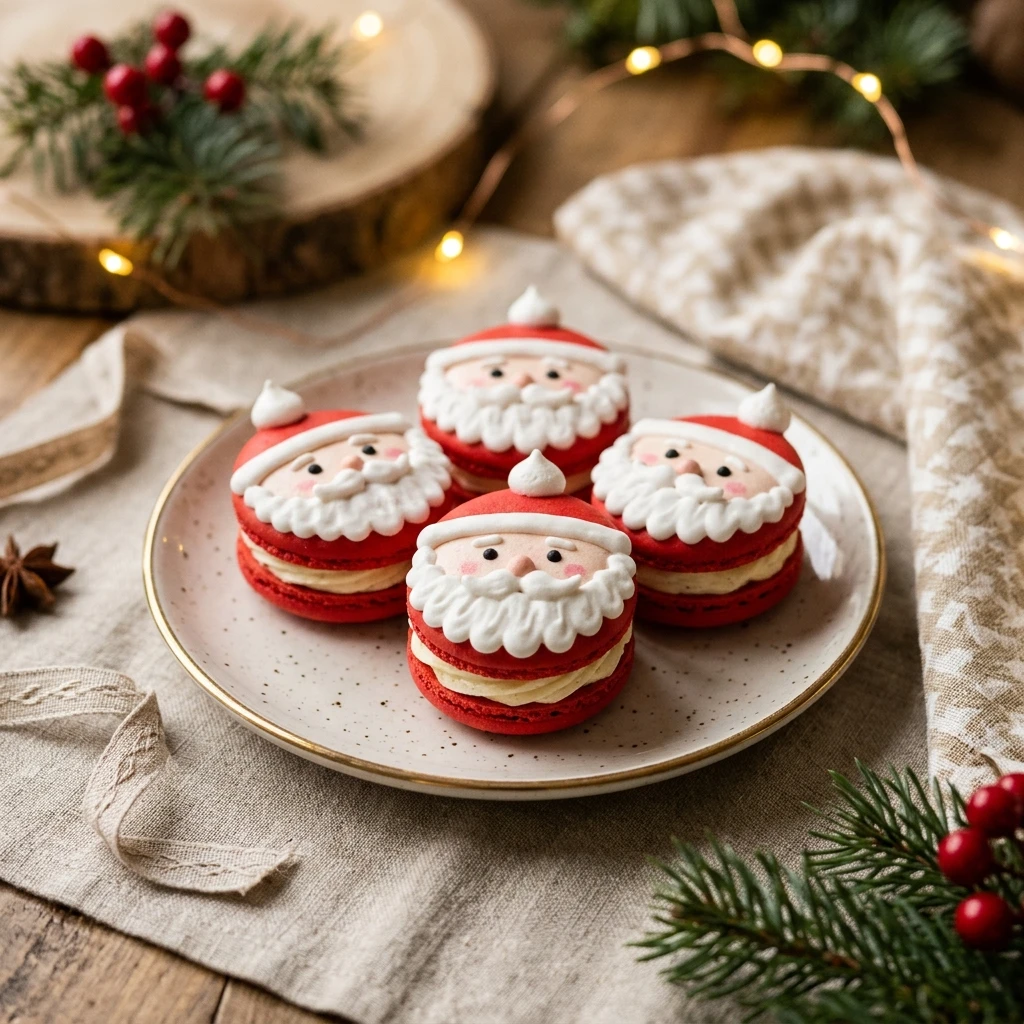
Serving Suggestions: What to Pair with Santa Claus Macarons
These festive macarons look stunning when served on a silver platter or a rustic wooden board. They pair beautifully with a steaming mug of hot cocoa topped with marshmallows or a glass of cold milk, making them a great treat to leave out for Santa himself. For a grown-up holiday gathering, serve them alongside a hot apple cider or a spiced herbal tea to balance the sweetness of the almond shells.
Storage & Reheating Instructions
Macarons actually taste better after they have spent a night in the refrigerator, as this allows the shells to mature and soften slightly from the filling. Store them in an airtight container in the fridge for up to five days. If you want to keep them longer, they can be frozen for up to two months. Simply place the container in the freezer and thaw them in the refrigerator for a few hours before serving. Macarons should always be enjoyed at room temperature, so take them out of the fridge about 20 minutes before eating.
Memories Made Around the Table
I remember the first time I tried making these with my younger siblings on a snowy December afternoon. Our kitchen was a disaster zone of powdered sugar and red food dye, but the laughter we shared was worth the mess. We spent hours carefully drawing tiny eyes and wonky beards on each macaron, debating which one looked most like the “real” Santa. Now, every time I pull a tray of these out of the oven, I am reminded of that cozy day and the simple joy of creating something beautiful with the people I love most.
FAQs
Can I use liquid food coloring instead of gel?
It is highly recommended to use gel or powder food coloring. Liquid coloring adds too much moisture to the delicate egg white mixture, which can ruin the consistency of the batter and prevent the macarons from rising or forming feet correctly.
Why are my macarons hollow inside?
Hollow shells are often caused by over-whipping the meringue or baking at a temperature that is too high. Try to stop whisking as soon as you hit stiff peaks and use an oven thermometer to ensure your oven is at the exact temperature required.
What if I do not have a piping bag?
In a pinch, you can use a sturdy plastic freezer bag. Simply fill the bag with batter and snip off a small corner to create a makeshift piping tip. However, a proper piping bag and round tip will give you much better control for the specific Santa shapes.
Do I have to use cream of tartar?
While you can make macarons without it, cream of tartar acts as a stabilizer for the egg whites. It helps the meringue hold its shape and prevents it from collapsing, which is especially helpful if you are new to making French pastries.
How do I know when the macarons are done baking?
The macarons are done when the shells are firm and do not wiggle on their “feet” when you gently touch them. If the top of the shell slides around when touched, they need another minute or two in the oven.
Final Thoughts
Santa Claus Macarons are more than just a dessert, they are a labor of love that brings a touch of whimsy to the holiday season. While they require a bit of patience and practice, the end result is a truly impressive treat that will be the highlight of your Christmas celebrations. Whether you are gifting them to neighbors or enjoying them by the fireplace, these sweet little Santas are sure to make your holiday a little brighter and much more delicious.
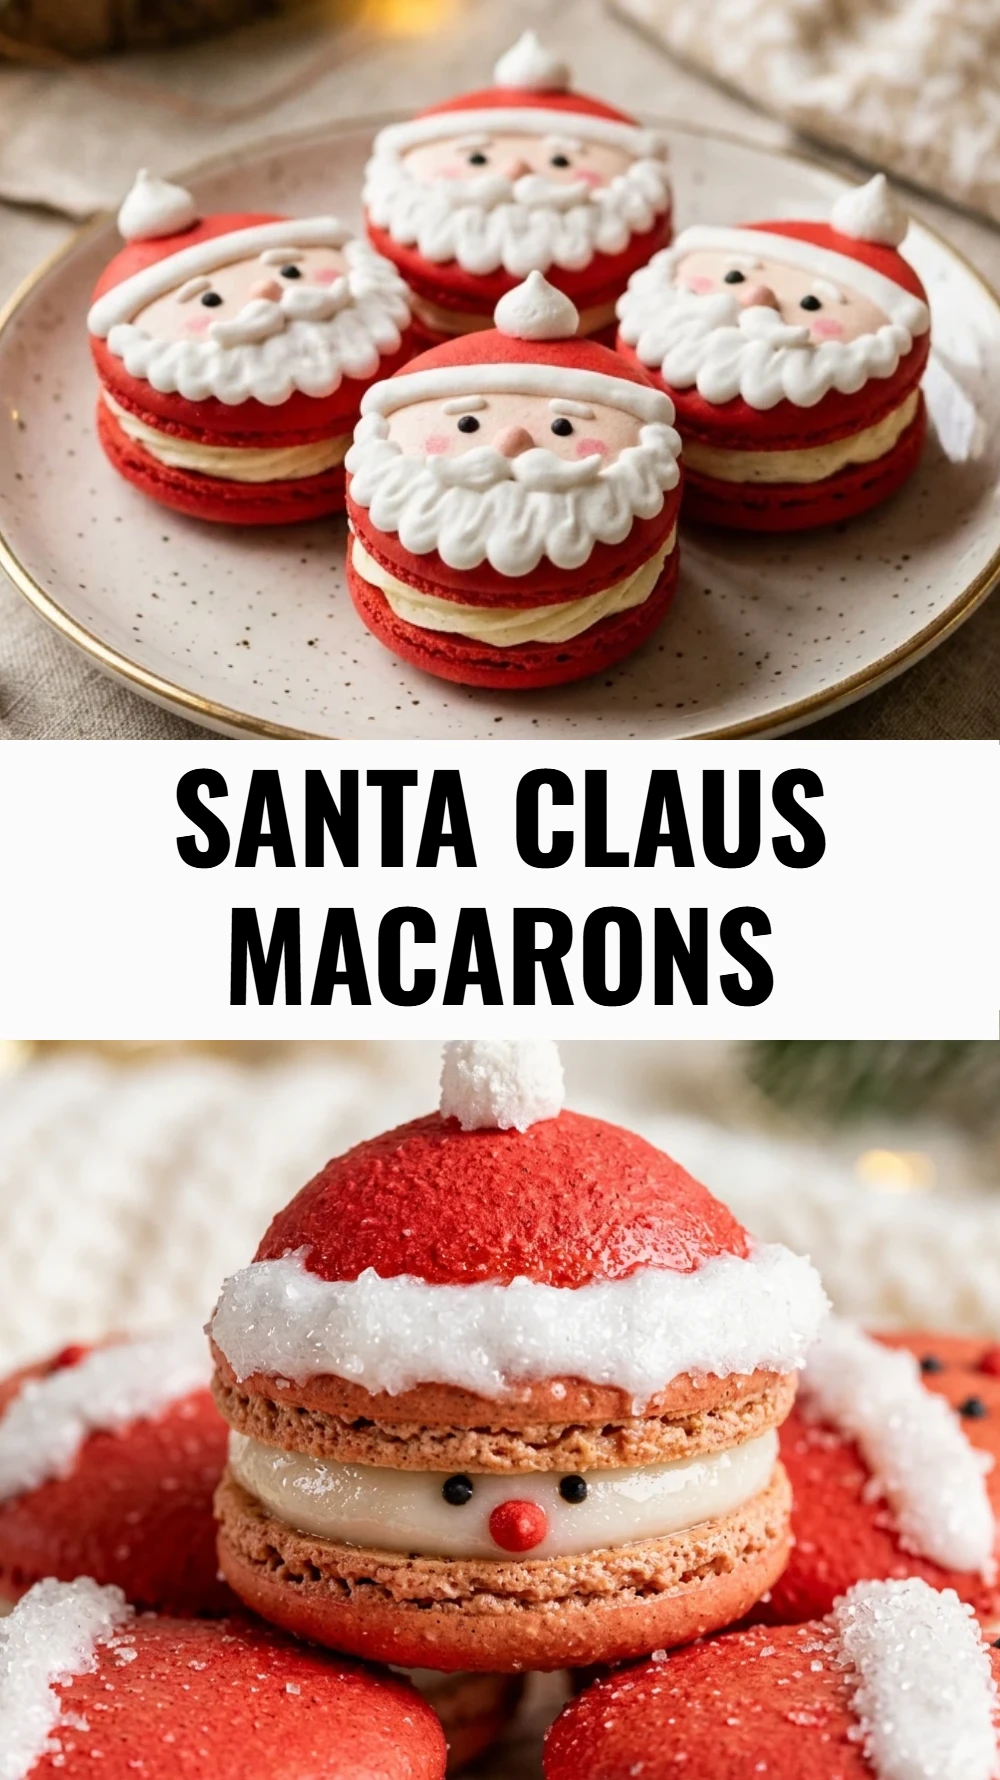
Santa Claus Macarons
- Total Time: 1 hour 15 minutes
Ingredients
- 140 grams Super fine almond flour
- 130 grams Powdered sugar
- 100 grams Egg whites, room temperature
- 90 grams Granulated sugar
- 1/2 teaspoon Cream of tartar
- 1 teaspoon Alcohol-free vanilla extract
- Red gel food coloring
- 100 grams White chocolate chips
- 50 milliliters Heavy cream
- 1 Black edible ink marker
- Small white nonpareils or sprinkles
Instructions
- Start by sifting your almond flour and powdered sugar together into a large bowl. It is important to do this twice to ensure there are no large clumps, which helps create that signature smooth macaron top. Discard any large pieces of almond that do not pass through the sieve.
- In a clean glass or metal bowl, beat the egg whites and cream of tartar on medium speed until they become frothy. Gradually add the granulated sugar one tablespoon at a time, increasing the speed to high. Continue whisking until you achieve stiff, glossy peaks. Towards the end of the process, add the alcohol-free vanilla extract and enough red gel food coloring to reach a vibrant Santa hat red.
- Carefully fold the dry ingredients into the meringue using a silicone spatula. Use a circular motion and cut through the center, a process known as macaronage. Continue folding until the batter reaches a lava-like consistency, where it flows slowly off the spatula in a continuous ribbon. If you want a white beard, you may want to separate a small portion of the batter before adding the red dye to the main batch.
- Transfer the red batter to a piping bag fitted with a round tip. On a baking sheet lined with parchment paper, pipe circles for the main face and hat area. If you kept some batter white, pipe a small white border for the fur of the hat and a round circle for the pom-pom. Tap the tray firmly against the counter several times to release trapped air bubbles. Use a toothpick to pop any remaining bubbles on the surface.
- Let the piped macarons sit at room temperature for about 30 to 45 minutes. This allows a skin to form on the top, which is essential for developing the macaron feet. Once they are dry to the touch, bake in a preheated oven at 300 degrees Fahrenheit for 14 to 16 minutes. Allow them to cool completely on the tray before attempting to remove them.
- To make the filling, heat the heavy cream until it just begins to simmer, then pour it over the white chocolate chips. Let it sit for two minutes and stir until smooth. Once the ganache has cooled and thickened, pipe it onto the flat side of one shell and sandwich it with another. Use your edible ink pen to draw eyes on the shells, and add white nonpareils or extra white ganache to create the fluffy texture of Santa’s beard and hat trim.
- Cook Time: 1 hour 15 minutes
- Diet: Vegetarian, Gluten-Free