
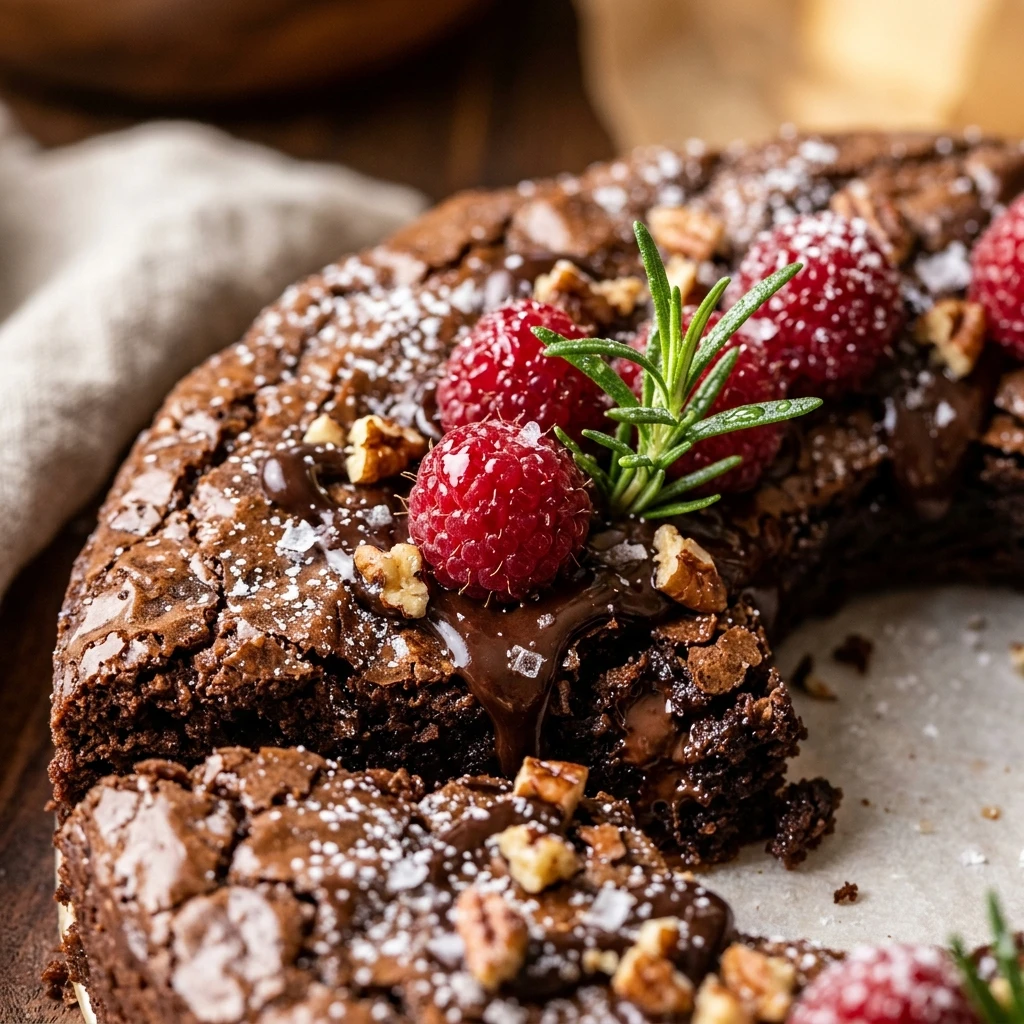
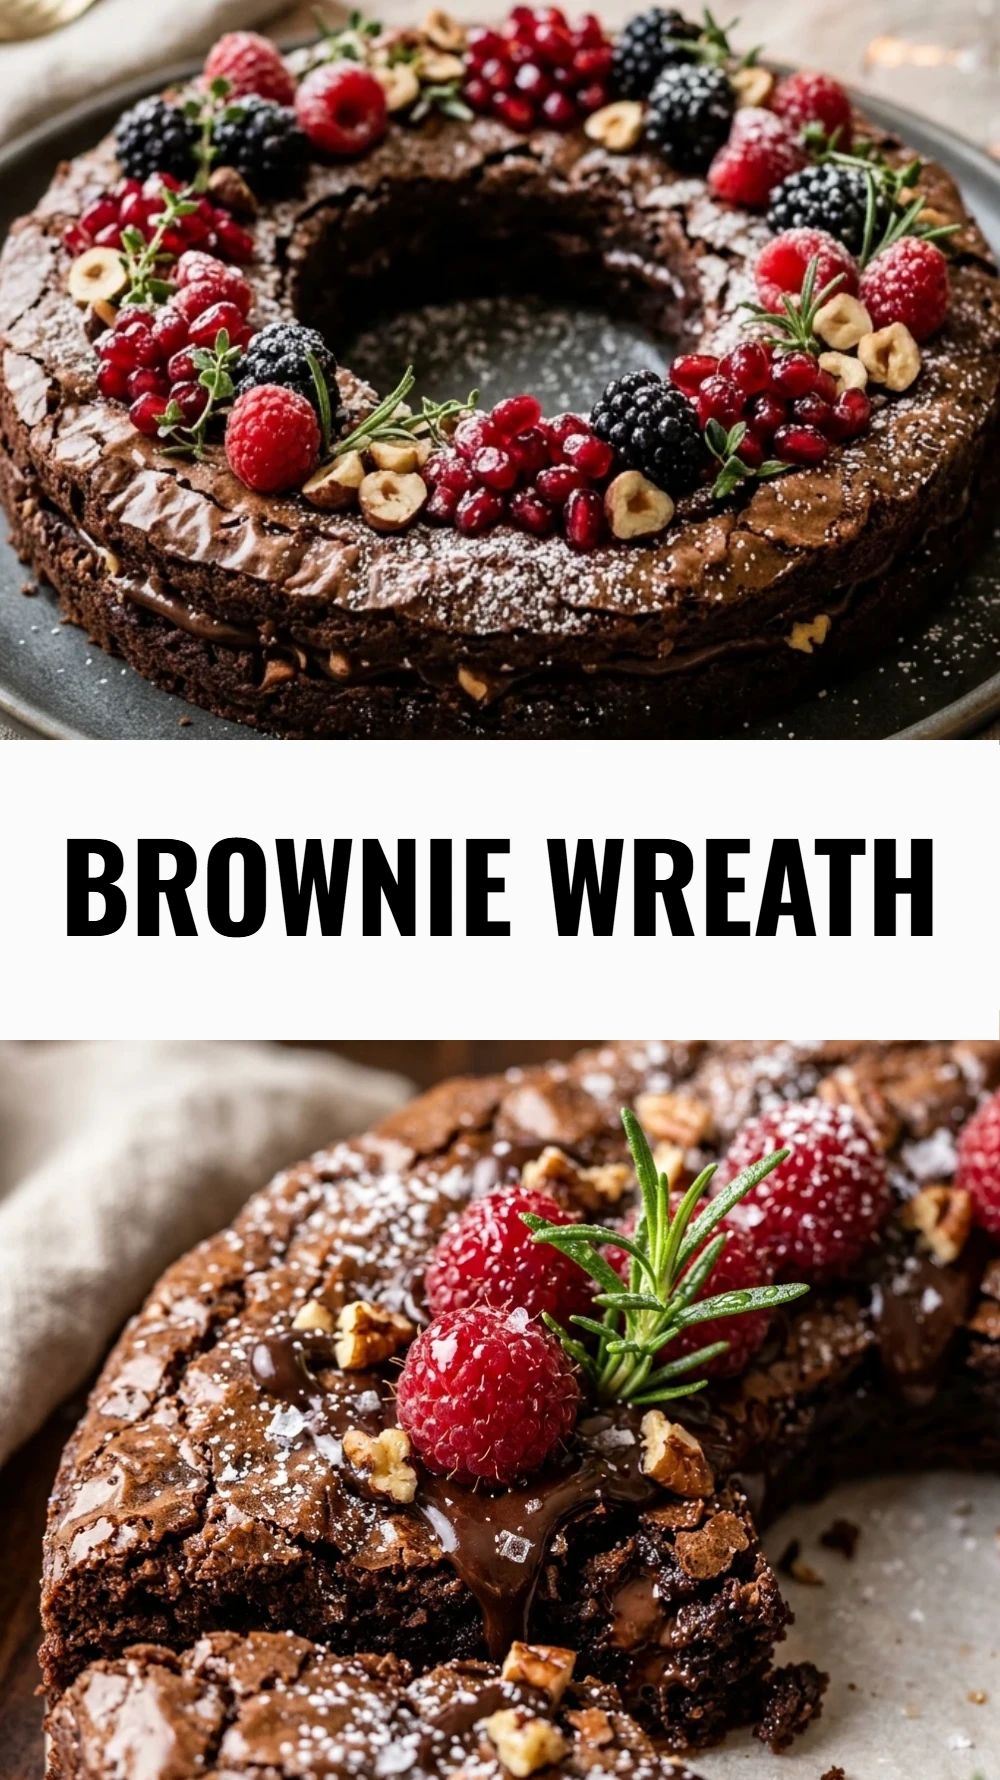
Every year when the first frost hits the window, I start thinking about how to make our holiday dessert table look a little more magical. This Brownie Wreath is my absolute favorite way to bring festive cheer to the kitchen without spending hours on complicated decorating techniques. It combines the deep, fudgy goodness of a classic brownie with a beautiful holiday shape that everyone loves to gather around during Christmas celebrations.
Recipe Details
Recipe Information
- Prep Time: 20 minutes
- Cook Time: 30 minutes
- Total Time: 50 minutes
- Servings: 12 servings
- Difficulty: Easy
Nutrition Information (Per Serving)
- Calories: 285 kcal
- Protein: 4g
- Carbs: 38g
- Fat: 14g
Why You’ll Love This Brownie Wreath
This dessert is the perfect centerpiece for your Christmas party because it looks professional but is surprisingly simple to assemble. You get all the rich, decadent flavor of a homemade brownie with a festive twist that delights both kids and adults. Plus, the wreath shape makes it incredibly easy to slice and serve, ensuring everyone gets a perfect piece of the chocolatey goodness.
Brownie Wreath Ingredients & Substitutions
- 1 cup unsalted butter, melted
- 2 cups granulated sugar
- 4 large eggs
- 1 tablespoon alcohol-free vanilla extract
- 1 cup all-purpose flour
- 3/4 cup unsweetened cocoa powder
- 1/2 teaspoon salt
- 1 cup semi-sweet chocolate chips
- 1 cup green buttercream frosting
- 1/2 cup red chocolate candies or raspberries
- Optional: Powdered sugar for dusting
If you prefer a different texture, you can substitute the all-purpose flour with a gluten-free blend or use coconut oil instead of butter for a slightly different flavor profile. For the topping, if you do not have green frosting, you can use white frosting mixed with a drop of green food coloring or even use fresh mint leaves for a natural botanical look. If red chocolate candies are unavailable, dried cranberries or pomegranate seeds provide a beautiful and tart alternative for the wreath berries.
Step-by-Step Instructions to Make Brownie Wreath
Step 1: Preparation
Preheat your oven to 350 degrees Fahrenheit. Grease a 9 or 10 inch round springform pan or cake pan thoroughly with butter or oil to ensure the brownie releases easily after baking. You can also line the bottom with parchment paper for extra security.
Step 2: Mix the Wet Ingredients
In a large mixing bowl, whisk together the melted butter and granulated sugar until well combined. Add the eggs one at a time, beating well after each addition. Stir in the alcohol-free vanilla extract until the mixture is smooth and glossy.
Step 3: Combine the Dry Ingredients
Sift the flour, cocoa powder, and salt into a separate bowl. Gradually fold the dry ingredients into the wet mixture using a spatula. Be careful not to overmix, as this can make the brownie tough. Fold in the chocolate chips until they are evenly distributed.
Step 4: Bake the Brownie
Pour the batter into your prepared round pan and spread it evenly with a spatula. Bake for 25 to 30 minutes, or until a toothpick inserted into the center comes out with just a few moist crumbs. Do not overbake, as you want the center to remain fudgy.
Step 5: Create the Wreath Shape
Allow the brownie to cool completely in the pan. Once cool, use a small round biscuit cutter or a glass to cut out a circle from the very center of the brownie. Carefully remove the center piece, leaving you with a perfect brownie ring.
Step 6: Decorate with Festive Flair
Fit a piping bag with a leaf tip or a small star tip and fill it with green buttercream frosting. Pipe small leaves or stars all around the top of the brownie ring to mimic evergreen branches. Place red chocolate candies in small clusters of three to represent holly berries. Finish with a light dusting of powdered sugar to look like fallen snow.
Tips for Success
Wait until the brownie is completely cold before attempting to cut out the center or apply the frosting. If the brownie is still warm, the frosting will melt and the edges might crumble. For the cleanest cut, use a sharp knife or a metal cutter dipped in hot water. If you want a taller wreath, you can double the recipe and bake it in two separate pans, stacking them with a layer of frosting in between.
Variations of Brownie Wreath
You can easily customize this recipe to suit your preferences. Try adding a teaspoon of peppermint extract to the batter for a classic Christmas flavor combination. For added texture, fold in half a cup of chopped walnuts or pecans. If you want a more elegant look, skip the green frosting and drizzle the top with melted white chocolate in a zig-zag pattern, then top with silver sprinkles and fresh rosemary sprigs.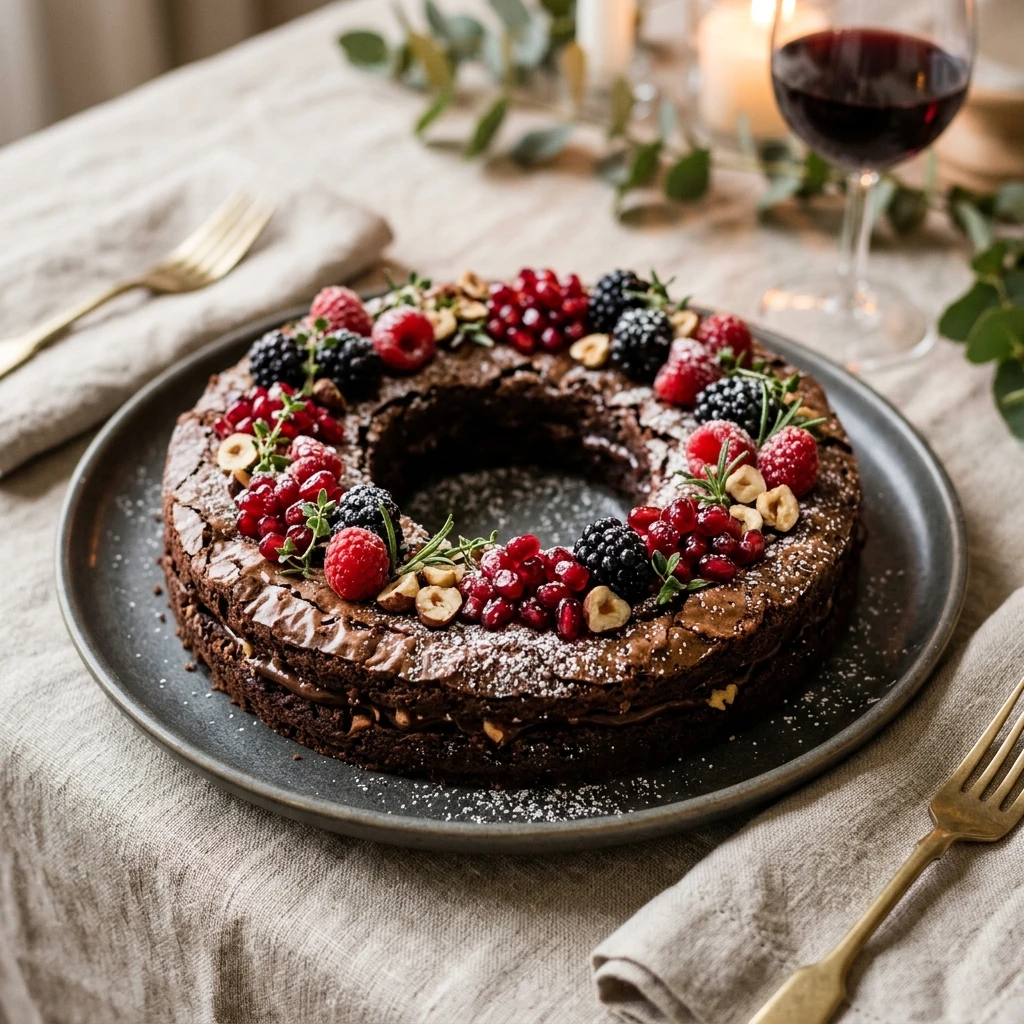
Serving Suggestions: What to Pair with Brownie Wreath
This rich dessert pairs beautifully with a cold glass of milk or a warm cup of cocoa. For a more sophisticated presentation at a Christmas dinner, serve each slice with a dollop of whipped cream or a scoop of peppermint ice cream. The deep chocolate flavor also goes wonderfully with fresh berries or a drizzle of raspberry sauce on the plate.
Storage & Reheating Instructions
Store any leftovers in an airtight container at room temperature for up to three days. If your kitchen is particularly warm, it is better to keep the wreath in the refrigerator to prevent the frosting from softening too much. You can freeze the undecorated brownie ring for up to a month. When ready to serve, thaw it at room temperature before adding the frosting and decorations.
Memories Made Around the Table
I remember one Christmas Eve when we decided to skip the traditional cookies and make this Brownie Wreath instead. The kids were so excited to pipe the green leaves and they took great care in placing every single red candy berry. We sat by the fireplace with our slices, laughing about the messy green fingers and enjoying the rich chocolate, and now it has become a permanent tradition in our home.
FAQs
Can I use a boxed brownie mix for this recipe?
Yes, you can definitely use a high quality boxed mix if you are short on time. Just follow the package directions for a 9 inch round pan and ensure you let it cool completely before cutting the center hole and decorating.
How do I get the center hole perfectly centered?
The best way is to use a ruler to find the midpoint of the brownie. Place your cutter directly over that point before pressing down. If you do not have a cutter, you can trace a small bowl with a knife, but a metal cutter usually provides the cleanest edge.
What should I do with the brownie circle I cut out?
Don’t let it go to waste! The center piece is a perfect snack for the baker, or you can crumble it up to use as a topping for ice cream or to make a few brownie truffles.
Can I make the frosting from scratch?
Absolutely. A simple buttercream made from butter, powdered sugar, a splash of milk, and green food coloring works best because it holds its shape well for the leaf decorations.
How do I prevent the brownie from sticking to the pan?
The most reliable method is to grease the pan with butter and then line the bottom with a circle of parchment paper. This allows you to lift the entire brownie out safely once it has cooled.
Final Thoughts
The Brownie Wreath is more than just a dessert, it is a festive activity that brings the spirit of Christmas into your kitchen. Its simple ingredients and impressive appearance make it a reliable choice for any holiday gathering. I hope this recipe adds a little extra sweetness and joy to your celebrations this year!
Brownie Wreath
- Total Time: 50 minutes
Ingredients
- 1 cup unsalted butter, melted
- 2 cups granulated sugar
- 4 large eggs
- 1 tablespoon alcohol-free vanilla extract
- 1 cup all-purpose flour
- 3/4 cup unsweetened cocoa powder
- 1/2 teaspoon salt
- 1 cup semi-sweet chocolate chips
- 1 cup green buttercream frosting
- 1/2 cup red chocolate candies or raspberries
- Optional: Powdered sugar for dusting
Instructions
- Preheat your oven to 350 degrees Fahrenheit. Grease a 9 or 10 inch round springform pan or cake pan thoroughly with butter or oil to ensure the brownie releases easily after baking. You can also line the bottom with parchment paper for extra security.
- In a large mixing bowl, whisk together the melted butter and granulated sugar until well combined. Add the eggs one at a time, beating well after each addition. Stir in the alcohol-free vanilla extract until the mixture is smooth and glossy.
- Sift the flour, cocoa powder, and salt into a separate bowl. Gradually fold the dry ingredients into the wet mixture using a spatula. Be careful not to overmix, as this can make the brownie tough. Fold in the chocolate chips until they are evenly distributed.
- Pour the batter into your prepared round pan and spread it evenly with a spatula. Bake for 25 to 30 minutes, or until a toothpick inserted into the center comes out with just a few moist crumbs. Do not overbake, as you want the center to remain fudgy.
- Allow the brownie to cool completely in the pan. Once cool, use a small round biscuit cutter or a glass to cut out a circle from the very center of the brownie. Carefully remove the center piece, leaving you with a perfect brownie ring.
- Fit a piping bag with a leaf tip or a small star tip and fill it with green buttercream frosting. Pipe small leaves or stars all around the top of the brownie ring to mimic evergreen branches. Place red chocolate candies in small clusters of three to represent holly berries. Finish with a light dusting of powdered sugar to look like fallen snow.
- Cook Time: 50 minutes
- Diet: Vegetarian