
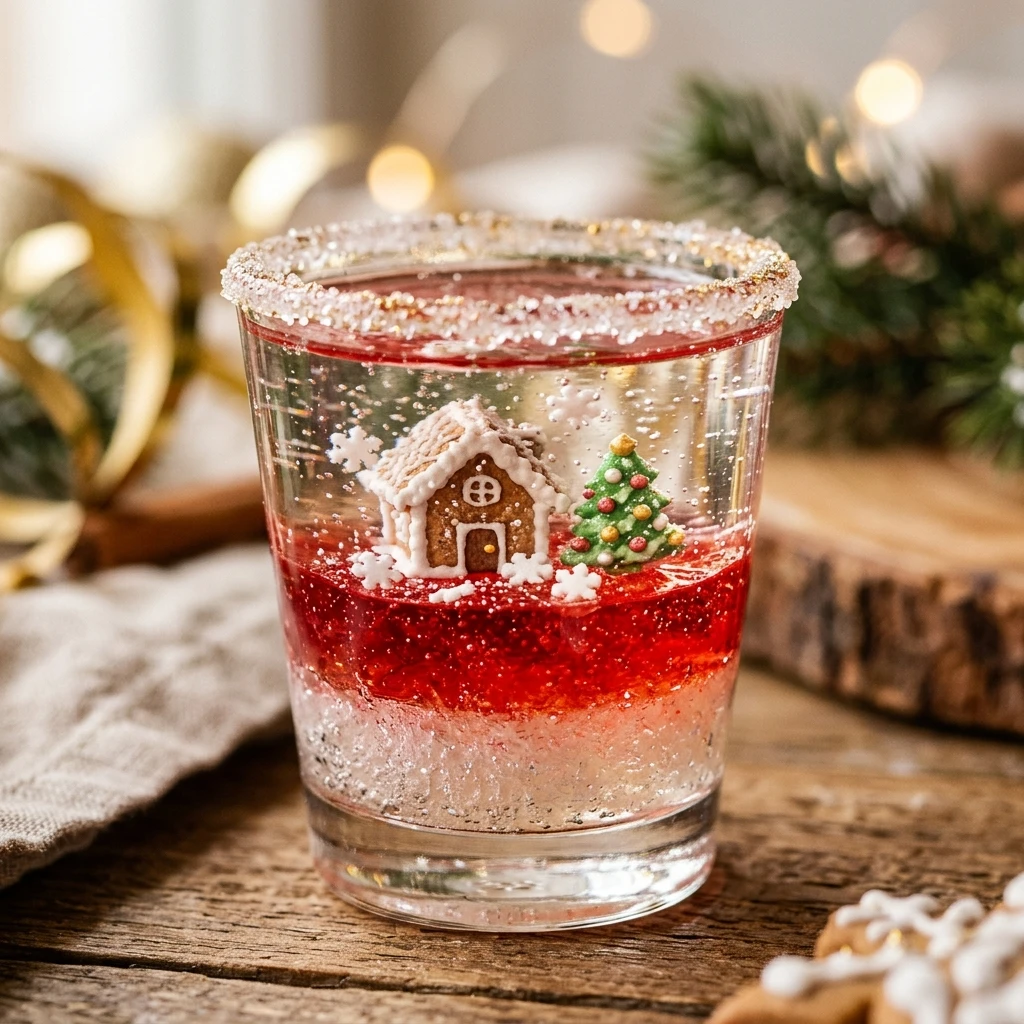
Every year when the first snowflake falls, I find myself looking for ways to bring that winter magic into my kitchen. These Snow Globe Jello Cups are the perfect festive treat to brighten up your holiday table and delight kids and adults alike. I love how they look like little captured winter wonderlands, making them a beautiful centerpiece and a delicious dessert all in one.
Recipe Details
Recipe Information
- Prep Time: 20 minutes
- Cook Time: 10 minutes
- Total Time: 30 minutes (plus 4 hours chilling time)
- Servings: 6 servings
- Difficulty: Easy
Nutrition Information (Per Serving)
- Calories: 165 calories
- Protein: 2 grams
- Carbs: 32 grams
- Fat: 4 grams
Why You’ll Love This Snow Globe Jello Cups
This dessert is a showstopper because it combines a whimsical appearance with a light and refreshing flavor. It is an ideal choice for Christmas parties because you can prepare the cups well in advance, leaving you more time to spend with your family. Children are always fascinated by the tiny edible scenes inside the cups, and the fluffy whipped cream topping perfectly mimics a fresh blanket of snow. Best of all, it uses simple ingredients that are easy to find during the busy holiday shopping season.
Snow Globe Jello Cups Ingredients & Substitutions
- 3 cups water
- 2 teaspoons agar-agar powder
- 1/2 cup granulated sugar
- 1 drop blue food coloring
- 1 teaspoon alcohol-free vanilla extract
- 1 cup heavy whipping cream
- 2 tablespoons powdered sugar
- 12 small edible sugar decorations, such as trees or snowflakes
- 1 tablespoon silver or white sprinkles
If you prefer a different base flavor, you can replace the water and sugar with a clear fruit juice like white grape or apple juice. For the decorations, ensure any plastic figurines used are food-grade and thoroughly cleaned, though edible sugar ornaments are the safest choice for younger children. You can also swap the whipped cream for a dairy-free whipped topping if you are looking for a lighter alternative that still maintains that snowy look.
Step-by-Step Instructions to Make Snow Globe Jello Cups
Step 1: Preparation of the Base
In a small saucepan, combine the water, agar-agar powder, and granulated sugar. Stir the mixture well to ensure the powder is fully incorporated before turning on the heat. Bring the liquid to a gentle boil over medium heat, stirring constantly for about two to three minutes to fully activate the setting agent. Once the liquid is clear and slightly thickened, remove it from the heat and stir in the alcohol-free vanilla extract and a single drop of blue food coloring to create a pale winter sky effect.
Step 2: Chilling the First Layer
Set out six clear plastic or glass cups on a tray. Pour the blue liquid into the cups until they are about one third full. Place the tray in the refrigerator for approximately 30 to 45 minutes, or until the surface is firm enough to support the weight of the decorations. You want the bottom layer to be solid so your winter scene does not sink to the bottom of the cup.
Step 3: Adding the Decorations
Once the first layer is set, carefully place your edible sugar trees, snowmen, or snowflakes on top of the blue surface. Use a pair of clean tweezers if you need precision in your placement. If you are using non-edible figurines, make sure they are standing upright. Gently pour the remaining blue liquid, which should still be room temperature and fluid, over the decorations until the cups are nearly full. If the remaining liquid has started to set in the pan, gently warm it on low heat for a few seconds until it is pourable again.
Step 4: Final Chilling
Return the cups to the refrigerator and let them chill for at least three to four hours. This ensures the entire globe is stable and the decorations are securely suspended in the blue sky. It is best to keep the cups on a flat surface to prevent any tilting while they set.
Step 5: Adding the Snow Topping
Just before serving, prepare the whipped cream topping. In a medium bowl, whisk the heavy whipping cream and powdered sugar together until stiff peaks form. Spoon or pipe a generous dollop of whipped cream onto the top of each cup to represent a snowy crust. Finish the look by dusting the cream with silver or white sprinkles for a sparkling, frosty finish.
Tips for Success
To achieve the best visual results, use clear plastic or glass cups that do not have any patterns or ridges on the sides. This allows the scene inside to be the star of the show. When adding the second layer of liquid, pour it very slowly over the back of a spoon to avoid dislodging your decorations or creating air bubbles. If air bubbles do appear on the surface, you can gently pop them with a toothpick before the mixture sets. Finally, always add the whipped cream snow right before you serve the dessert to keep it looking fresh and fluffy.
Variations of Snow Globe Jello Cups
You can easily customize these cups to match your Christmas theme. Instead of a blue sky, leave the liquid clear to look like a crystal ball, or use a light green tint for a forest-inspired scene. If you want to add more texture, drop a few blueberries or small pieces of white fruit into the mixture to look like floating snowballs. For a more sophisticated adult version, you can layer the cups with a bottom layer of white coconut milk set with agar-agar to represent a thick snow base before adding the blue sky on top.
Serving Suggestions: What to Pair with Snow Globe Jello Cups
These festive cups pair beautifully with other classic holiday treats. Serve them alongside a platter of warm gingerbread cookies or buttery shortbread stars to provide a nice crunch to go with the soft texture of the dessert. They also look wonderful on a dessert table next to a steaming pitcher of hot cocoa topped with marshmallows. For a balanced holiday spread, offer these light cups after a hearty meal of roasted vegetables and a savory main course.
Storage & Reheating Instructions
These dessert cups should be stored in the refrigerator until they are ready to be served. They will keep well for up to three days if covered with plastic wrap to prevent the surface from drying out. However, it is highly recommended to wait and add the whipped cream topping on the day of serving for the best texture. Do not freeze these cups, as the agar-agar base will change texture and become watery upon thawing. This dessert does not require reheating and is best enjoyed cold.
Memories Made Around the Table
I remember sitting by the window as a little girl, shaking my favorite glittery snow globe and wishing I could step inside that tiny world. Making these treats with my own family brings back that same sense of wonder and excitement. We often spend an afternoon together choosing which tiny sugar trees go in which cup, and it has become one of our favorite Christmas traditions. Seeing the kids’ eyes light up when they see the finished globes reminds me that the best part of the holidays is the simple joy we share together.
FAQs
Can I prepare these dessert cups a day before the party?
Yes, you can definitely prepare the agar-agar layers a day in advance. In fact, it is often better to let them set overnight to ensure they are completely firm. Just remember to wait until about thirty minutes before your guests arrive to add the whipped cream snow and sprinkles so the topping stays light and airy.
How do I prevent the decorative figurines from sinking?
The key is the two-step pouring process. By letting the first layer of the blue base set partially in the refrigerator, you create a solid floor for your decorations. This prevents the figures from sliding or sinking to the bottom of the cup when you add the rest of the liquid.
What is the best way to get a clear blue look?
To get a crystal clear look, make sure the agar-agar is fully dissolved and the liquid has come to a boil. Use only a tiny drop of blue food coloring. It is easier to add more color later than to fix a base that has become too dark. A light, translucent blue will make the decorations inside much easier to see.
Can I use real fruit inside the snow globes?
Absolutely. Small pieces of fruit like pear, banana, or white grapes can look like snow-covered rocks or snowballs. Just make sure the fruit pieces are dry before placing them on the first layer of agar-agar so they do not release extra moisture into the mixture.
Are these cups safe for transport to a holiday potluck?
These cups are quite sturdy once they are fully set. To transport them, keep them in a flat container or a cupcake carrier to prevent them from tipping. If possible, bring the whipped cream in a separate container and top the cups once you arrive at your destination to keep the snow looking perfect.
Final Thoughts
Snow Globe Jello Cups are more than just a sweet treat, they are a way to capture the spirit of the Christmas season in a single serving. With their beautiful layers and festive decorations, they are sure to become a requested favorite at your holiday gatherings. Whether you are making them for a school party or a family dinner, the effort you put into these little winter scenes will be appreciated by everyone who takes a bite. Enjoy the process of creating your own edible winter wonderland!

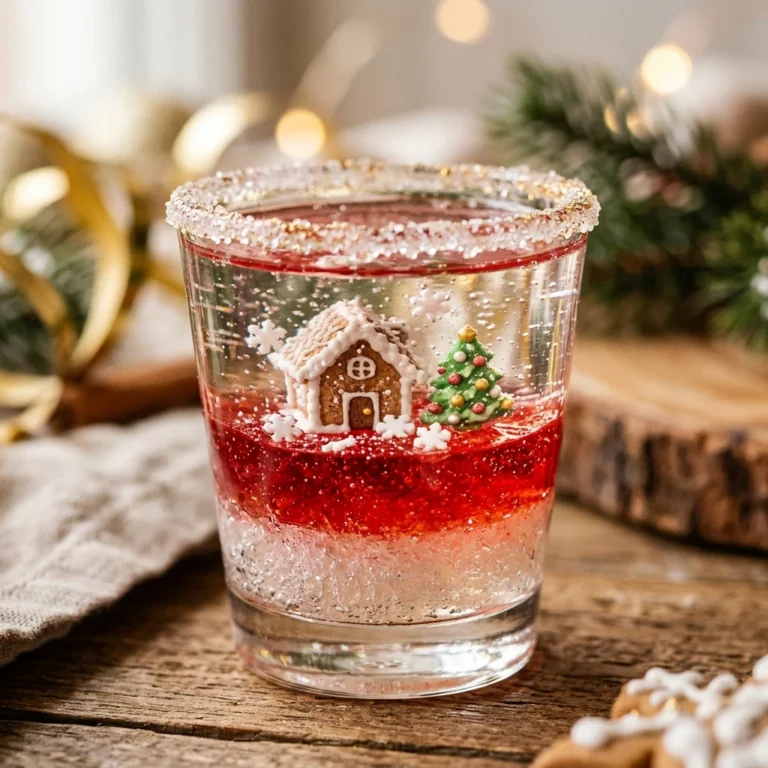
Snow Globe Jello Cups
- Total Time: 30 minutes
Ingredients
- 3 cups water
- 2 teaspoons agar-agar powder
- 1/2 cup granulated sugar
- 1 drop blue food coloring
- 1 teaspoon alcohol-free vanilla extract
- 1 cup heavy whipping cream
- 2 tablespoons powdered sugar
- 12 small edible sugar decorations, such as trees or snowflakes
- 1 tablespoon silver or white sprinkles
Instructions
- In a small saucepan, combine the water, agar-agar powder, and granulated sugar. Stir the mixture well to ensure the powder is fully incorporated before turning on the heat. Bring the liquid to a gentle boil over medium heat, stirring constantly for about two to three minutes to fully activate the setting agent. Once the liquid is clear and slightly thickened, remove it from the heat and stir in the alcohol-free vanilla extract and a single drop of blue food coloring to create a pale winter sky effect.
- Set out six clear plastic or glass cups on a tray. Pour the blue liquid into the cups until they are about one third full. Place the tray in the refrigerator for approximately 30 to 45 minutes, or until the surface is firm enough to support the weight of the decorations. You want the bottom layer to be solid so your winter scene does not sink to the bottom of the cup.
- Once the first layer is set, carefully place your edible sugar trees, snowmen, or snowflakes on top of the blue surface. Use a pair of clean tweezers if you need precision in your placement. If you are using non-edible figurines, make sure they are standing upright. Gently pour the remaining blue liquid, which should still be room temperature and fluid, over the decorations until the cups are nearly full. If the remaining liquid has started to set in the pan, gently warm it on low heat for a few seconds until it is pourable again.
- Return the cups to the refrigerator and let them chill for at least three to four hours. This ensures the entire globe is stable and the decorations are securely suspended in the blue sky. It is best to keep the cups on a flat surface to prevent any tilting while they set.
- Just before serving, prepare the whipped cream topping. In a medium bowl, whisk the heavy whipping cream and powdered sugar together until stiff peaks form. Spoon or pipe a generous dollop of whipped cream onto the top of each cup to represent a snowy crust. Finish the look by dusting the cream with silver or white sprinkles for a sparkling, frosty finish.
- Cook Time: 30 minutes (plus 4 hours chilling time)
- Diet: Vegetarian