
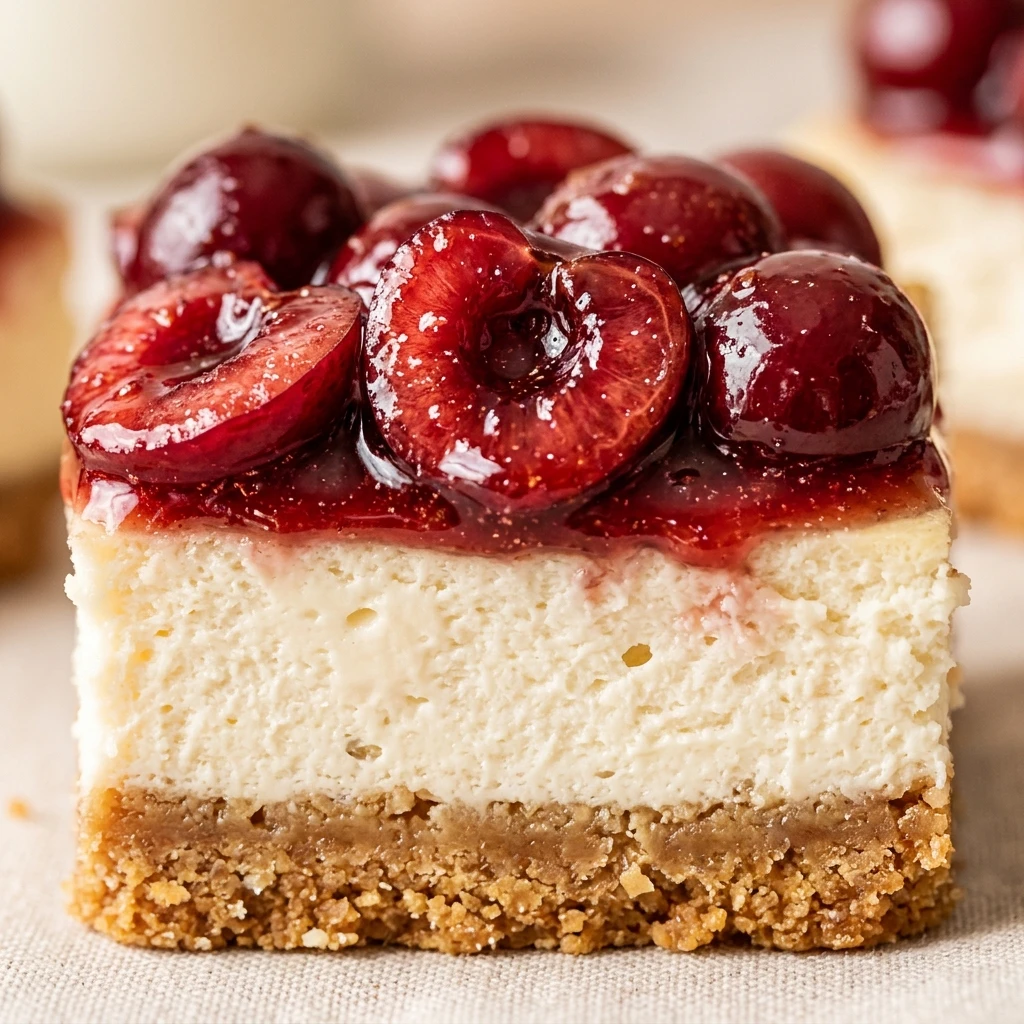
I always look forward to the holiday season when the house smells like warm butter and sweet fruit. These Cherry Cheesecake Bars have become a staple at my family’s Christmas Eve gathering because they look so festive with their bright red topping. I love how they offer all the creamy goodness of a traditional cheesecake but in a portable, easy to share format that is perfect for a busy holiday dessert table.
Recipe Details
Recipe Information
- Prep Time: 20 minutes
- Cook Time: 35 minutes
- Total Time: 55 minutes
- Servings: 16 bars
- Difficulty: Easy
Nutrition Information (Per Serving)
- Calories: 285
- Protein: 4g
- Carbs: 34g
- Fat: 15g
Why You’ll Love These Cherry Cheesecake Bars
These Cherry Cheesecake Bars are the ultimate Christmas dessert because they combine a rich, velvety texture with a vibrant holiday look. You will appreciate how much easier they are to prepare than a traditional round cheesecake, as there is no need for a complicated water bath. The contrast between the crunchy graham cracker crust and the sweet, slightly tart cherry topping makes every bite a celebration. They are also incredibly easy to slice and serve, making them a fantastic choice for holiday potlucks or cookie exchanges.
Cherry Cheesecake Bars Ingredients & Substitutions
- 1.5 cups graham cracker crumbs
- 1/3 cup granulated sugar (for crust)
- 1/2 cup butter, melted
- 16 ounces cream cheese, softened to room temperature
- 1/2 cup granulated sugar (for filling)
- 2 large eggs
- 1 teaspoon alcohol-free vanilla extract
- 1/2 cup sour cream
- 21 ounces cherry pie filling
For a different base, you can use crushed ginger snap cookies to add a spicy holiday kick to your crust. If you want a lighter version, Neufchatel cheese can replace standard cream cheese, and plain Greek yogurt is a great stand in for sour cream. Always ensure your vanilla extract is the alcohol free variety to maintain the best flavor for everyone at the table.
Step by Step Instructions to Make Cherry Cheesecake Bars
Step 1: Prep the Oven and Pan
Preheat your oven to 350 degrees F. Line an 8 inch or 9 inch square baking pan with parchment paper, leaving a bit of an overhang on the sides so you can easily lift the bars out later.
Step 2: Prepare the Graham Cracker Crust
In a medium bowl, stir together the graham cracker crumbs, 1/3 cup sugar, and melted butter until the mixture looks like wet sand. Press the mixture firmly into the bottom of your prepared pan to create an even layer. Bake the crust for 8 minutes, then remove it from the oven and let it cool slightly while you make the filling.
Step 3: Mix the Cheesecake Filling
In a large bowl, beat the softened cream cheese and 1/2 cup sugar together until the mixture is smooth and creamy. Add the eggs one at a time, beating on low speed just until combined. Stir in the alcohol-free vanilla and the sour cream, making sure everything is well incorporated without overmixing.
Step 4: Bake the Cheesecake Layer
Pour the cream cheese mixture over the pre baked crust and spread it out evenly with a spatula. Place the pan back in the oven and bake for 25 to 30 minutes, or until the edges are set and the center has just a slight jiggle. Remove the pan from the oven and let it cool on a wire rack for about 30 minutes.
Step 5: Add the Cherry Topping
Once the cheesecake has cooled slightly, gently spoon the cherry pie filling over the top, spreading it out to the edges. The bright red cherries will immediately give the bars a beautiful Christmas appearance.
Step 6: Chill and Slice
Place the pan in the refrigerator and chill for at least 4 hours, though overnight is best for the cleanest slices. Once chilled, use the parchment paper overhang to lift the bars out of the pan. Slice into 16 squares and serve.
Tips for Success
To ensure your Cherry Cheesecake Bars turn out perfectly, always use room temperature cream cheese to avoid lumps in your batter. When adding the eggs, mix on the lowest speed possible to prevent air bubbles from forming, which can cause the cheesecake to crack. For the cleanest cuts, wipe your knife with a warm, damp cloth between every single slice. This keeps the white cheesecake layer from smearing into the red cherry topping.
Variations of Cherry Cheesecake Bars
If you want to dress these up for a fancy Christmas dinner, try drizzling melted white chocolate over the cherry topping once it has set. You can also add a half teaspoon of almond extract to the cheesecake filling for a cherry almond flavor profile that is very popular during the holidays. For a bit of crunch, consider adding some finely chopped pecans or walnuts to the graham cracker crust mixture before baking.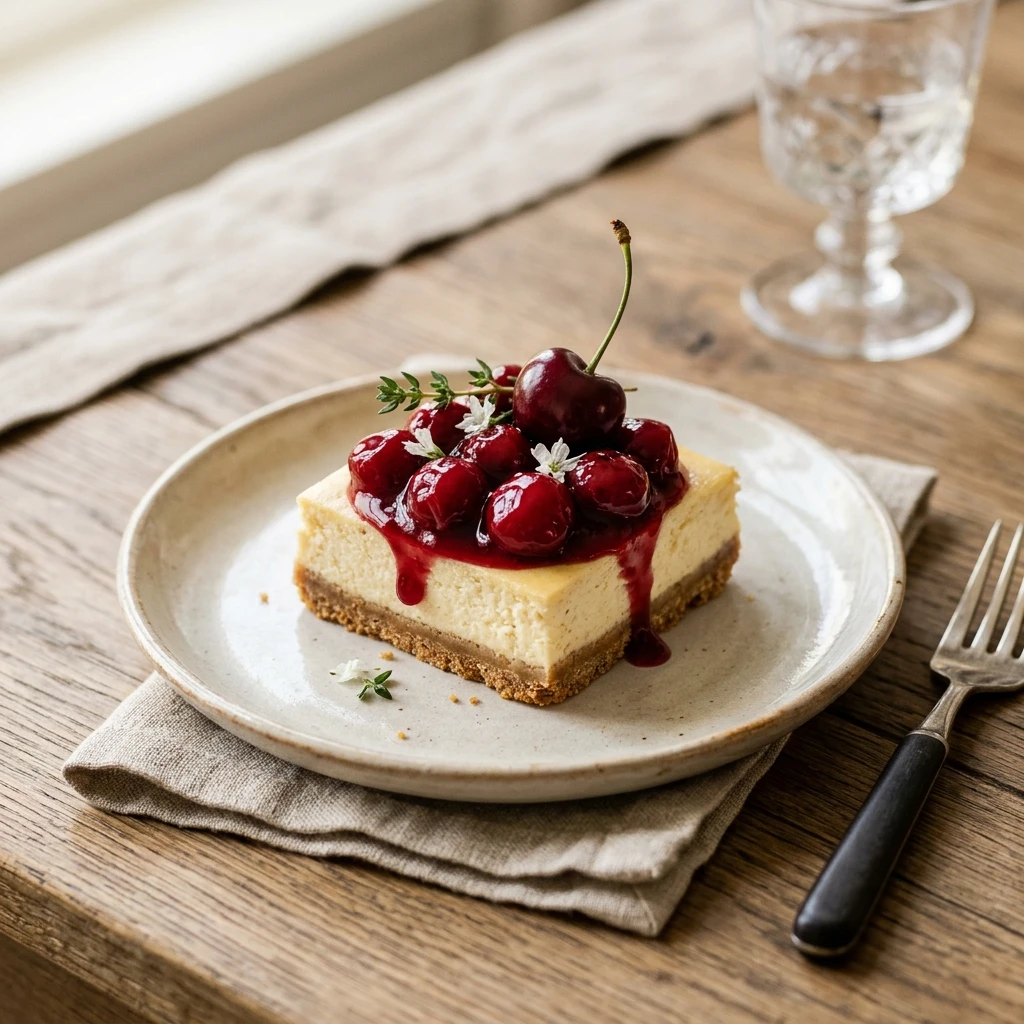
Serving Suggestions: What to Pair with Cherry Cheesecake Bars
These bars are delightful when served alongside a steaming mug of hot cocoa or a festive spiced latte. For a holiday party, they pair wonderfully with a glass of sparkling apple cider or a tart cranberry punch. If you are serving them as part of a larger dessert spread, they look beautiful next to green matcha cookies or white powdered sugar snowball cookies to complete the Christmas color palette.
Storage & Reheating Instructions
Store any leftover Cherry Cheesecake Bars in an airtight container in the refrigerator for up to 4 days. These bars are meant to be served cold, so there is no need to reheat them. If you need to freeze them, it is best to freeze the cheesecake layer on the crust first, then add the cherry topping fresh before serving. However, you can freeze the completed bars for up to one month if they are wrapped tightly in plastic wrap and foil.
Memories Made Around the Table
I remember one year I was running so late for our neighborhood Christmas potluck and these bars saved the day. I sliced them into small squares and arranged them on a vintage platter, and they looked so professional that everyone thought I had bought them at a bakery. We sat by the fireplace sharing stories, and I noticed that these were the first treats to disappear from the table. Now, whenever I see cherry pie filling, I am instantly transported back to that cozy evening filled with laughter and holiday spirit.
FAQs
Can I make these bars ahead of time?
Yes, these are actually better when made a day in advance. This allows the cheesecake layer to fully set and the flavors to meld together, which is a huge help when you are busy preparing a big Christmas meal.
How do I get clean cuts when slicing the bars?
The secret is to make sure the bars are completely chilled. Use a sharp knife and dip it in hot water, then wipe it dry before making each cut. This prevents the filling from sticking to the blade.
Can I use fresh cherries for the topping?
You can, but you will need to cook them down with a bit of sugar and cornstarch first to create a thick sauce. The canned pie filling is a great time saver during the busy holiday season, but homemade topping is a lovely touch.
Do I need to use a water bath for these bars?
No water bath is necessary for this recipe. Since the cheesecake is baked in a thin layer and topped with fruit, any minor cracks that might occur will be hidden by the cherries anyway.
Why is it important to use room temperature cream cheese?
Cold cream cheese is very difficult to blend and will leave small white lumps in your batter. Softening it ensures a silky, professional texture that melts in your mouth.
Final Thoughts
Cherry Cheesecake Bars are a wonderful way to bring a bit of sweetness and color to your Christmas celebrations. With their simple ingredients and easy preparation, they allow you to spend less time in the kitchen and more time making memories with your loved ones. I hope these become a new holiday tradition in your home just as they have in mine. Enjoy every creamy, cherry filled bite!
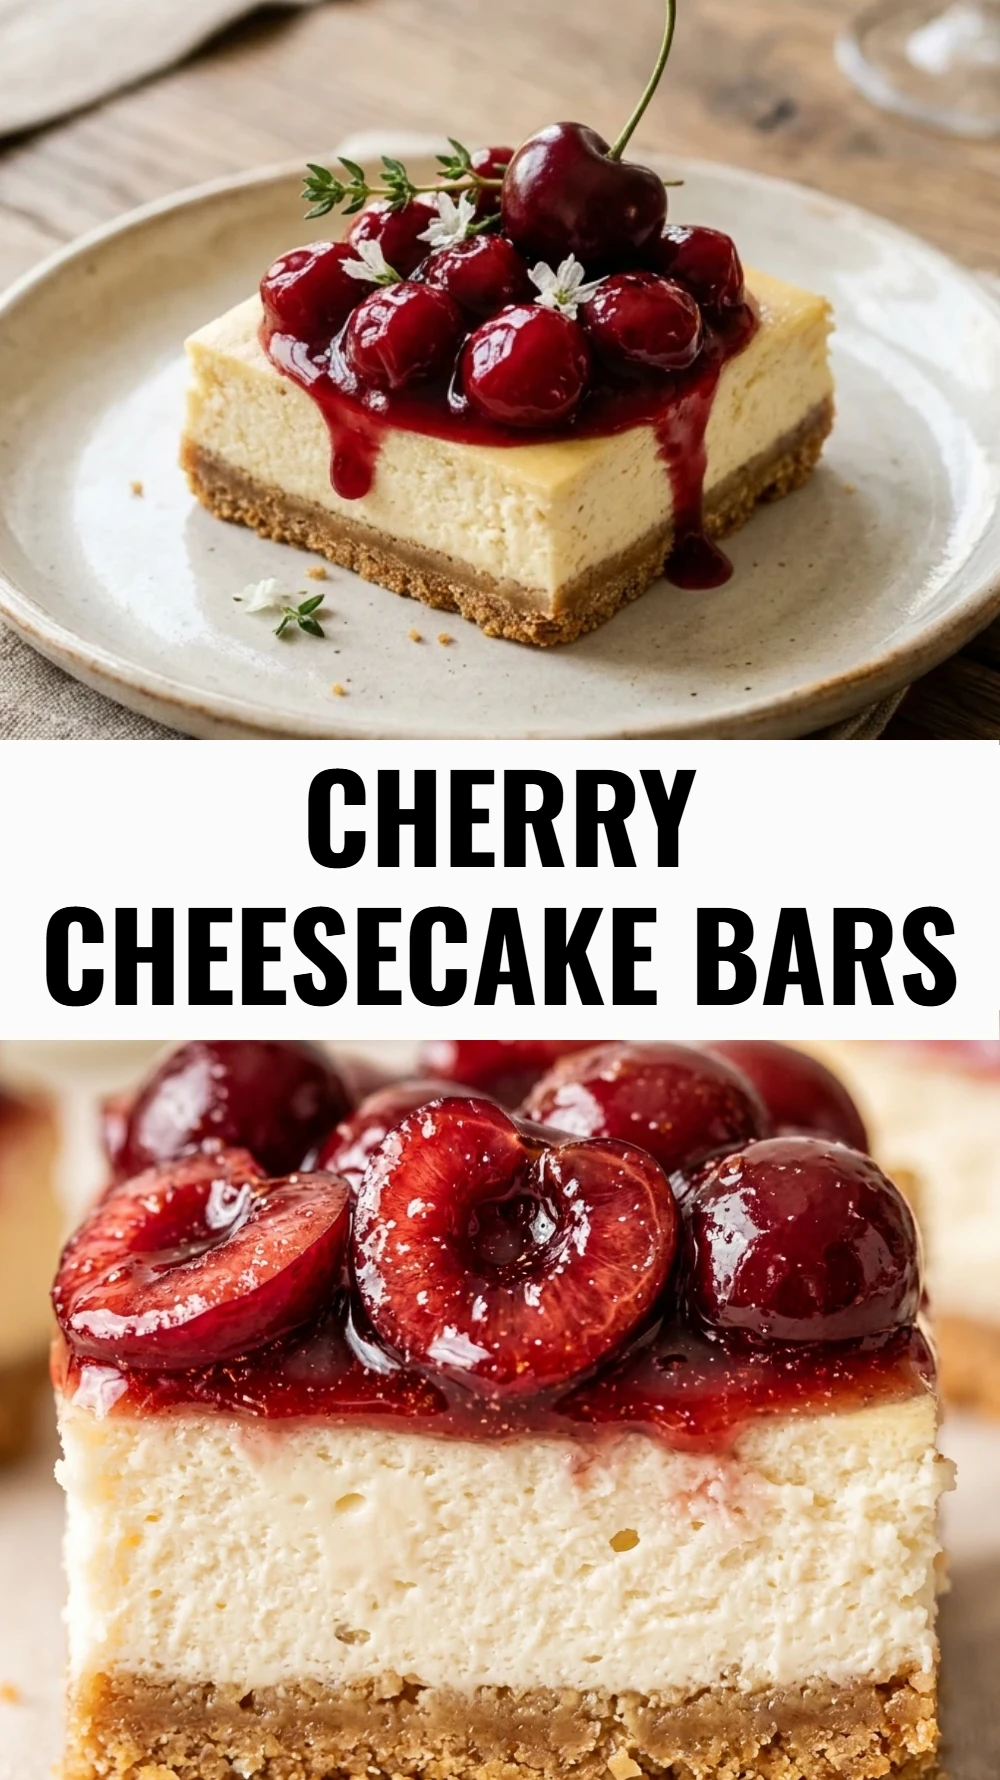
Cherry Cheesecake Bars
- Total Time: 55 minutes
Ingredients
- 1.5 cups graham cracker crumbs
- 1/3 cup granulated sugar (for crust)
- 1/2 cup butter, melted
- 16 ounces cream cheese, softened to room temperature
- 1/2 cup granulated sugar (for filling)
- 2 large eggs
- 1 teaspoon alcohol-free vanilla extract
- 1/2 cup sour cream
- 21 ounces cherry pie filling
Instructions
- Preheat your oven to 350 degrees F. Line an 8 inch or 9 inch square baking pan with parchment paper, leaving a bit of an overhang on the sides so you can easily lift the bars out later.
- In a medium bowl, stir together the graham cracker crumbs, 1/3 cup sugar, and melted butter until the mixture looks like wet sand. Press the mixture firmly into the bottom of your prepared pan to create an even layer. Bake the crust for 8 minutes, then remove it from the oven and let it cool slightly while you make the filling.
- In a large bowl, beat the softened cream cheese and 1/2 cup sugar together until the mixture is smooth and creamy. Add the eggs one at a time, beating on low speed just until combined. Stir in the alcohol-free vanilla and the sour cream, making sure everything is well incorporated without overmixing.
- Pour the cream cheese mixture over the pre baked crust and spread it out evenly with a spatula. Place the pan back in the oven and bake for 25 to 30 minutes, or until the edges are set and the center has just a slight jiggle. Remove the pan from the oven and let it cool on a wire rack for about 30 minutes.
- Once the cheesecake has cooled slightly, gently spoon the cherry pie filling over the top, spreading it out to the edges. The bright red cherries will immediately give the bars a beautiful Christmas appearance.
- Place the pan in the refrigerator and chill for at least 4 hours, though overnight is best for the cleanest slices. Once chilled, use the parchment paper overhang to lift the bars out of the pan. Slice into 16 squares and serve.
- Cook Time: 55 minutes
- Diet: Vegetarian