

I always look forward to the moment I can finally bring out my holiday serving platters and start decorating for the season. Creating a Christmas Candy Charcuterie Board has become one of my favorite traditions because it brings so much joy to both children and adults. I love how the vibrant reds and greens instantly make the dessert table look like a festive winter wonderland without any actual baking required.
Recipe Details
Recipe Information
- Prep Time: 20 minutes
- Cook Time: 0 minutes
- Total Time: 20 minutes
- Servings: 12 servings
- Difficulty: Easy
Nutrition Information (Per Serving)
- Calories: 310 calories
- Protein: 2 grams
- Carbs: 52 grams
- Fat: 11 grams
Why You’ll Love This Christmas Candy Charcuterie Board
This Christmas Candy Charcuterie Board is the ultimate holiday crowd-pleaser because it requires zero time in the oven and looks absolutely stunning. It allows you to showcase a variety of textures and flavors, from crunchy peppermint to creamy chocolate, all in one place. Since there is no cooking involved, it is a stress-free way to contribute to a holiday party or a cozy movie night at home. Plus, the visual appeal of a well-organized candy board makes it a perfect centerpiece for any festive gathering.
Christmas Candy Charcuterie Board Ingredients & Substitutions
- 1 cup peppermint bark pieces
- 12 mini candy canes
- 1 cup red and green chocolate candies
- 8 ounces chocolate truffles
- 1 cup gummy holiday trees or stars
- 1 cup large marshmallows
- 1/2 cup chocolate-covered pretzels
- 1/2 cup alcohol-free vanilla fudge cubes
- 1/4 cup cinnamon red hot candies
- 1/2 cup white chocolate drizzled popcorn
- Fresh rosemary sprigs for garnish
You can easily customize this board by swapping the chocolate truffles for peanut butter cups or using different flavored gummies based on your preference. If you cannot find peppermint bark, white chocolate bars broken into chunks work perfectly as an alternative. For a less sugary option, you might include dried cranberries or apricots to add a natural sweetness and different texture to the display.
Step-by-Step Instructions to Make Christmas Candy Charcuterie Board
Step 1: Select Your Foundation
Choose a large wooden board, a marble slab, or a flat holiday tray to serve as your base. Make sure the surface is clean and dry before you begin placing your items. If you are worried about small candies rolling away, you can use a board with a slight lip or rim.
Step 2: Place Anchor Items
Start by placing two or three small decorative bowls on the board in asymmetrical positions. Fill these bowls with smaller or looser items like the cinnamon red hots and the red and green chocolate candies. This creates focal points and helps keep the smaller pieces contained.
Step 3: Arrange Larger Sweets
Position the larger items around the bowls. Place the peppermint bark, fudge cubes, and chocolate truffles in small clusters. Grouping similar items together creates a more organized and professional look rather than scattering them randomly across the board.
Step 4: Add Linear Elements
Use the candy canes and chocolate-covered pretzels to create lines or curves that lead the eye across the board. Leaning the candy canes against the bowls or stacking the pretzels in a neat row adds height and dimension to the arrangement.
Step 5: Fill the Gaps
Take the marshmallows, white chocolate popcorn, and holiday gummies to fill in any empty spaces remaining on the board. The goal is to make the board look lush and overflowing. Once the board is full, tuck a few rosemary sprigs around the edges to add a pop of green and a fresh scent.
Tips for Success
To make your board look its best, try to balance the colors by ensuring that red items are not all clustered in one corner. Use white items like marshmallows or popcorn to break up the bright colors and provide visual “breathing room.” I recommend unwrapping any candies that come in foil or plastic, except for the candy canes, to make it easier for guests to snack. If you are making this for a large party, keep extra supplies in the pantry so you can quickly refill the board as items disappear.
Variations of Christmas Candy Charcuterie Board
You can create a Winter Wonderland board by focusing entirely on white and silver sweets like white chocolate, silver-wrapped mints, and powdered donut holes. Another fun variation is a Gingerbread House board, where you include ginger snaps, gumdrops, and small gingerbread cookies alongside the candy. If you want a more classic look, stick strictly to red and white peppermint-themed treats for a crisp and clean aesthetic that looks beautiful on a dark wood board.
Serving Suggestions: What to Pair with Christmas Candy Charcuterie Board
This sweet board pairs wonderfully with a hot cocoa bar featuring plenty of whipped cream and alcohol-free vanilla syrup. You can also serve it alongside a platter of fresh fruit like sliced pears and apples to provide a refreshing contrast to the rich sugar. For a savory balance, consider a side of salted nuts or a small cheese plate with mild crackers to cleanse the palate between sweet bites.
Storage & Reheating Instructions
If you have leftovers, store the different types of candy in separate airtight containers or resealable bags to maintain their individual textures. Keeping the gummies away from the chocolate prevents the chocolate from absorbing moisture and the gummies from getting hard. There is no reheating required for this dish, but it is best kept in a cool, dry place away from direct sunlight or heat sources to prevent melting. Most of the candies will stay fresh for up to two weeks when stored properly.
Memories Made Around the Table
I remember one specific Christmas Eve when my family decided to skip the traditional heavy cake and instead built a massive candy board together while watching old movies. We sat on the floor with the board in the middle, laughing as we tried to see who could create the prettiest pattern with the candy canes. It was such a simple moment, but the joy of sharing those little treats made the night feel incredibly special and relaxed. Now, whenever I see a pile of peppermint bark, I am instantly taken back to that cozy living room filled with laughter.
FAQs
Can I make this board a day in advance?
Yes, you can assemble the board a few hours ahead of time, but I recommend covering it tightly with plastic wrap to keep the air out. If you are preparing it a full day in advance, wait to add items that might get stale quickly, like popcorn or open marshmallows, until just before serving.
What is the best size for a candy board?
For a small family gathering of four to six people, a 12 inch round board works well. If you are hosting a larger holiday party, a rectangular board that is at least 18 to 24 inches long will allow you to display a much wider variety of treats without them looking crowded.
How do I keep the chocolate from melting?
Keep the board away from fireplaces, heaters, or hot ovens. If your home is particularly warm, you can keep the chocolate items in the refrigerator and place them on the board at the very last minute. Using small bowls for the meltier items like truffles can also help contain them.
Are there any substitutions for peppermint?
If you are not a fan of peppermint, you can substitute the minty items with butterscotch candies, caramel-filled chocolates, or fruit-flavored hard candies. You can still maintain the Christmas theme by choosing these items in red, green, and gold colors.
Can children help assemble the Christmas Candy Charcuterie Board?
Absolutely, this is a wonderful activity for kids. Since there is no heat or sharp knives involved, they can help by sorting colors, filling bowls, or placing the marshmallows in the gaps. It is a great way to get them involved in the holiday preparations.
Final Thoughts
The Christmas Candy Charcuterie Board is more than just a dessert, it is a festive experience that invites everyone to gather and share. It is easy to customize, beautiful to look at, and guaranteed to satisfy every sweet tooth in the room. Whether you follow this guide exactly or add your own favorite holiday treats, your guests are sure to appreciate the effort and the delicious variety. Happy holidays and enjoy your sweet creations!
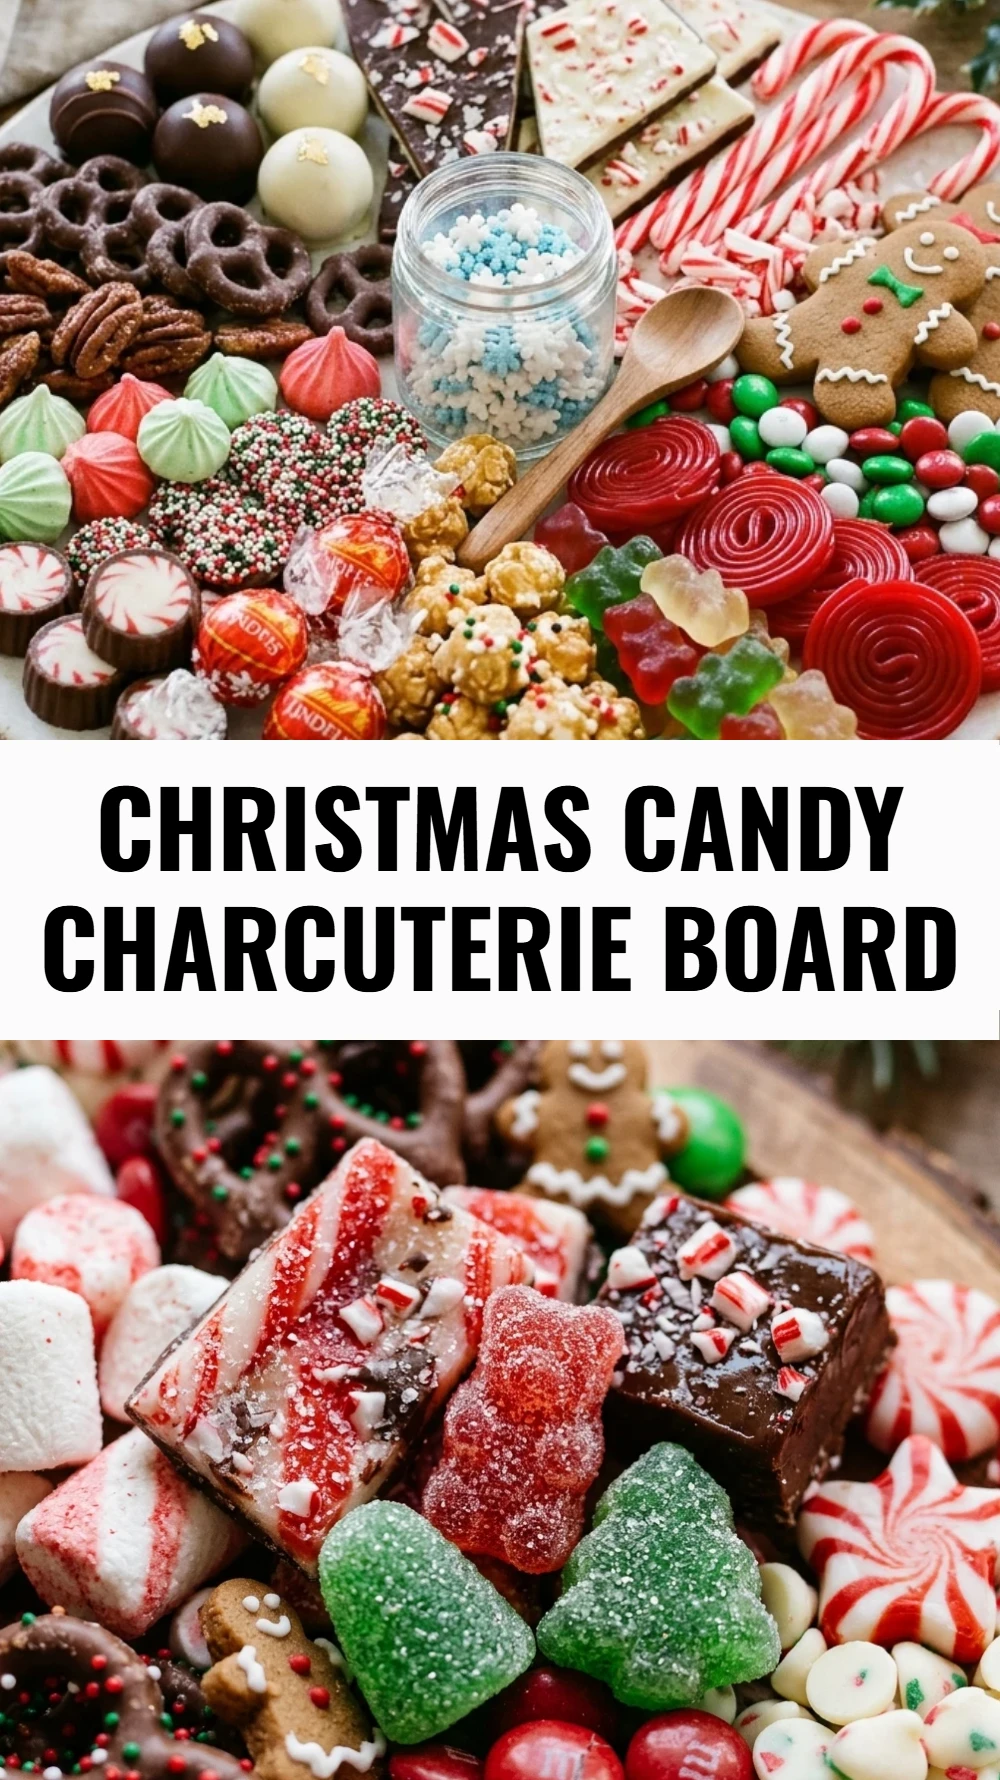

Christmas Candy Charcuterie Board
- Total Time: 20 minutes
Ingredients
- 1 cup peppermint bark pieces
- 12 mini candy canes
- 1 cup red and green chocolate candies
- 8 ounces chocolate truffles
- 1 cup gummy holiday trees or stars
- 1 cup large marshmallows
- 1/2 cup chocolate-covered pretzels
- 1/2 cup alcohol-free vanilla fudge cubes
- 1/4 cup cinnamon red hot candies
- 1/2 cup white chocolate drizzled popcorn
- Fresh rosemary sprigs for garnish
Instructions
- Step 1: Select Your Foundation: Choose a large wooden board, a marble slab, or a flat holiday tray to serve as your base. Make sure the surface is clean and dry before you begin placing your items. If you are worried about small candies rolling away, you can use a board with a slight lip or rim.
- Step 2: Place Anchor Items: Start by placing two or three small decorative bowls on the board in asymmetrical positions. Fill these bowls with smaller or looser items like the cinnamon red hots and the red and green chocolate candies. This creates focal points and helps keep the smaller pieces contained.
- Step 3: Arrange Larger Sweets: Position the larger items around the bowls. Place the peppermint bark, fudge cubes, and chocolate truffles in small clusters. Grouping similar items together creates a more organized and professional look rather than scattering them randomly across the board.
- Step 4: Add Linear Elements: Use the candy canes and chocolate-covered pretzels to create lines or curves that lead the eye across the board. Leaning the candy canes against the bowls or stacking the pretzels in a neat row adds height and dimension to the arrangement.
- Step 5: Fill the Gaps: Take the marshmallows, white chocolate popcorn, and holiday gummies to fill in any empty spaces remaining on the board. The goal is to make the board look lush and overflowing. Once the board is full, tuck a few rosemary sprigs around the edges to add a pop of green and a fresh scent.
- Cook Time: 20 minutes
- Diet: Vegetarian