
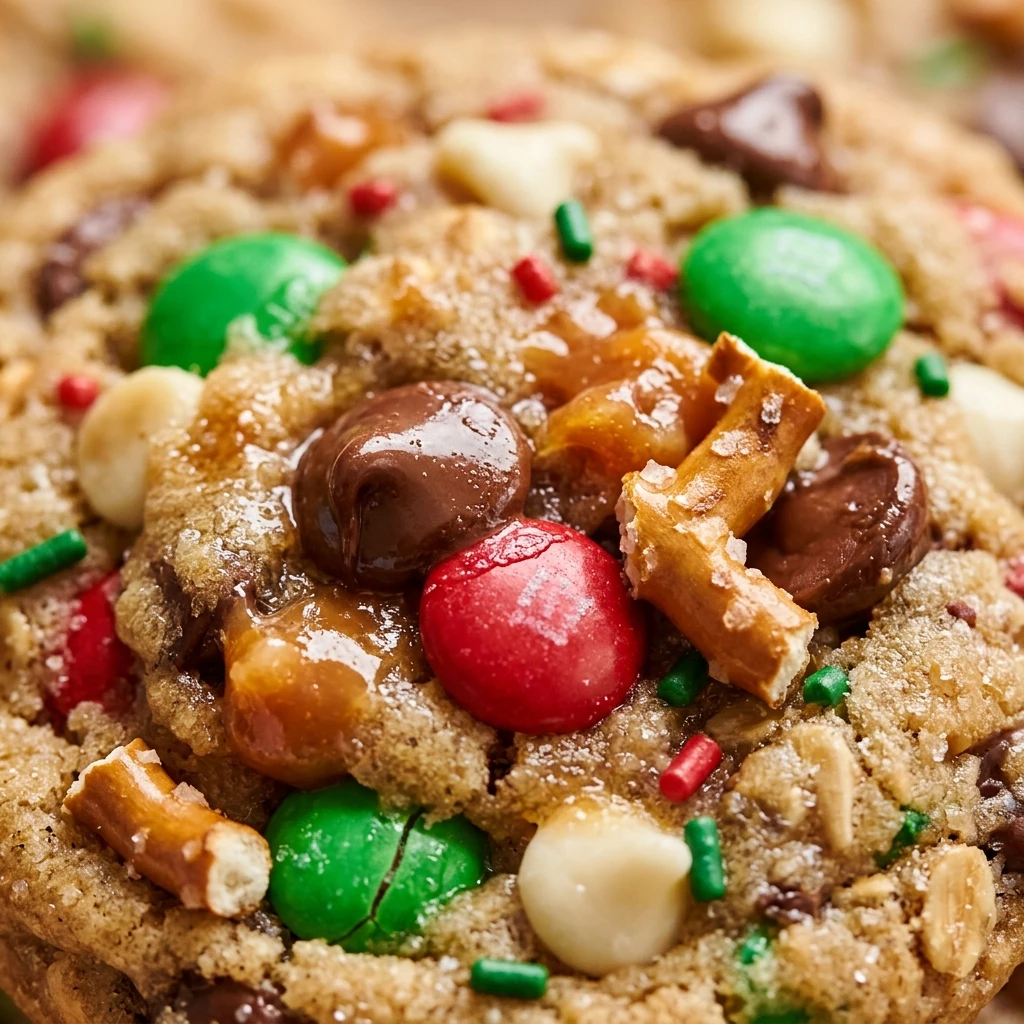
Christmas Kitchen Sink Cookies
I love the holiday hustle and bustle because it means my kitchen is always filled with the scent of butter and sugar. These Christmas Kitchen Sink Cookies are my favorite way to use up all the festive bits and pieces left in my pantry while creating a treat that everyone loves. They are perfectly salty, sweet, and crunchy, making them the ultimate holiday indulgence for any cookie exchange or cozy night by the fire.
Recipe Details
Recipe Information
- Prep Time: 15 minutes
- Cook Time: 10 minutes
- Total Time: 25 minutes
- Servings: 24 cookies
- Difficulty: Easy
Nutrition Information (Per Serving)
- Calories: 185
- Protein: 2g
- Carbs: 24g
- Fat: 9g
Why You’ll Love Christmas Kitchen Sink Cookies
These cookies are the definition of “more is more.” You get a little bit of everything in every single bite, from the snap of the pretzels to the melty chocolate and the festive pop of holiday candies. They are incredibly versatile, meaning you can clear out your cupboards while still producing a high-quality dessert that looks beautiful on a Christmas platter. The balance of sweet and salty is addictive, and the chewy texture keeps people coming back for seconds and thirds.
Christmas Kitchen Sink Cookies Ingredients & Substitutions
- 1 cup unsalted butter, softened
- 3/4 cup granulated sugar
- 3/4 cup packed light brown sugar
- 1 large egg, room temperature
- 1 teaspoon alcohol-free vanilla
- 2 1/4 cups all-purpose flour
- 1 teaspoon baking soda
- 1/2 teaspoon salt
- 1/2 cup semi-sweet chocolate chips
- 1/2 cup red and green candy-coated chocolates
- 1/2 cup crushed pretzels
- 1/2 cup crushed potato chips
- 1/4 cup white chocolate chips
If you prefer a nuttier flavor, feel free to swap the potato chips for chopped walnuts or pecans. You can also use dark chocolate chunks instead of semi-sweet chips for a richer taste, or substitute the all-purpose flour with a 1:1 gluten-free baking blend if needed. If you find yourself out of brown sugar, you can use additional white sugar with a tablespoon of molasses mixed in to maintain that chewy moisture.
Step-by-Step Instructions to Make Christmas Kitchen Sink Cookies
Step 1: Preparation
Preheat your oven to 350 degrees Fahrenheit. Line two large baking sheets with parchment paper or silicone baking mats to ensure the cookies do not stick and to help with even browning.
Step 2: Cream Butter and Sugars
In a large mixing bowl or the bowl of a stand mixer, beat the softened butter, granulated sugar, and brown sugar together on medium-high speed. Continue mixing for about 2 to 3 minutes until the mixture is light, fluffy, and well combined.
Step 3: Incorporate Wet Ingredients
Add the egg and the alcohol-free vanilla to the butter mixture. Beat again on medium speed until the egg is fully incorporated and the batter looks smooth. Be sure to scrape down the sides of the bowl with a spatula so everything is evenly mixed.
Step 4: Combine Dry Ingredients
In a separate medium bowl, whisk together the all-purpose flour, baking soda, and salt. Gradually add these dry ingredients to the wet ingredients while mixing on low speed. Mix just until the white streaks of flour disappear, taking care not to overwork the dough.
Step 5: Fold in the Mix-ins
Using a sturdy spatula or a wooden spoon, gently fold in the chocolate chips, red and green candies, crushed pretzels, crushed potato chips, and white chocolate chips. Ensure the “kitchen sink” ingredients are evenly distributed throughout the dough so every cookie gets a bit of everything.
Step 6: Scoop and Bake
Scoop rounded tablespoons of dough, about 2 tablespoons per cookie, and place them on the prepared baking sheets. Space them about 2 inches apart to allow for spreading. Bake for 9 to 11 minutes or until the edges are golden brown but the centers still look slightly soft.
Step 7: Cool and Set
Remove the pans from the oven and let the cookies sit on the hot baking sheet for about 5 minutes. This allows the centers to finish setting. Transfer the cookies to a wire rack to cool completely before serving or storing.
Tips for Success
To get the best texture, make sure your butter is truly softened at room temperature but not melted. If the dough feels too soft or your kitchen is very warm, chill the scooped dough balls in the fridge for 30 minutes before baking to prevent excessive spreading. When crushing your pretzels and potato chips, aim for bite-sized pieces rather than a fine powder so you can still enjoy the crunch. Finally, press a few extra candies or chocolate chips onto the tops of the dough balls right before baking for a picture-perfect holiday look.
Variations of Christmas Kitchen Sink Cookies
There are endless ways to customize this recipe for the holidays. You could add a sprinkle of sea salt on top right after baking to enhance the salty-sweet profile. For a “White Christmas” version, use only white chocolate chips and add dried cranberries for a tart flavor. If you love a bit of spice, a half-teaspoon of cinnamon added to the flour can give these cookies a warm, wintry feel that pairs beautifully with the chocolate and salt.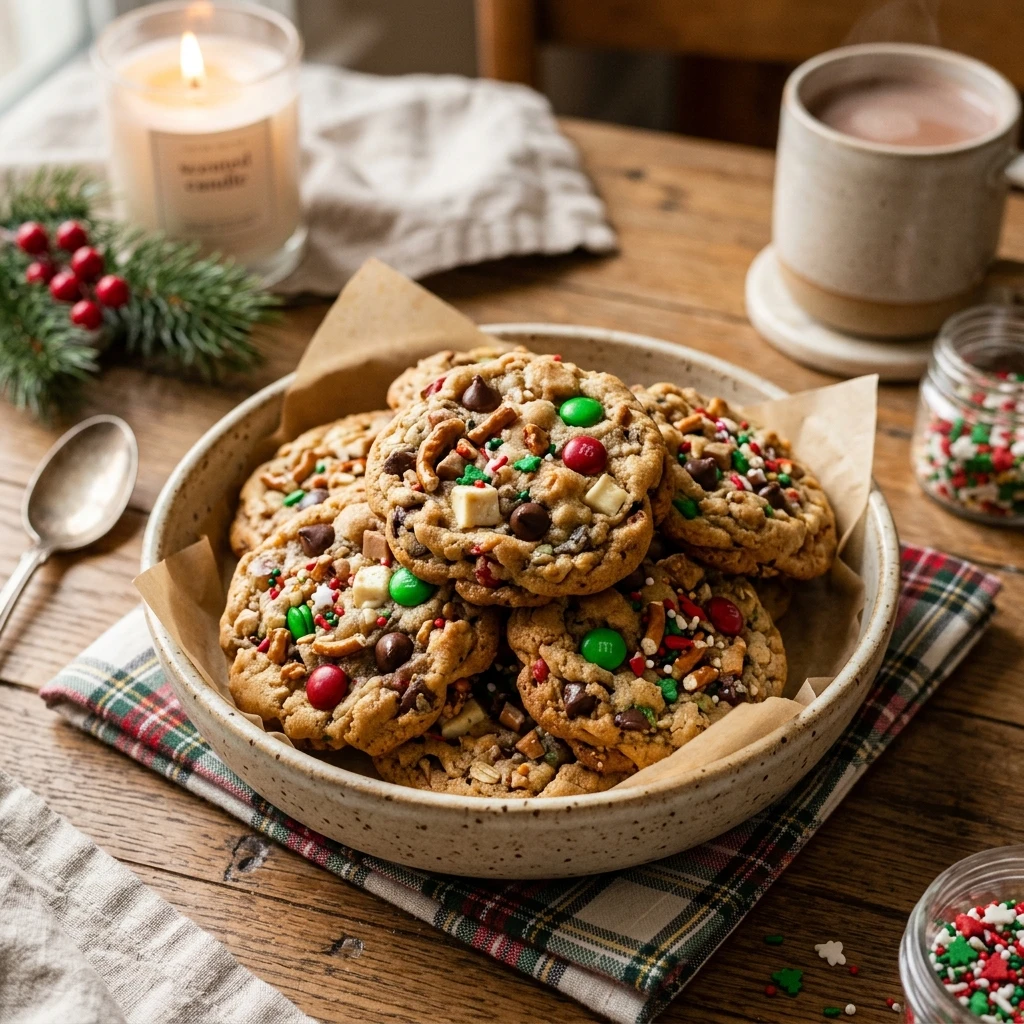
Serving Suggestions: What to Pair with Christmas Kitchen Sink Cookies
These cookies are a superstar on their own, but they also pair wonderfully with a cold glass of milk or a steaming mug of hot cocoa topped with marshmallows. If you are hosting a holiday party, serve them alongside a platter of fresh fruit or a selection of cheeses to balance out the sweetness. They also make a fantastic base for an ice cream sandwich, simply sandwich a scoop of alcohol-free vanilla bean ice cream between two cooled cookies for a decadent dessert.
Storage & Reheating Instructions
Store your cookies in an airtight container at room temperature for up to 5 days. To keep them extra soft, you can place a slice of white bread in the container with them. For longer storage, these cookies freeze beautifully for up to 3 months, just place them in a freezer-safe bag with layers separated by parchment paper. If you like that fresh-from-the-oven experience, reheat a single cookie in the microwave for 5 to 8 seconds to soften the chocolate and warm the dough.
Memories Made Around the Table
I remember sitting on the kitchen counter as a child, watching my mother pull out every half-empty bag of baking chips and snacks we had left from our holiday preparations. She called it our “magic cookie” day because we never knew exactly how they would turn out, but they were always the best ones of the year. Now, whenever I smell these cookies baking, I am transported back to those snowy afternoons where the kitchen was the warmest place in the house and the biggest worry was which cookie had the most chocolate.
FAQs
Why are they called kitchen sink cookies?
The name comes from the old saying “everything but the kitchen sink.” It refers to the fact that these cookies are packed with a wide variety of ingredients, including candies, nuts, chips, and pretzels, basically anything you have in your pantry.
Can I make the dough in advance?
Yes, you can prepare the dough and keep it in the refrigerator for up to 48 hours before baking. This actually helps the flavors meld together even better. Just let the dough sit at room temperature for a few minutes so it is soft enough to scoop.
Why did my cookies spread too much?
Cookies often spread too much if the butter was too warm or melted when you started mixing. Another common reason is that the baking sheet was still hot from a previous batch. Make sure to use room temperature butter and cool pans for each batch.
Can I use salted butter instead of unsalted?
You can use salted butter, but you should reduce the added salt in the recipe to 1/4 teaspoon. Since this recipe already contains salty components like pretzels and potato chips, be careful not to overdo the saltiness.
Do I have to use potato chips?
While the potato chips add a unique crunch and saltiness that defines the “kitchen sink” style, you can leave them out if you prefer. You might want to add a bit more pretzels or some chopped nuts to maintain that signature crunch.
Final Thoughts
Christmas Kitchen Sink Cookies are the ultimate holiday treat for those who cannot choose between sweet and salty. They are easy to whip up, perfect for using up leftovers, and guaranteed to be a conversation starter at any festive gathering. Whether you follow the recipe exactly or throw in your own favorite holiday snacks, these cookies are sure to become a new tradition in your home.


Christmas Kitchen Sink Cookies
- Total Time: 25 minutes
Ingredients
- 1 cup unsalted butter, softened
- 3/4 cup granulated sugar
- 3/4 cup packed light brown sugar
- 1 large egg, room temperature
- 1 teaspoon alcohol-free vanilla
- 2 1/4 cups all-purpose flour
- 1 teaspoon baking soda
- 1/2 teaspoon salt
- 1/2 cup semi-sweet chocolate chips
- 1/2 cup red and green candy-coated chocolates
- 1/2 cup crushed pretzels
- 1/2 cup crushed potato chips
- 1/4 cup white chocolate chips
Instructions
- Preheat your oven to 350 degrees Fahrenheit. Line two large baking sheets with parchment paper or silicone baking mats to ensure the cookies do not stick and to help with even browning.
- In a large mixing bowl or the bowl of a stand mixer, beat the softened butter, granulated sugar, and brown sugar together on medium-high speed. Continue mixing for about 2 to 3 minutes until the mixture is light, fluffy, and well combined.
- Add the egg and the alcohol-free vanilla to the butter mixture. Beat again on medium speed until the egg is fully incorporated and the batter looks smooth. Be sure to scrape down the sides of the bowl with a spatula so everything is evenly mixed.
- In a separate medium bowl, whisk together the all-purpose flour, baking soda, and salt. Gradually add these dry ingredients to the wet ingredients while mixing on low speed. Mix just until the white streaks of flour disappear, taking care not to overwork the dough.
- Using a sturdy spatula or a wooden spoon, gently fold in the chocolate chips, red and green candies, crushed pretzels, crushed potato chips, and white chocolate chips. Ensure the “kitchen sink” ingredients are evenly distributed throughout the dough so every cookie gets a bit of everything.
- Scoop rounded tablespoons of dough, about 2 tablespoons per cookie, and place them on the prepared baking sheets. Space them about 2 inches apart to allow for spreading. Bake for 9 to 11 minutes or until the edges are golden brown but the centers still look slightly soft.
- Remove the pans from the oven and let the cookies sit on the hot baking sheet for about 5 minutes. This allows the centers to finish setting. Transfer the cookies to a wire rack to cool completely before serving or storing.
- Cook Time: 25 minutes
- Diet: Vegetarian