

I always look forward to the cozy atmosphere of Christmas when the house smells like melting chocolate and warm spices. There is something truly special about creating your own treats to share with neighbors and friends during the holidays. This Homemade Chocolate Candy recipe is my favorite way to bring a little extra sweetness to our seasonal gatherings and create lasting traditions with my family.
Recipe Details
Recipe Information
- Prep Time: 15 minutes
- Cook Time: 10 minutes
- Total Time: 25 minutes
- Servings: 24 pieces
- Difficulty: Easy
Nutrition Information (Per Serving)
- Calories: 85 kcal
- Protein: 1g
- Carbs: 9g
- Fat: 6g
Why You’ll Love This Homemade Chocolate Candy
This Homemade Chocolate Candy is the perfect addition to your Christmas dessert spread because it is incredibly simple to make but looks professionally crafted. You will love how customizable it is, allowing you to tailor the flavors to suit everyone at your holiday party. Because it uses just a few high quality ingredients, the rich cocoa flavor really shines through, making it a much better alternative to store bought versions. Plus, these candies make for wonderful edible gifts that show your loved ones you put extra heart into their holiday surprises.
Homemade Chocolate Candy Ingredients & Substitutions
- 2 cups semi sweet chocolate chips
- 1 tablespoon coconut oil
- 1 teaspoon alcohol-free vanilla extract
- 1/2 cup chopped toasted walnuts or pecans
- 1/4 teaspoon flaky sea salt for topping
For the best results, you can swap semi sweet chocolate for dark chocolate if you prefer a less sugary treat, or use milk chocolate for a creamier finish. If you have a nut allergy, dried cranberries or raisins make a fantastic replacement for the walnuts. The coconut oil is essential for a smooth texture and a glossy look, but you can substitute it with unsalted butter if you want a richer, more traditional fudge like consistency.
Step-by-Step Instructions to Make Homemade Chocolate Candy
Step 1: Preparation
Start by lining a large baking sheet with parchment paper or wax paper. This ensures that your Homemade Chocolate Candy will not stick to the surface once it sets. If you prefer uniform shapes, you can also set out mini cupcake liners or silicone candy molds on the tray.
Step 2: Melting the Chocolate
Using a double boiler or a heat safe bowl over a pot of simmering water, combine the chocolate chips and the coconut oil. Stir constantly with a spatula until the mixture is completely smooth and glossy. If you are using a microwave, heat the mixture in 30 second intervals, stirring well between each session to prevent the chocolate from burning.
Step 3: Adding Flavors and Texture
Once the chocolate is fully melted, remove it from the heat. Stir in the alcohol-free vanilla extract and the chopped toasted walnuts. Ensure the nuts are evenly distributed throughout the chocolate so that every bite of your Homemade Chocolate Candy has the perfect crunch.
Step 4: Portioning the Candies
Drop rounded tablespoons of the mixture onto your prepared baking sheet, leaving about an inch of space between each cluster. If you are using molds, carefully pour the chocolate into each cavity until full. While the chocolate is still wet, sprinkle a tiny pinch of flaky sea salt over the top of each piece to enhance the flavors.
Step 5: Chilling and Setting
Place the baking sheet in the refrigerator for at least 30 to 60 minutes. The Homemade Chocolate Candy needs to be completely firm to the touch before you try to remove it from the parchment paper. For a quicker set, you can place the tray in the freezer for about 15 minutes.
Tips for Success
To achieve the best results, make sure all your kitchen tools are completely dry, as even a single drop of water can cause the chocolate to seize and become grainy. Using high quality chocolate chips or chopped chocolate bars will significantly improve the final taste and texture of your candy. If you want a more festive look for Christmas, you can lightly toast the nuts beforehand to bring out their oils and deepen the flavor profile. Always let the candy set at a cool temperature to maintain that beautiful glossy finish.
Variations of Homemade Chocolate Candy
There are so many ways to switch up this Homemade Chocolate Candy for the Christmas season. You can stir in crushed peppermint candies for a refreshing holiday snap, or add a pinch of cinnamon and nutmeg for a warm, spiced version. For a fruity twist, try adding zest from a fresh orange or mixing in some dried cherries. If you want to make them look extra fancy, drizzle a little bit of melted white chocolate over the dark chocolate clusters once they have partially set.
Serving Suggestions: What to Pair with Homemade Chocolate Candy
These candies are a delight when served alongside a steaming mug of hot cocoa or a warm cup of coffee after a big Christmas dinner. They also pair beautifully with a festive fruit platter featuring sliced pears and apples. If you are hosting a holiday party, arrange the Homemade Chocolate Candy on a silver platter with some sprigs of fresh mint or rosemary for a beautiful presentation. They also serve as the perfect topping for a bowl of creamy vanilla bean ice cream.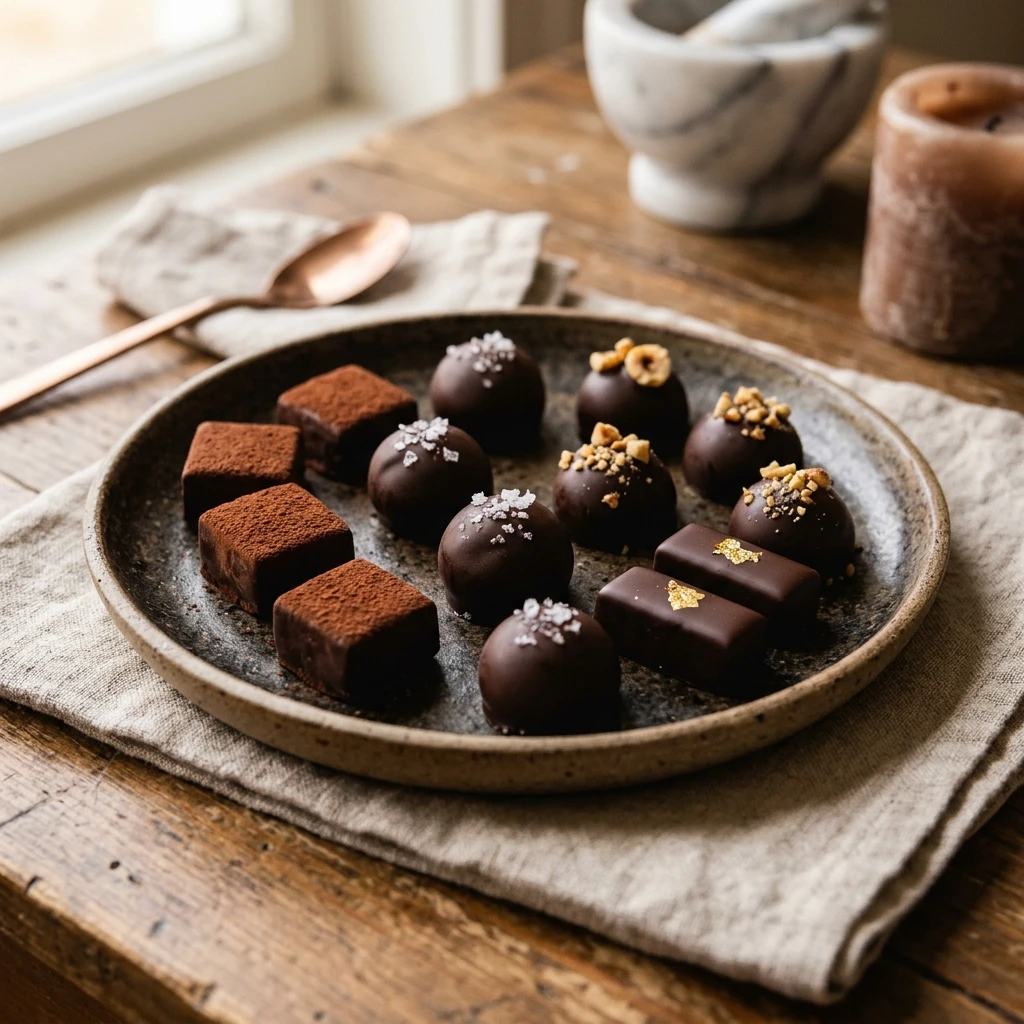
Storage & Reheating Instructions
Store your Homemade Chocolate Candy in an airtight container in the refrigerator to keep them crisp and prevents them from softening. They will stay fresh and delicious for up to two weeks when chilled. If you want to keep them longer, you can freeze them in a freezer safe bag for up to three months. There is no need to reheat these treats, they are best enjoyed cold or at room temperature. If they have been in the freezer, let them sit on the counter for a few minutes before serving.
Memories Made Around the Table
I remember spending Saturday afternoons in December with my grandmother, her kitchen filled with the hum of the radio playing holiday carols. We would stand by the stove together, carefully watching the chocolate melt, and she would let me be the official stirrer. Those moments of waiting for the candy to set in the fridge felt like an eternity, but the reward of that first crunchy, chocolatey bite was always worth it. Now, I make this Homemade Chocolate Candy with my own children, and seeing their faces light up reminds me that the best part of Christmas is the love we share through food.
FAQs
Can I use a microwave to melt the chocolate?
Yes, you can certainly use a microwave. Just be sure to use a microwave safe bowl and heat the chocolate in short 30 second bursts. Stir thoroughly after each burst to distribute the heat, as chocolate can hold its shape even when it is actually melted and ready.
How do I stop my chocolate from turning white?
That white coating is called bloom, and it usually happens when chocolate is stored in an area that is too warm or has too much moisture. To prevent this, keep your Homemade Chocolate Candy in a cool, dry place and try to avoid drastic temperature changes when moving them from the fridge to the counter.
What is the best way to toast the nuts?
To toast the nuts, place them in a dry pan over medium heat for about 3 to 5 minutes. Shake the pan frequently so they do not burn. Once they smell fragrant and look slightly golden, remove them from the heat immediately and let them cool before adding them to the chocolate.
Can I use different types of oil?
While coconut oil is preferred for its ability to stay solid at cooler temperatures and provide a nice shine, you can use a tiny bit of vegetable oil if necessary. However, avoid using oils with very strong flavors like olive oil, as they might overpower the delicate taste of the chocolate.
Why did my chocolate become thick and clumpy?
This is called seizing, and it usually happens if a small amount of liquid or steam gets into the melting chocolate. To fix it, you can sometimes stir in a teaspoon of boiling water or more coconut oil, but it is best to prevent it by keeping all your equipment perfectly dry.
Final Thoughts
Making Homemade Chocolate Candy is a simple joy that brings so much happiness during the Christmas season. Whether you are making a batch for your own family or packaging them up in festive tins for friends, these treats are sure to be a hit. The combination of rich chocolate, crunchy nuts, and a hint of sea salt creates a balance that everyone will enjoy. I hope this recipe becomes a staple in your holiday kitchen just as it has in mine.


Homemade Chocolate Candy
- Total Time: 25 minutes
Ingredients
- 2 cups semi sweet chocolate chips
- 1 tablespoon coconut oil
- 1 teaspoon alcohol-free vanilla extract
- 1/2 cup chopped toasted walnuts or pecans
- 1/4 teaspoon flaky sea salt for topping
Instructions
- Start by lining a large baking sheet with parchment paper or wax paper. This ensures that your Homemade Chocolate Candy will not stick to the surface once it sets. If you prefer uniform shapes, you can also set out mini cupcake liners or silicone candy molds on the tray.
- Using a double boiler or a heat safe bowl over a pot of simmering water, combine the chocolate chips and the coconut oil. Stir constantly with a spatula until the mixture is completely smooth and glossy. If you are using a microwave, heat the mixture in 30 second intervals, stirring well between each session to prevent the chocolate from burning.
- Once the chocolate is fully melted, remove it from the heat. Stir in the alcohol-free vanilla extract and the chopped toasted walnuts. Ensure the nuts are evenly distributed throughout the chocolate so that every bite of your Homemade Chocolate Candy has the perfect crunch.
- Drop rounded tablespoons of the mixture onto your prepared baking sheet, leaving about an inch of space between each cluster. If you are using molds, carefully pour the chocolate into each cavity until full. While the chocolate is still wet, sprinkle a tiny pinch of flaky sea salt over the top of each piece to enhance the flavors.
- Place the baking sheet in the refrigerator for at least 30 to 60 minutes. The Homemade Chocolate Candy needs to be completely firm to the touch before you try to remove it from the parchment paper. For a quicker set, you can place the tray in the freezer for about 15 minutes.
- Cook Time: 25 minutes
- Diet: Vegetarian