
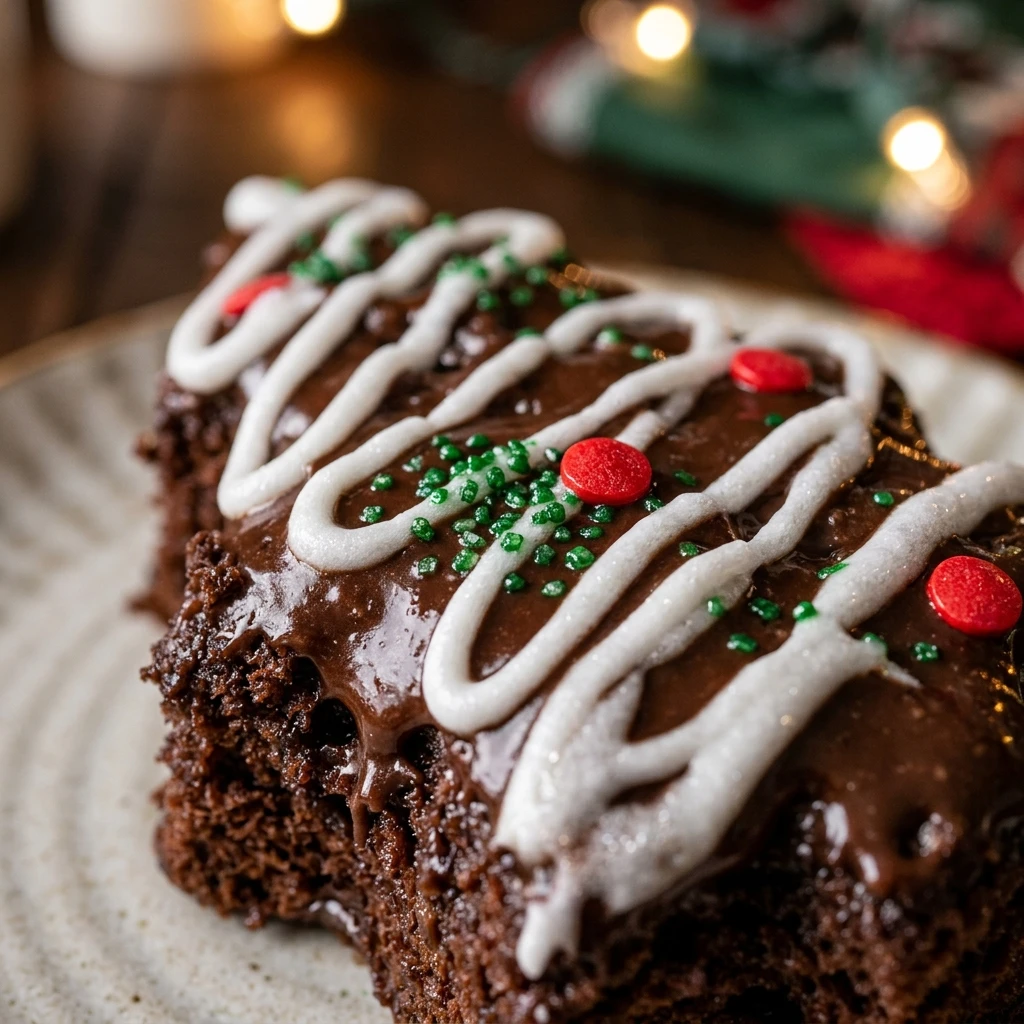
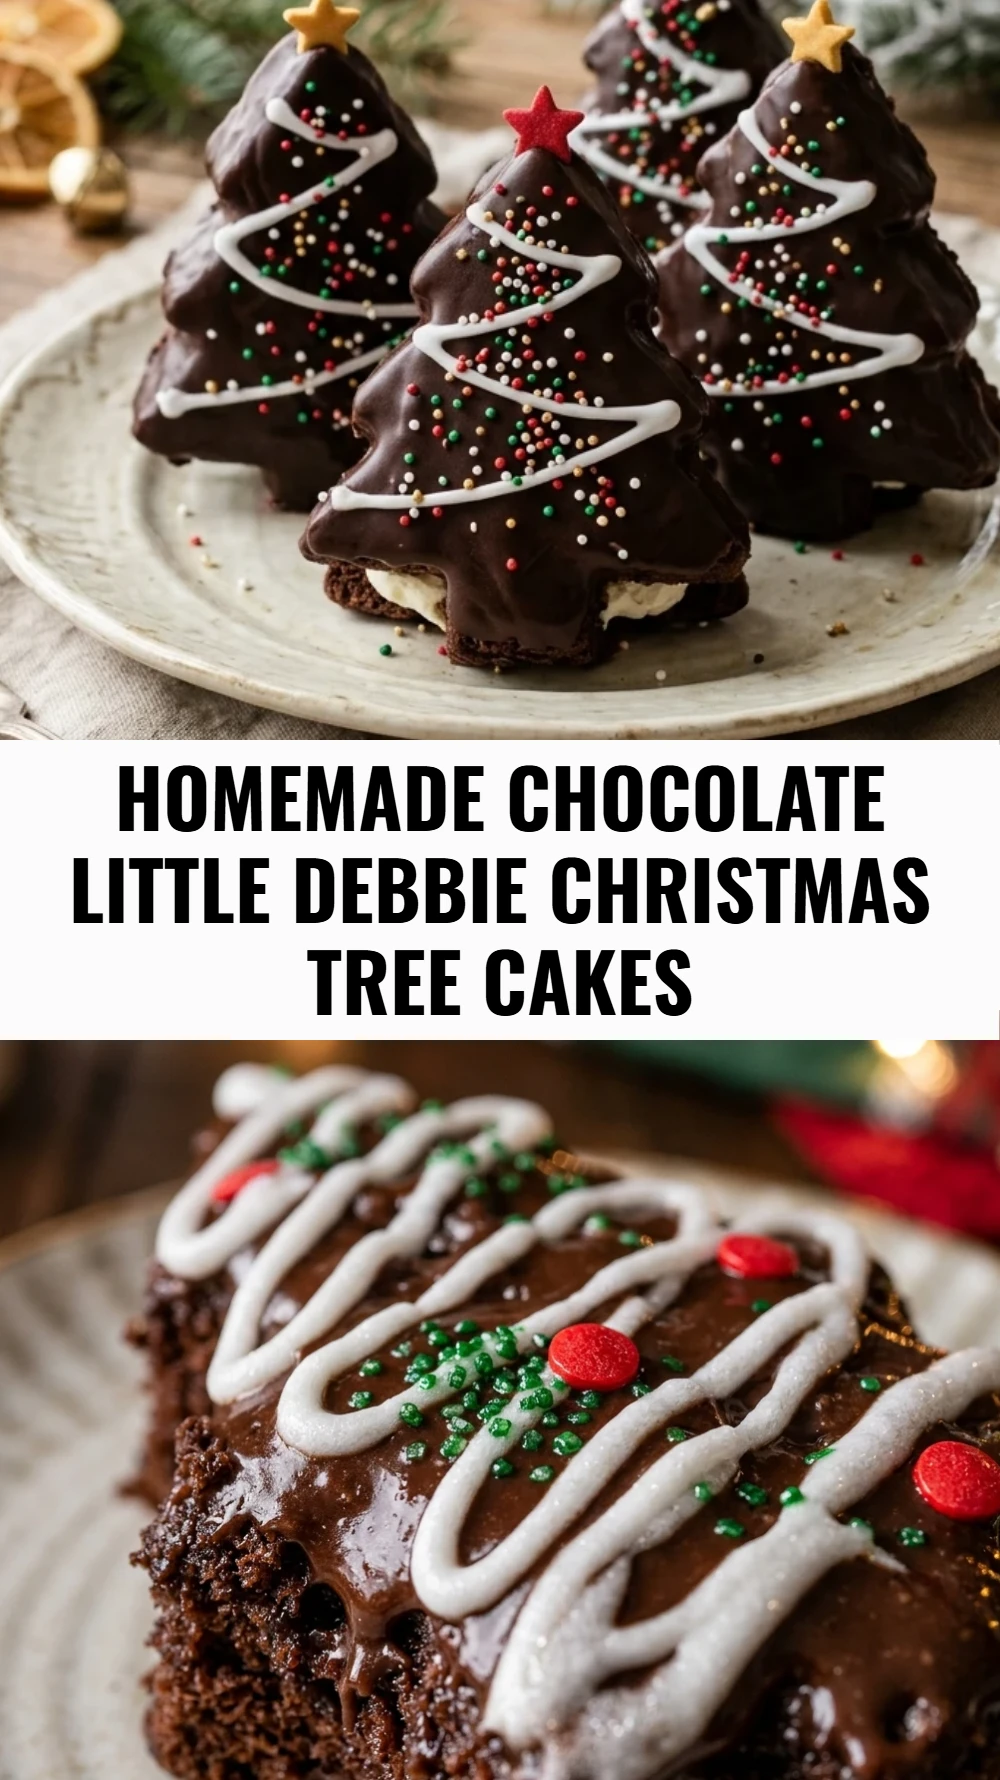
I have such fond memories of peeling back the crinkly plastic on those iconic snack cakes every December, but nothing beats the rich flavor of a homemade version. These chocolate Christmas tree cakes capture all that nostalgic magic with a moist cocoa sponge, creamy filling, and a snappy chocolate coating that melts in your mouth. I love making these for my family because they look just like the store-bought classics but taste so much fresher and more decadent than anything from a box.
Recipe Details
Recipe Information
- Prep Time: 45 minutes
- Cook Time: 15 minutes
- Total Time: 60 minutes
- Servings: 12 cakes
- Difficulty: Medium
Nutrition Information (Per Serving)
- Calories: 345 kcal
- Protein: 3 grams
- Carbs: 48 grams
- Fat: 17 grams
Why You’ll Love This Holiday Treat
This Holiday Treat is the ultimate festive project for anyone who loves a bit of nostalgia during the Christmas season. Unlike the mass produced versions, these cakes use high quality cocoa and a fluffy marshmallow cream that provides a much better texture and deeper chocolate flavor. They are incredibly fun to decorate with the kids, allowing you to customize the signature green stripes and red sprinkles to your heart’s content. Plus, the satisfaction of cutting out those perfect little tree shapes makes the holiday baking experience feel truly special.
This Holiday Treat Ingredients & Substitutions
- 1 box chocolate cake mix (Standard 15.25 oz size)
- 3 large eggs
- 1/2 cup vegetable oil
- 1 cup water
- 1 teaspoon alcohol-free vanilla extract
- 1/2 cup unsalted butter, softened
- 1 cup marshmallow fluff
- 1 cup powdered sugar
- 16 ounces dark chocolate melting wafers
- 2 tablespoons vegetable shortening (to thin the chocolate)
- Green decorating icing or melted green candy melts
- Red sanding sugar or small red nonpareils
If you prefer to bake from scratch, you can replace the cake mix with your favorite devil’s food cake recipe scaled for a jelly roll pan. For the filling, if marshmallow fluff is unavailable, a thick buttercream frosting works well, though it will be less airy. You can substitute the vegetable oil with melted butter for a richer crumb, and if you enjoy a bit of a festive kick, feel free to add a drop of peppermint extract to the creamy filling.
Step-by-Step Instructions to Make This Holiday Treat
Step 1: Baking the Sheet Cake
Preheat your oven to 350 degrees Fahrenheit. Grease a standard jelly roll pan or a large rimmed baking sheet and line it with parchment paper. Mix the chocolate cake mix, eggs, oil, water, and alcohol-free vanilla in a large bowl until smooth. Pour the batter into the prepared pan, spreading it into a thin, even layer. Bake for 12 to 15 minutes or until a toothpick comes out clean. Let the cake cool completely in the pan.
Step 2: Preparing the Cream Filling
In a medium mixing bowl, beat the softened butter and marshmallow fluff together until light and fluffy. Gradually add the powdered sugar while continuing to beat on low speed. Once combined, increase the speed and whip the mixture for another minute until it resembles a thick, spreadable cream. This will be the sweet center of your trees.
Step 3: Cutting the Tree Shapes
Carefully lift the cooled cake out of the pan using the parchment paper. Use a tree-shaped cookie cutter to cut out as many trees as possible. You should be able to get at least 24 individual tree shapes to create 12 sandwiches. If you have cake scraps leftover, they make a delicious snack while you work.
Step 4: Assembling the Sandwiches
Spread a generous tablespoon of the marshmallow cream onto the bottom side of half the cake trees. Place another cake tree on top, pressing down gently so the filling reaches the edges but does not spill out. Place the assembled sandwiches on a tray and freeze them for about 20 to 30 minutes. This step is crucial as it makes them much easier to dip in chocolate without falling apart.
Step 5: Coating in Chocolate
Melt the dark chocolate wafers and shortening in a microwave-safe bowl in 30-second intervals, stirring until completely smooth. Remove the chilled cakes from the freezer. Using a fork or a dipping tool, submerge each cake sandwich into the melted chocolate. Lift it out, let the excess drip off, and place it back onto parchment paper to set.
Step 6: Decorating with Festive Flair
Once the chocolate coating has hardened, it is time for the final touches. Use the green decorating icing to drizzle diagonal stripes across the trees to mimic the classic look. While the green icing is still wet, sprinkle the red sanding sugar or nonpareils over the top to act as Christmas ornaments. Allow everything to set fully before serving.
Tips for Success
To ensure your cakes look professional, always use a sharp metal cookie cutter rather than a plastic one to get clean edges on the sponge. Freezing the cake sandwiches before dipping is a non-negotiable step, as it prevents crumbs from getting into your smooth chocolate coating. If your melted chocolate starts to thicken as you work, simply pop it back in the microwave for ten seconds to regain that silky consistency. For the best drizzle, use a piping bag with a very small round tip or a zip-top bag with a tiny corner snipped off.
Variations of This Holiday Treat
While the chocolate version is a fan favorite, you can easily adapt this recipe to create white chocolate Christmas trees. Simply swap the chocolate cake for a yellow or vanilla cake and use white chocolate melting wafers for the exterior. You can also experiment with different fillings, such as a chocolate ganache or a strawberry flavored cream. For a sophisticated twist, sprinkle a tiny bit of sea salt over the wet chocolate coating before it sets to balance the sweetness of the marshmallow center.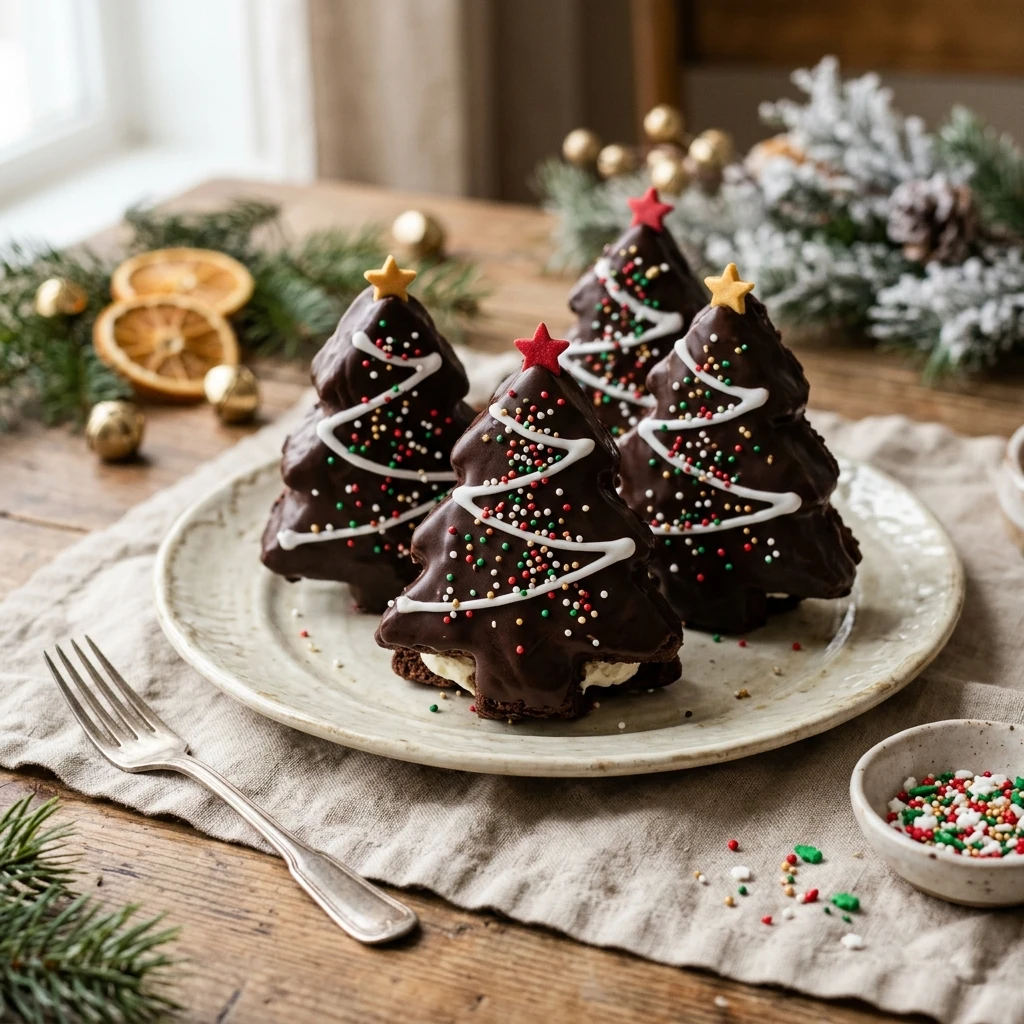
Serving Suggestions: What to Pair with This Holiday Treat
These rich cakes are best served alongside a warm beverage to cut through the sweetness. A steaming mug of cocoa with a dollop of whipped cream or a hot cup of peppermint tea makes for a perfect pairing. If you are serving these at a holiday party, they look beautiful arranged on a platter with fresh sprigs of mint and a few candy canes. They also make a fantastic addition to a holiday dessert board filled with gingerbread cookies and sugared cranberries.
Storage & Reheating Instructions
Store these cakes in an airtight container in the refrigerator for up to five days. Because of the cream filling and chocolate coating, they stay moist quite well. If you prefer to eat them at room temperature, take them out of the fridge about thirty minutes before serving. You can also freeze the finished cakes for up to three months. To do this, wrap each cake individually in plastic wrap and store them in a freezer-safe bag. Thaw them in the refrigerator overnight when you are ready to enjoy them again.
Memories Made Around the Table
There is something so special about the aroma of chocolate baking in the kitchen while the holiday lights twinkle in the background. I remember sitting at the kitchen table with my mother, carefully trying to drizzle the perfect green lines on our homemade treats without getting icing everywhere. Now, I carry on that tradition with my own loved ones, laughing over the messy bits and enjoying that first decadent bite together. These cakes are more than just a dessert, they are a way to slow down and savor the sweetness of the season with the people who matter most.
FAQs
Can I use a different shape for other holidays?
Absolutely! This method works perfectly for any season. You can use heart cutters for Valentine’s Day, pumpkin shapes for autumn, or simple circles for a classic year-round snack cake. Just adjust the colors of the coating and the icing to match the occasion.
How do I keep the chocolate from cracking?
The addition of a little vegetable shortening or coconut oil to the melting wafers helps the chocolate stay slightly more flexible once it sets. Also, make sure not to freeze the cakes for too long, as extreme temperature changes between a frozen cake and hot chocolate can sometimes cause fine cracks.
Can I make these ahead of time?
Yes, these are excellent for making ahead. You can bake the cake and assemble the sandwiches a day before, then do the dipping and decorating the next day. This breaks up the work and ensures the cakes have plenty of time to chill and set properly.
Why should I freeze the cakes before dipping?
The cake sponge is very soft and delicate. Freezing the sandwiches firms up the marshmallow cream and the cake itself, which prevents the trees from breaking or sliding apart when you submerge them in the heavy melted chocolate. It also helps the chocolate set faster.
Can I use white chocolate instead?
You can certainly use white chocolate melting wafers for the coating if you prefer the look of the white Little Debbie trees. The process remains exactly the same, and you can still use the green and red decorations to keep that iconic festive appearance.
Final Thoughts
Creating your own version of these nostalgic snacks is a rewarding experience that brings a touch of homemade love to your holiday dessert table. While they take a little bit of patience to assemble and dip, the flavor and texture are far superior to the store-bought variety. Whether you are gifting these to neighbors or enjoying them with a cold glass of milk by the fireplace, they are sure to become a new Christmas tradition in your home. Happy baking and may your holiday season be filled with sweet moments!
Homemade Chocolate Little Debbie Christmas Tree Cakes
- Total Time: 1 hour
Ingredients
- 1 box chocolate cake mix (Standard 15.25 oz size)
- 3 large eggs
- 1/2 cup vegetable oil
- 1 cup water
- 1 teaspoon alcohol-free vanilla extract
- 1/2 cup unsalted butter, softened
- 1 cup marshmallow fluff
- 1 cup powdered sugar
- 16 ounces dark chocolate melting wafers
- 2 tablespoons vegetable shortening (to thin the chocolate)
- Green decorating icing or melted green candy melts
- Red sanding sugar or small red nonpareils
Instructions
- Preheat your oven to 350 degrees Fahrenheit. Grease a standard jelly roll pan or a large rimmed baking sheet and line it with parchment paper. Mix the chocolate cake mix, eggs, oil, water, and alcohol-free vanilla in a large bowl until smooth. Pour the batter into the prepared pan, spreading it into a thin, even layer. Bake for 12 to 15 minutes or until a toothpick comes out clean. Let the cake cool completely in the pan.
- In a medium mixing bowl, beat the softened butter and marshmallow fluff together until light and fluffy. Gradually add the powdered sugar while continuing to beat on low speed. Once combined, increase the speed and whip the mixture for another minute until it resembles a thick, spreadable cream. This will be the sweet center of your trees.
- Carefully lift the cooled cake out of the pan using the parchment paper. Use a tree-shaped cookie cutter to cut out as many trees as possible. You should be able to get at least 24 individual tree shapes to create 12 sandwiches. If you have cake scraps leftover, they make a delicious snack while you work.
- Spread a generous tablespoon of the marshmallow cream onto the bottom side of half the cake trees. Place another cake tree on top, pressing down gently so the filling reaches the edges but does not spill out. Place the assembled sandwiches on a tray and freeze them for about 20 to 30 minutes. This step is crucial as it makes them much easier to dip in chocolate without falling apart.
- Melt the dark chocolate wafers and shortening in a microwave-safe bowl in 30-second intervals, stirring until completely smooth. Remove the chilled cakes from the freezer. Using a fork or a dipping tool, submerge each cake sandwich into the melted chocolate. Lift it out, let the excess drip off, and place it back onto parchment paper to set.
- Once the chocolate coating has hardened, it is time for the final touches. Use the green decorating icing to drizzle diagonal stripes across the trees to mimic the classic look. While the green icing is still wet, sprinkle the red sanding sugar or nonpareils over the top to act as Christmas ornaments. Allow everything to set fully before serving.
- Cook Time: 60 minutes
- Diet: Vegetarian