
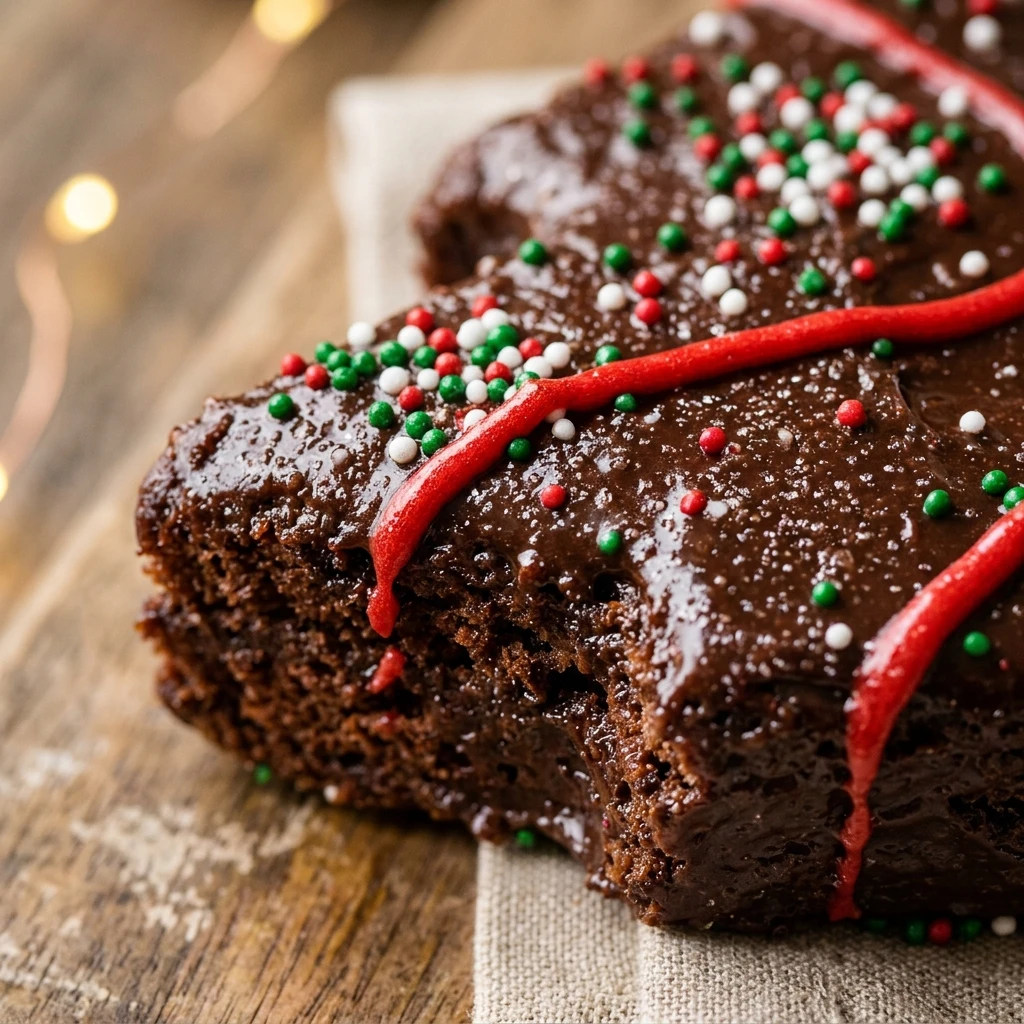
Every year when the holiday lights go up, I find myself craving those iconic snack cakes from the grocery store. There is something so nostalgic about biting into a festive tree shaped dessert while sitting by the fireplace. This year, I decided to recreate the chocolate version at home to share a bit of that magic with my family. Making these treats from scratch allows for a much richer chocolate flavor and a more tender crumb than the boxed versions I grew up eating.
Recipe Details
Recipe Information
- Prep Time: 45 minutes
- Cook Time: 15 minutes
- Total Time: 60 minutes
- Servings: 12 cakes
- Difficulty: Medium
Nutrition Information (Per Serving)
- Calories: 340
- Protein: 3g
- Carbs: 48g
- Fat: 16g
Why You’ll Love This Homemade Chocolate Christmas Tree Cakes
This Festive Treat is a total upgrade from the plastic wrapped originals. You get a deep, cocoa rich cake paired with a silky smooth filling that is not overly sweet. Because they are homemade, you can ensure every ingredient is high quality, including using alcohol-free vanilla for a pure flavor. They look absolutely stunning on a holiday dessert platter and make wonderful gifts for neighbors or teachers. Plus, the process of cutting out the shapes and decorating them with green sugar and red icing is a fun activity that the whole family can join in on during the Christmas season.
Homemade Chocolate Christmas Tree Cakes Ingredients & Substitutions
- 1 box chocolate cake mix (15.25 ounces)
- 3 large eggs
- 1/2 cup vegetable oil
- 1 cup water
- 1 cup unsalted butter, softened
- 3 cups powdered sugar
- 2 tablespoons unsweetened cocoa powder
- 1 teaspoon alcohol-free vanilla extract
- 2 cups white chocolate melting wafers
- 1 tablespoon coconut oil
- Green sanding sugar for decoration
- Red decorating icing for the garlands
If you prefer to bake from scratch, you can use your favorite devils food cake recipe instead of a mix. For the filling, you can substitute the cocoa powder with a tablespoon of melted dark chocolate for a more intense flavor. If white chocolate melting wafers are unavailable, high quality white chocolate bars chopped into small pieces will work, just ensure you melt them slowly to avoid seizing. For a different texture, you can use dark chocolate for the outer coating instead of white chocolate.
Step-by-Step Instructions to Make Homemade Chocolate Christmas Tree Cakes
Step 1: Bake the Chocolate Sheet Cake
Preheat your oven to 350 degrees Fahrenheit and grease a large rimmed baking sheet. Prepare the chocolate cake mix according to the box instructions using the eggs, vegetable oil, and water. Pour the batter onto the prepared baking sheet and spread it into a thin, even layer. Bake for 12 to 15 minutes or until a toothpick comes out clean. Allow the cake to cool completely in the pan before moving to the next step.
Step 2: Cut the Christmas Tree Shapes
Once the cake is fully cooled, use a tree shaped cookie cutter to cut out 24 individual trees. Work carefully to get the shapes as close together as possible to minimize waste. If the cake feels too soft, you can place the pan in the freezer for 20 minutes to firm it up, which makes cutting much easier. Carefully lift the trees out of the pan and set them aside on a piece of parchment paper.
Step 3: Prepare the Creamy Filling
In a large mixing bowl, beat the softened butter until it is light and fluffy. Gradually add the powdered sugar, cocoa powder, and alcohol-free vanilla extract. Continue beating on medium high speed until the frosting is smooth and holds its shape. If the frosting is too stiff, you can add a teaspoon of milk or water to reach the desired consistency.
Step 4: Assemble the Cake Sandwiches
Flip 12 of the cake trees upside down. Spread a generous layer of the chocolate filling onto the flat side of each tree. Place the remaining 12 cake trees on top, pressing down gently to create a sandwich. Use a small knife or spatula to smooth any frosting that squeezes out of the sides. Place the assembled sandwiches in the freezer for 30 minutes to ensure they stay together during the coating process.
Step 5: Coat and Decorate
Melt the white chocolate wafers and coconut oil in a microwave safe bowl in 30 second intervals, stirring in between until smooth. Set a chilled cake sandwich on a fork and dip it into the melted chocolate, or pour the chocolate over the top until fully covered. Tap off the excess. While the chocolate is still wet, sprinkle with green sanding sugar. Once the coating has set, use the red icing to pipe festive garlands across the trees.
Tips for Success
To get the cleanest cuts, make sure the cake is completely cold before using your cookie cutter. If you find the white chocolate is too thick, adding a little more coconut oil will help it flow smoothly over the cakes. It is also helpful to use a wire rack set over parchment paper when coating the cakes, as this allows the excess chocolate to drip away cleanly. For the most vibrant look, apply the sanding sugar immediately after dipping before the white chocolate starts to harden.
Variations of Homemade Chocolate Christmas Tree Cakes
While the chocolate version is a classic, you can easily adapt this recipe. Try a vanilla cake base with a peppermint flavored filling for a cool, wintry twist. You can also color the white chocolate coating with green food coloring if you want the entire tree to be green instead of white. For a more sophisticated palate, use a dark chocolate ganache for the filling and top with a sprinkle of sea salt and edible gold leaf.
Serving Suggestions: What to Pair with Homemade Chocolate Christmas Tree Cakes
These cakes are quite rich, so they pair beautifully with a cold glass of milk or a hot cup of peppermint tea. If you are serving them at a Christmas party, arrange them on a platter with fresh raspberries and sprigs of mint to add a pop of color. They also go wonderfully alongside a scoop of vanilla bean ice cream if you want to turn a simple snack into a plated holiday dessert.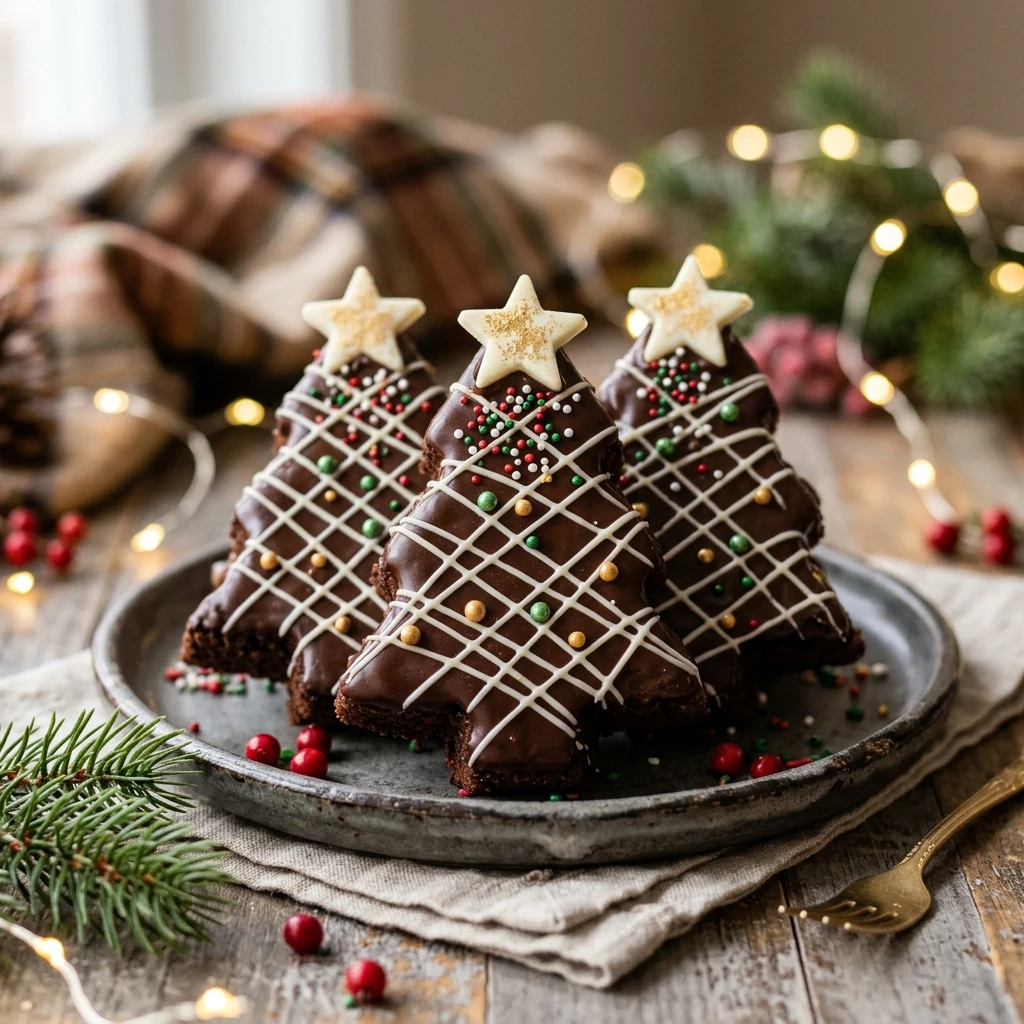
Storage & Reheating Instructions
Store these cakes in an airtight container in the refrigerator for up to five days. Because of the butter based filling and chocolate coating, they stay moist and delicious when kept cool. If you need to store them longer, they can be frozen for up to two months. Simply wrap each cake individually in plastic wrap before placing them in a freezer bag. Thaw them in the refrigerator overnight before serving. Reheating is not recommended as it will melt the chocolate coating and the filling.
Memories Made Around the Table
I still remember the first time I made these with my grandmother. The kitchen was filled with the scent of cocoa and the sound of carols playing on the radio. We spent hours perfecting the red icing zig zags and laughing at the ones that turned out a bit lopsided. Those moments of connection are what the holidays are truly about, and every time I bake these cakes now, I feel like I am back in her warm kitchen. It is a tradition I hope to pass down to my own children one day.
FAQs
Can I make these cakes ahead of time?
Yes, these are excellent for making in advance. You can bake and assemble the cakes up to two days before your event. Just keep them refrigerated so the coating stays crisp and the filling remains firm. They actually taste better after the flavors have had a chance to meld together.
How do I get a smooth chocolate coating?
The secret is using high quality melting wafers and a bit of coconut oil. The oil thins the chocolate just enough to let it pour evenly. Also, make sure the cakes are very cold before dipping, as this helps the chocolate set quickly and prevents the cake from crumbling into the melted mixture.
Can I use a different cake flavor?
Absolutely. While chocolate is traditional for the dark version of these snacks, you can use yellow cake, red velvet, or even spice cake for a more seasonal flavor. Just follow the same method of baking a thin sheet cake and using a cookie cutter for the shapes.
What if I do not have a tree cookie cutter?
If you do not have a cutter, you can print a tree template on paper, cut it out, and use it as a guide. Place the paper over the cake and cut around it with a sharp paring knife. It takes a little more patience but yields the same beautiful results.
Why did my chocolate coating crack?
Cracking usually happens if the cake is extremely frozen and the chocolate is very hot. Try to let the cakes sit at room temperature for just a few minutes after taking them out of the freezer before dipping, and make sure your melted chocolate is warm but not boiling hot.
Final Thoughts
Creating your own Homemade Chocolate Christmas Tree Cakes is a rewarding way to celebrate the holiday season. They offer a touch of nostalgia combined with the superior taste of a homemade dessert. Whether you are making them for a festive party or just to enjoy during a movie night at home, these little cakes are sure to bring a smile to everyone’s face. Happy baking and Merry Christmas.
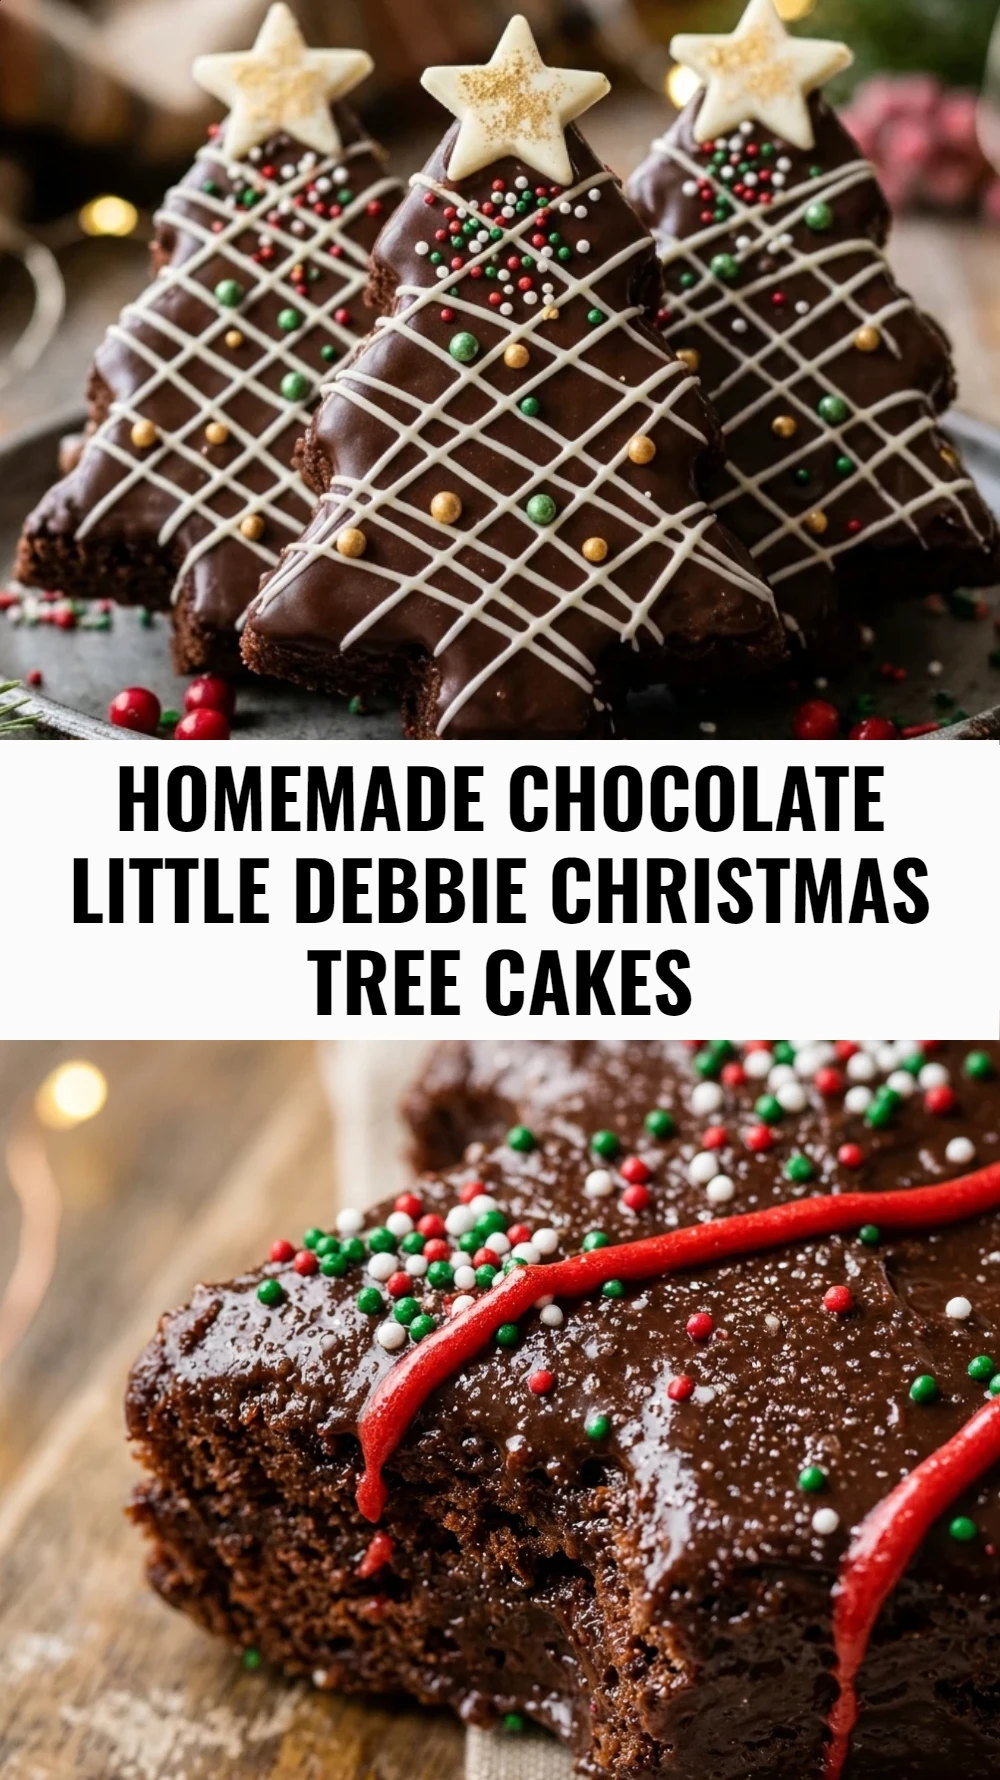
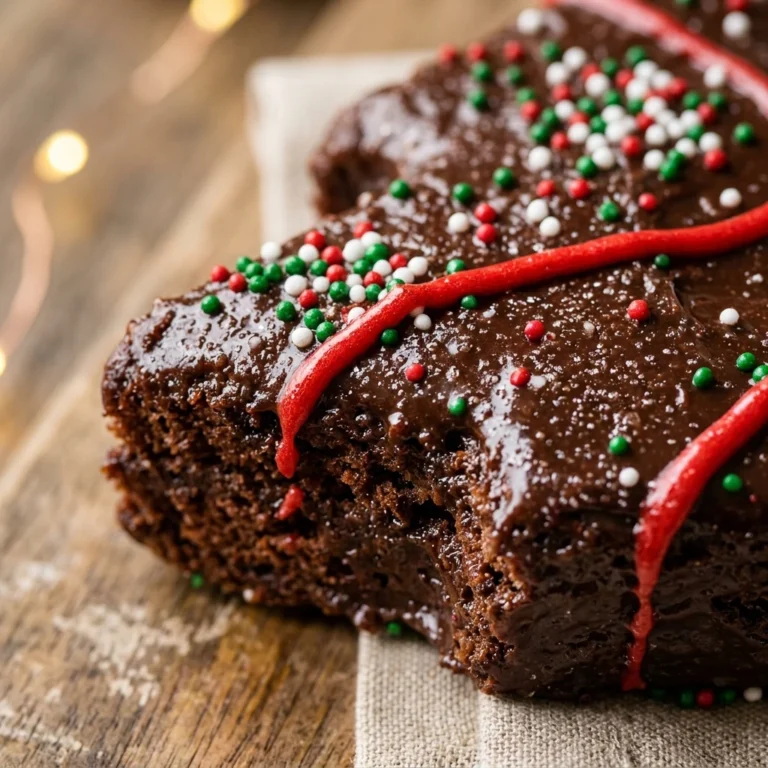
Homemade Chocolate Little Debbie Christmas Tree Cakes
- Total Time: 1 hour
Ingredients
- 1 box chocolate cake mix (15.25 ounces)
- 3 large eggs
- 1/2 cup vegetable oil
- 1 cup water
- 1 cup unsalted butter, softened
- 3 cups powdered sugar
- 2 tablespoons unsweetened cocoa powder
- 1 teaspoon alcohol-free vanilla extract
- 2 cups white chocolate melting wafers
- 1 tablespoon coconut oil
- Green sanding sugar for decoration
- Red decorating icing for the garlands
Instructions
- Preheat your oven to 350 degrees Fahrenheit and grease a large rimmed baking sheet. Prepare the chocolate cake mix according to the box instructions using the eggs, vegetable oil, and water. Pour the batter onto the prepared baking sheet and spread it into a thin, even layer. Bake for 12 to 15 minutes or until a toothpick comes out clean. Allow the cake to cool completely in the pan before moving to the next step.
- Once the cake is fully cooled, use a tree shaped cookie cutter to cut out 24 individual trees. Work carefully to get the shapes as close together as possible to minimize waste. If the cake feels too soft, you can place the pan in the freezer for 20 minutes to firm it up, which makes cutting much easier. Carefully lift the trees out of the pan and set them aside on a piece of parchment paper.
- In a large mixing bowl, beat the softened butter until it is light and fluffy. Gradually add the powdered sugar, cocoa powder, and alcohol-free vanilla extract. Continue beating on medium high speed until the frosting is smooth and holds its shape. If the frosting is too stiff, you can add a teaspoon of milk or water to reach the desired consistency.
- Flip 12 of the cake trees upside down. Spread a generous layer of the chocolate filling onto the flat side of each tree. Place the remaining 12 cake trees on top, pressing down gently to create a sandwich. Use a small knife or spatula to smooth any frosting that squeezes out of the sides. Place the assembled sandwiches in the freezer for 30 minutes to ensure they stay together during the coating process.
- Melt the white chocolate wafers and coconut oil in a microwave safe bowl in 30 second intervals, stirring in between until smooth. Set a chilled cake sandwich on a fork and dip it into the melted chocolate, or pour the chocolate over the top until fully covered. Tap off the excess. While the chocolate is still wet, sprinkle with green sanding sugar. Once the coating has set, use the red icing to pipe festive garlands across the trees.
- Cook Time: 60 minutes
- Diet: Vegetarian