
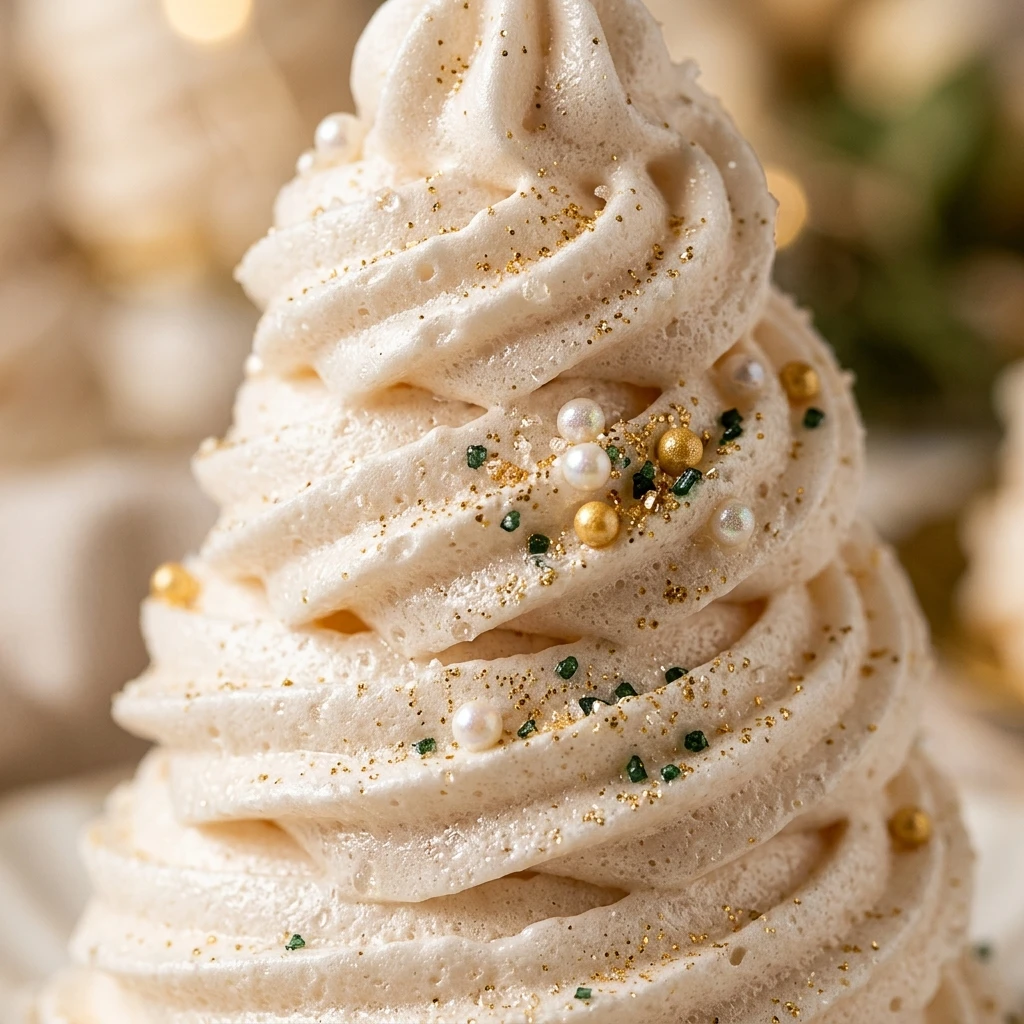
I always feel a spark of holiday magic when the oven starts warming up for these festive bakes. These Mini Meringue Christmas Trees have become a staple in my home because they are as beautiful as they are delicious. I find that their airy crunch and sweet finish perfectly capture the spirit of a white Christmas, making them the ultimate centerpiece for any holiday dessert table.
Recipe Details
Recipe Information
- Prep Time: 25 minutes
- Cook Time: 1 hour 30 minutes
- Total Time: 1 hour 55 minutes
- Servings: 24 trees
- Difficulty: Easy
Nutrition Information (Per Serving)
- Calories: 35
- Protein: 1g
- Carbs: 8g
- Fat: 0g
Why You’ll Love This Mini Meringue Christmas Trees
These adorable treats are incredibly lightweight and offer a satisfying snap with every bite. Since they only require a handful of basic ingredients, they are a budget friendly way to impress your guests during the busy holiday season. They are also naturally fat free and can be decorated in endless ways to match your Christmas decor, making them a versatile addition to your festive baking repertoire.
Mini Meringue Christmas Trees Ingredients & Substitutions
- 4 large egg whites, at room temperature
- 1 cup extra fine granulated sugar
- 1/4 teaspoon cream of tartar
- 1 teaspoon alcohol-free vanilla extract
- Green gel food coloring
- Assorted small colorful sprinkles
- Edible gold stars for the toppers
If you do not have cream of tartar, you can replace it with an equal amount of lemon juice or white vinegar to help stabilize the egg whites. For the coloring, gel food colors work best to maintain the thick structure of the meringue, but you can leave them white for a snowy forest look if preferred. You can also experiment with different alcohol-free extracts like peppermint or almond to change the flavor profile for the holidays.
Step-by-Step Instructions to Make Mini Meringue Christmas Trees
Step 1: Preparation
Preheat your oven to 200 degrees Fahrenheit. Line two large baking sheets with parchment paper or silicone baking mats. Ensure that your mixing bowl and whisk attachment are completely clean and free of any grease or residue, as even a tiny amount of oil can prevent the egg whites from whipping properly.
Step 2: Beat the Egg Whites
Place the room temperature egg whites into the bowl of a stand mixer. Add the cream of tartar and begin whipping on medium-low speed until the mixture becomes foamy. Increase the speed to medium-high and continue beating until soft peaks form, which is when the whites hold their shape but the tips fold over when the whisk is lifted.
Step 3: Gradually Add the Sugar
While the mixer is running on high speed, add the granulated sugar one tablespoon at a time. It is important to add the sugar slowly to allow it to dissolve completely into the whites. Continue beating until the mixture reaches stiff, glossy peaks. You can test this by rubbing a small amount of the meringue between your fingers, if it feels smooth and not gritty, the sugar has dissolved.
Step 4: Color and Flavor the Meringue
Gently fold in the alcohol-free vanilla extract and a small amount of green gel food coloring. Use a spatula to fold the color in until it is uniform, or leave it slightly streaky for a textured look. Be careful not to over-mix, as you want to keep as much air in the meringue as possible.
Step 5: Pipe the Trees
Fit a large piping bag with a star tip and fill it with the green meringue. To create the trees, pipe three layers of stars on top of each other. Start with a large star for the base, pipe a medium star directly on top, and finish with a small star to create a point. Leave about an inch of space between each tree on the baking sheet.
Step 6: Decorate and Bake
Carefully place your sprinkles on the trees to look like ornaments and add a gold star to the top of each one. Place the trays in the oven and bake for 90 minutes. Once the time is up, turn off the oven and leave the door slightly ajar, allowing the meringues to cool completely inside the oven for at least an hour. This prevents cracking caused by sudden temperature changes.
Tips for Success
Always use room temperature eggs because they whip up to a much larger volume than cold eggs. When separating your eggs, make sure no yolk gets into the whites, as the fat in the yolk will stop the meringue from stiffening. If it is a very humid day, you may need to bake the meringues for an extra 15 to 20 minutes to ensure they dry out completely and do not become sticky.
Variations of Mini Meringue Christmas Trees
For a winter wonderland theme, keep the meringue white and use silver or blue sprinkles. You can also dip the bottoms of the cooled trees into melted chocolate and then into crushed candy canes for an extra layer of flavor. Another fun idea is to pipe the trees in different shades of green by adding more gel coloring to the bag as you go, creating a forest with various tones.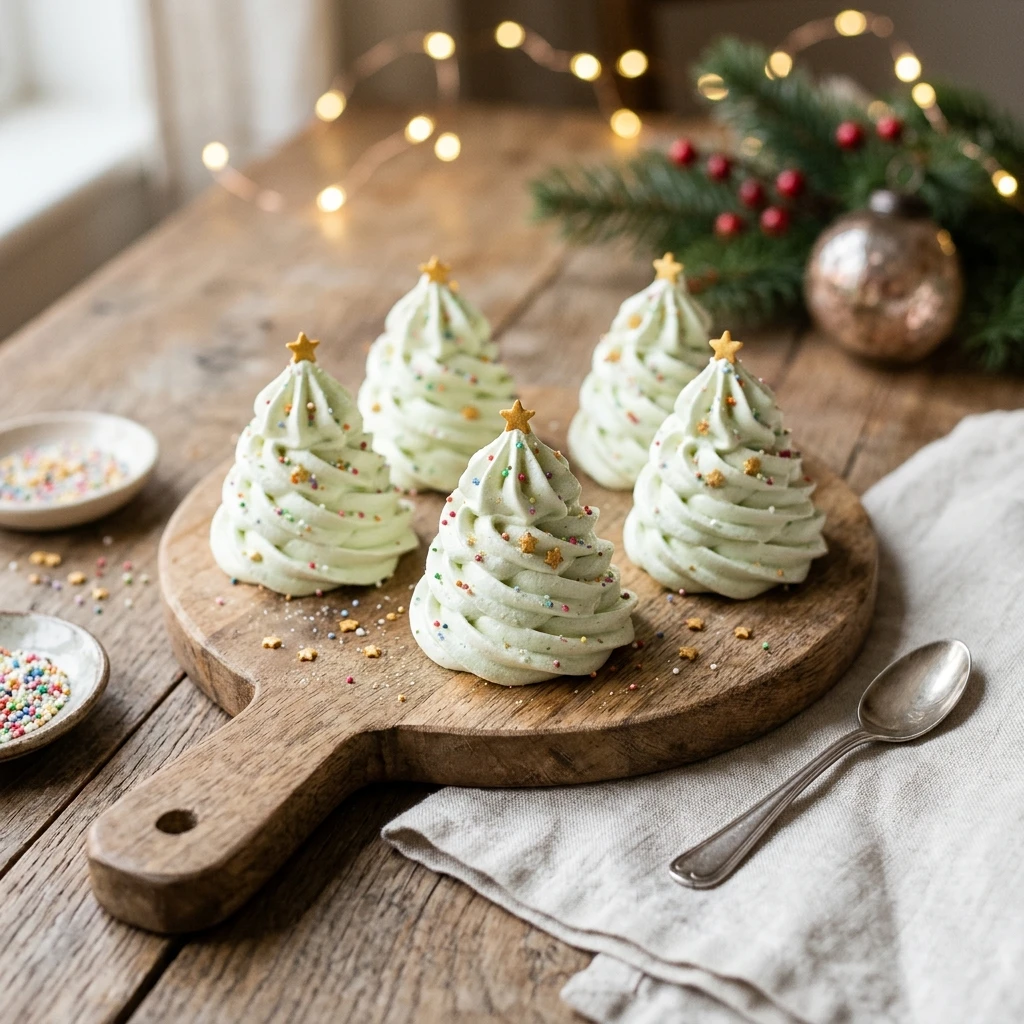
Serving Suggestions: What to Pair with Mini Meringue Christmas Trees
These light treats are the perfect accompaniment to a rich cup of hot cocoa or a creamy gingerbread latte. They also look stunning when used as edible cake toppers for a holiday spice cake or arranged on a platter with dark chocolate truffles and fresh cranberries. If you are hosting a party, serve them alongside a warm fruit compote for a delightful contrast in textures.
Storage & Reheating Instructions
Store your Mini Meringue Christmas Trees in a strictly airtight container at room temperature. They are very sensitive to moisture, so keep them in a cool, dry place. They do not require refrigeration and should not be frozen, as the thawing process will cause them to soften and lose their crunch. If stored correctly, they will remain crisp for up to two weeks.
Memories Made Around the Table
I remember the first time I made these with my nieces on a snowy Sunday afternoon. They were so excited to place the tiny edible stars on top of each green swirl, treating every tree like a masterpiece. We spent the whole afternoon laughing as we decorated our little sugar forest, creating a new tradition that I look forward to every single December when the air turns chilly.
FAQs
Can I make these Mini Meringue Christmas Trees on a rainy day?
Meringues are quite sensitive to humidity because sugar absorbs moisture from the air. If it is very humid or raining, the meringues might come out sticky or soft. If you must make them on a damp day, try running a dehumidifier in the kitchen and leave them in the oven to dry for a longer period after baking.
Why did my meringues turn out chewy instead of crisp?
Chewy meringues are usually the result of under-baking or not letting them dry out long enough in the oven. The goal of baking at a low temperature is to dehydrate the meringue. Ensure you leave them in the oven with the door cracked until they are completely cool to the touch.
How do I prevent the meringues from cracking?
Cracks often happen when meringues cool down too quickly. By turning off the oven and letting them sit inside as the temperature drops naturally, you give the structure time to stabilize. Avoid opening the oven door frequently during the baking process as well.
Can I use liquid food coloring instead of gel?
It is best to use gel food coloring for this recipe. Liquid coloring adds extra moisture to the egg whites, which can cause the meringue to deflate or lose its sharp piped edges. Gel coloring provides a vibrant hue without changing the consistency of the batter.
How long do these Mini Meringue Christmas Trees stay fresh?
When kept in an airtight container away from heat and moisture, these treats can last for up to two weeks. Just make sure the container is sealed tight, as even a small amount of air can cause them to become tacky over time.
Final Thoughts
These Mini Meringue Christmas Trees are a wonderful way to add a touch of handmade charm to your holiday celebrations. They require just a few pantry staples but yield results that look like they came straight from a professional bakery. I hope they bring as much sweetness and festive joy to your home as they do to mine this holiday season.
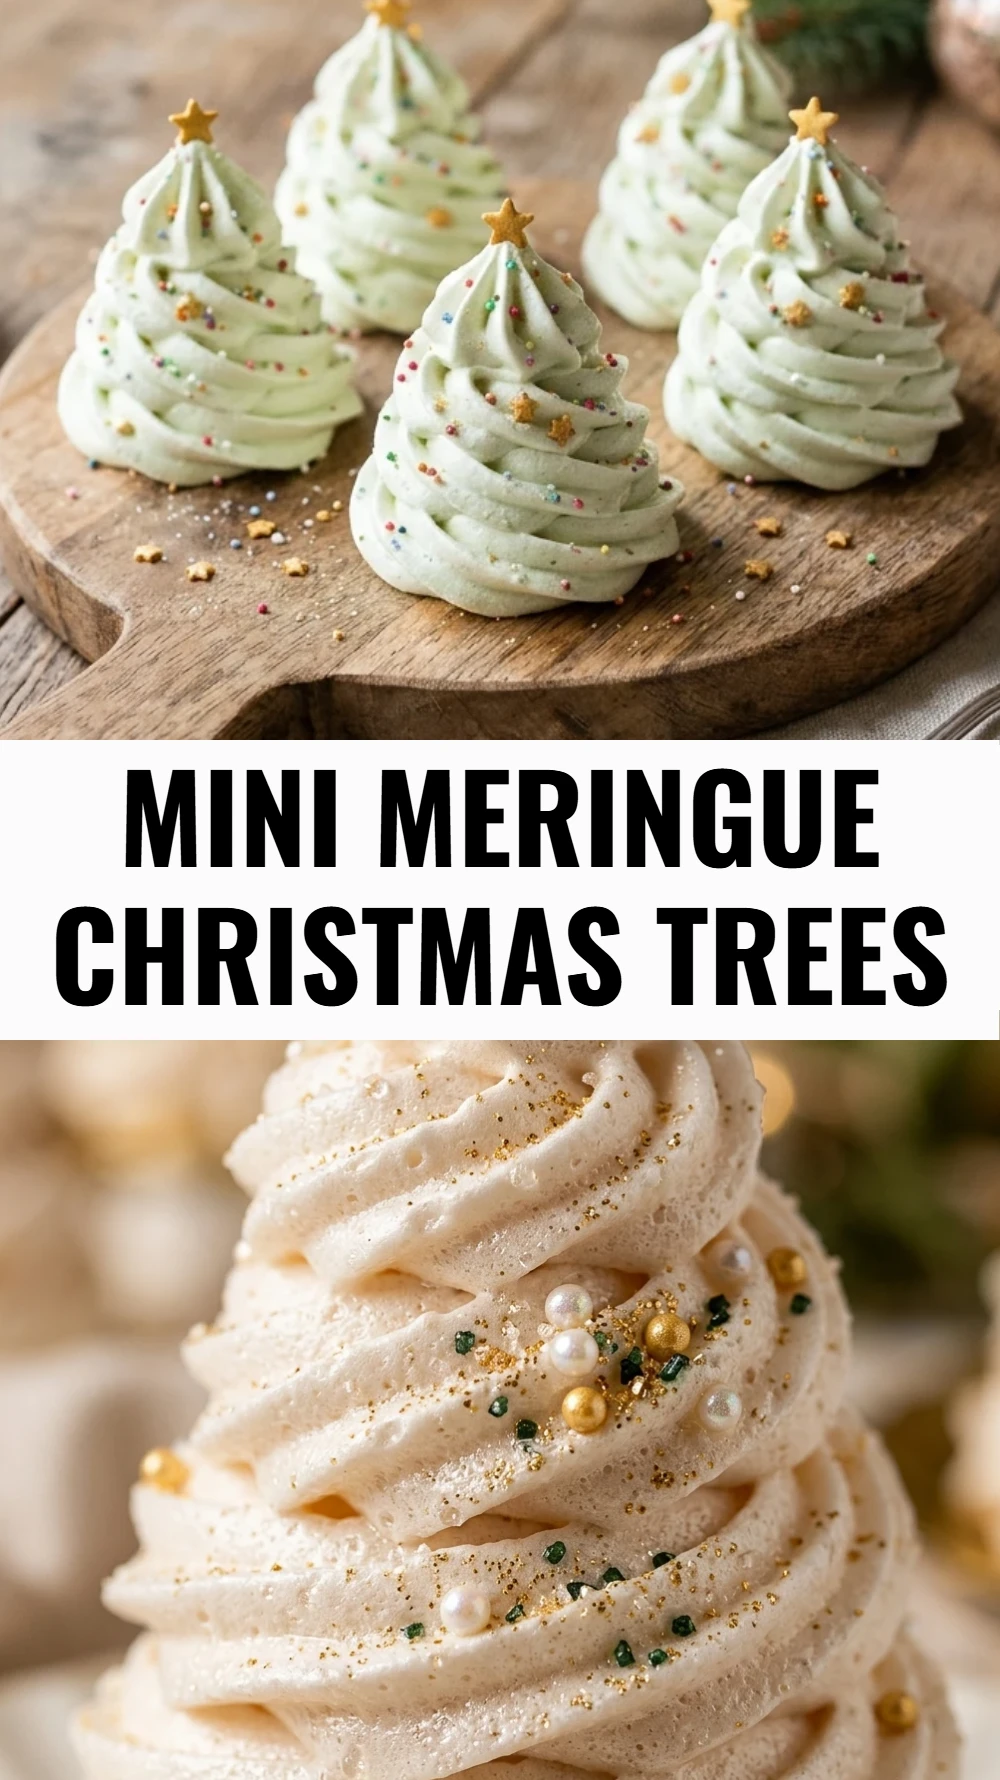
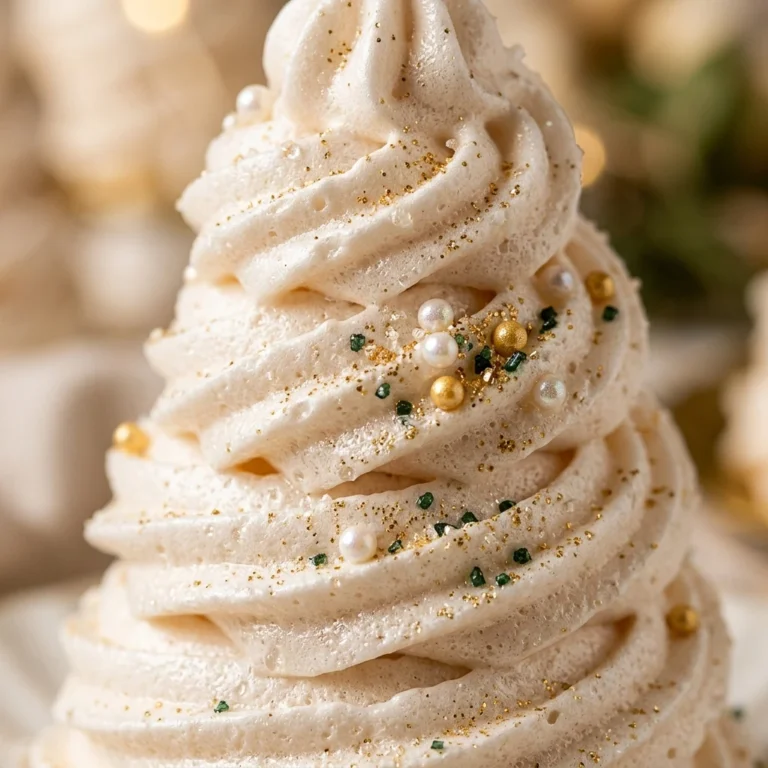
Mini Meringue Christmas Trees
- Total Time: 1 hour 55 minutes
Ingredients
- 4 large egg whites, at room temperature
- 1 cup extra fine granulated sugar
- 1/4 teaspoon cream of tartar
- 1 teaspoon alcohol-free vanilla extract
- Green gel food coloring
- Assorted small colorful sprinkles
- Edible gold stars for the toppers
Instructions
- Preheat your oven to 200 degrees Fahrenheit. Line two large baking sheets with parchment paper or silicone baking mats. Ensure that your mixing bowl and whisk attachment are completely clean and free of any grease or residue, as even a tiny amount of oil can prevent the egg whites from whipping properly.
- Place the room temperature egg whites into the bowl of a stand mixer. Add the cream of tartar and begin whipping on medium-low speed until the mixture becomes foamy. Increase the speed to medium-high and continue beating until soft peaks form, which is when the whites hold their shape but the tips fold over when the whisk is lifted.
- While the mixer is running on high speed, add the granulated sugar one tablespoon at a time. It is important to add the sugar slowly to allow it to dissolve completely into the whites. Continue beating until the mixture reaches stiff, glossy peaks. You can test this by rubbing a small amount of the meringue between your fingers, if it feels smooth and not gritty, the sugar has dissolved.
- Gently fold in the alcohol-free vanilla extract and a small amount of green gel food coloring. Use a spatula to fold the color in until it is uniform, or leave it slightly streaky for a textured look. Be careful not to over-mix, as you want to keep as much air in the meringue as possible.
- Fit a large piping bag with a star tip and fill it with the green meringue. To create the trees, pipe three layers of stars on top of each other. Start with a large star for the base, pipe a medium star directly on top, and finish with a small star to create a point. Leave about an inch of space between each tree on the baking sheet.
- Carefully place your sprinkles on the trees to look like ornaments and add a gold star to the top of each one. Place the trays in the oven and bake for 90 minutes. Once the time is up, turn off the oven and leave the door slightly ajar, allowing the meringues to cool completely inside the oven for at least an hour. This prevents cracking caused by sudden temperature changes.
- Cook Time: 1 hour 55 minutes
- Diet: Vegetarian, Gluten-Free, Fat-Free