
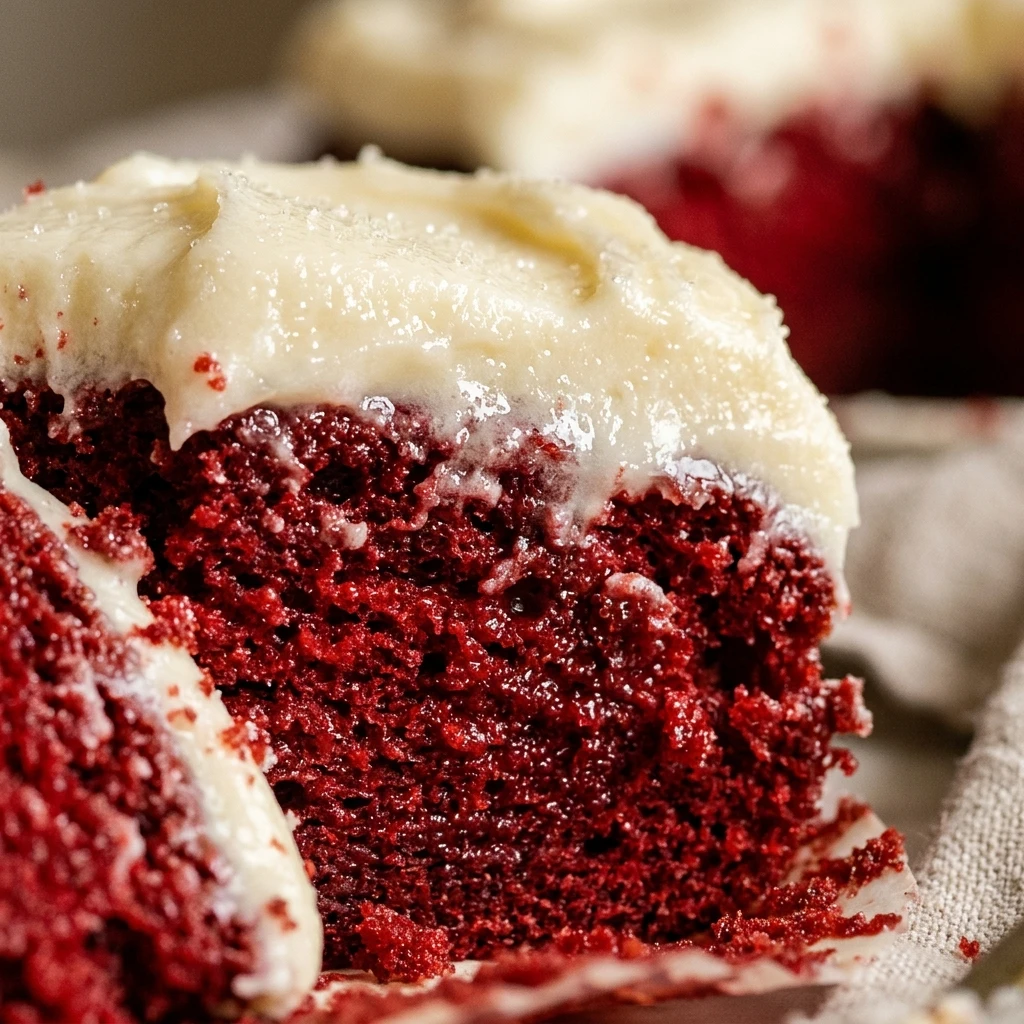
I always feel a special kind of magic in the air when the holiday season arrives, and nothing captures that joy better than a beautiful cake. This Red Velvet Cake has become my signature Christmas dessert because its striking red color and snowy white frosting look so festive on the dinner table. I love the way the kitchen smells of sweet cocoa and cream cheese while the snow falls outside, making it the perfect treat to share with the people I love most.
Recipe Details
Recipe Information
- Prep Time: 30 minutes
- Cook Time: 35 minutes
- Total Time: 65 minutes
- Servings: 12 servings
- Difficulty: Medium
Nutrition Information (Per Serving)
- Calories: 480 kcal
- Protein: 5g
- Carbs: 62g
- Fat: 24g
Why You’ll Love This Red Velvet Cake
This Red Velvet Cake is the ultimate holiday showstopper. Its deep red hue provides a stunning contrast to the bright white frosting, making it fit perfectly with your Christmas decor. Beyond its looks, the texture is incredibly soft and moist with a very subtle hint of cocoa that feels sophisticated and comforting. It is a crowd pleaser that feels much more expensive and difficult to make than it actually is, and the tangy cream cheese frosting is the perfect balance to the sweet sponge.
Red Velvet Cake Ingredients & Substitutions
- 2 and 1/2 cups cake flour
- 1 and 1/2 cups granulated sugar
- 1 teaspoon baking soda
- 1 teaspoon fine salt
- 1 teaspoon unsweetened cocoa powder
- 1 cup buttermilk, room temperature
- 2 large eggs, room temperature
- 1 and 1/2 cups vegetable oil
- 1 teaspoon white distilled vinegar
- 1 tablespoon red food coloring
- 1 teaspoon alcohol-free vanilla extract
- 16 ounces cream cheese, softened (for frosting)
- 1/2 cup unsalted butter, softened (for frosting)
- 4 cups powdered sugar, sifted (for frosting)
- 1 teaspoon alcohol-free vanilla extract (for frosting)
To make a quick buttermilk alternative, you can stir one tablespoon of lemon juice into a cup of whole milk and let it sit for five minutes before using. If you do not have cake flour, you can substitute it by using two cups and two tablespoons of all-purpose flour mixed with two tablespoons of cornstarch. For the oil, any neutral flavored oil like canola or sunflower works perfectly, and you can adjust the food coloring amount to achieve your desired shade of Christmas red.
Step-by-Step Instructions to Make Red Velvet Cake
Step 1: Preparation and Oven Setup
Preheat your oven to 350 degrees Fahrenheit. Grease and lightly flour two 9 inch round cake pans, or line the bottoms with parchment paper to ensure the holiday layers come out cleanly. It is helpful to have all your ingredients at room temperature to ensure a smooth batter.
Step 2: Sift the Dry Ingredients
In a medium bowl, whisk together the cake flour, sugar, baking soda, salt, and cocoa powder. Sifting these together helps to aerate the flour and ensures there are no lumps of cocoa powder in your festive cake layers.
Step 3: Combine the Wet Ingredients
In a large mixing bowl, whisk together the vegetable oil, buttermilk, eggs, red food coloring, white vinegar, and alcohol-free vanilla extract. Mix until the color is vibrant and the ingredients are fully incorporated.
Step 4: Create the Cake Batter
Slowly add the dry ingredients into the wet ingredients. Mix by hand or with a mixer on low speed until just combined. Be careful not to overmix, as you want the cake to remain light and velvety rather than dense.
Step 5: Bake the Layers
Divide the batter evenly between the two prepared pans. Place them in the center of the oven and bake for 30 to 35 minutes. You will know they are done when a toothpick inserted into the center comes out clean. Let the cakes cool in the pans for about 10 minutes before transferring them to a wire rack to cool completely.
Step 6: Prepare the Cream Cheese Frosting
While the cake cools, beat the softened cream cheese and butter together until the mixture is very smooth and creamy. Gradually add the powdered sugar and alcohol-free vanilla extract, beating on low speed then increasing to medium until the frosting is fluffy and spreadable.
Step 7: Assemble and Frost
Once the cakes are entirely cool, place one layer on your serving plate. Spread a generous layer of frosting over the top. Place the second layer on top and cover the top and sides of the cake with the remaining frosting. You can smooth it out for a clean look or create swirls to mimic snow drifts.
Tips for Success
For the best results, always use room temperature eggs and buttermilk to prevent the batter from curdling. When measuring your flour, use the spoon and level method to avoid packing it too tightly. If your cake layers have a slight dome, you can carefully trim the tops with a serrated knife once they are cool to make them easier to stack. Using a good quality red food coloring gel often provides a more intense color than liquid drops, which is perfect for a vibrant Christmas theme.
Variations of Red Velvet Cake
You can easily turn this recipe into festive cupcakes by reducing the bake time to about 18 to 20 minutes. For an extra touch of Christmas luxury, try adding white chocolate shavings or silver sprinkles on top of the frosting. If you prefer a tiered look, you can bake the batter in three 6 inch pans for a taller, more dramatic presentation. Some people also enjoy adding a handful of mini chocolate chips to the batter for a bit of extra texture in every bite.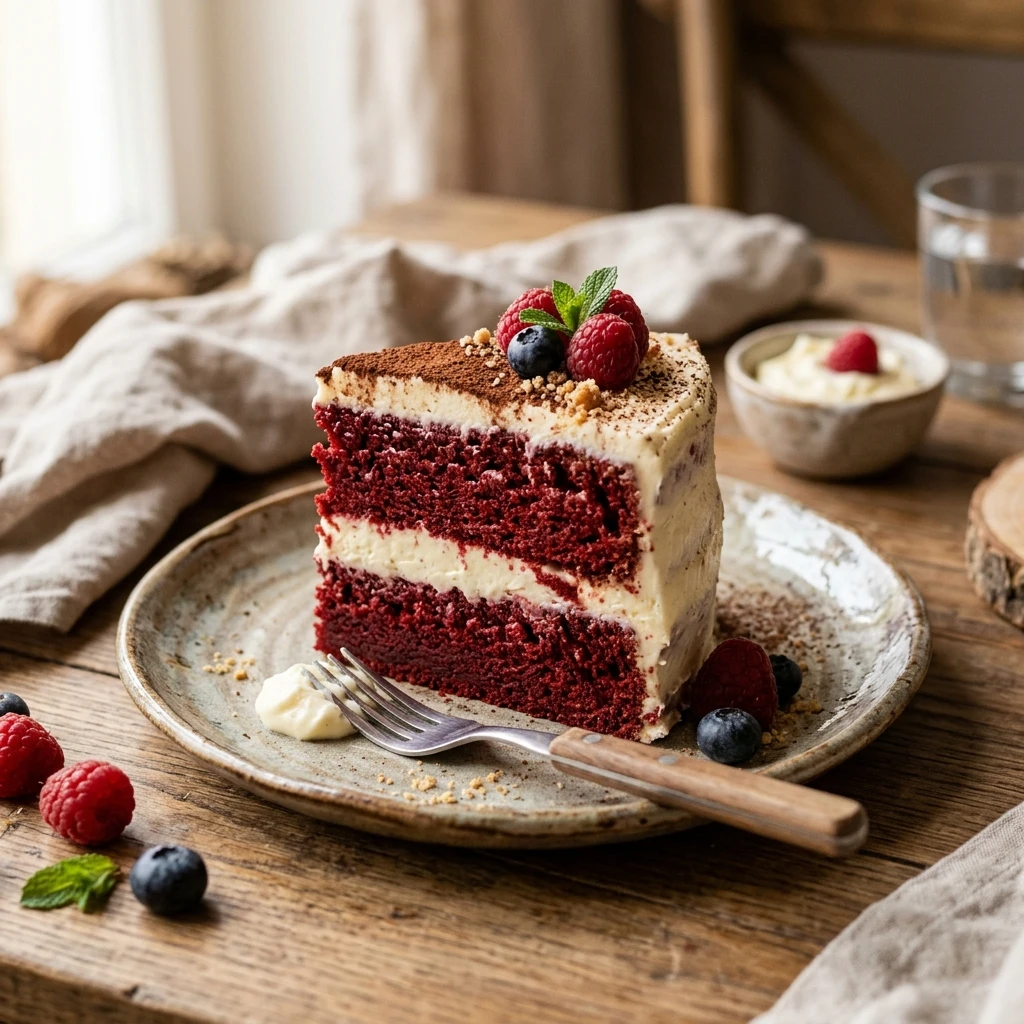
Serving Suggestions: What to Pair with Red Velvet Cake
This cake is quite rich, so it pairs beautifully with a hot cup of peppermint tea or a warm mug of cocoa. For a formal Christmas dinner, serve each slice with a few fresh raspberries or a sprig of mint to lean into the red and green holiday colors. It also goes wonderfully with a small scoop of vanilla bean ice cream on the side. If you are hosting a holiday party, consider serving it alongside a platter of salted nuts to balance the sweetness.
Storage & Reheating Instructions
Because of the cream cheese frosting, this cake should be stored in the refrigerator. Place it in an airtight cake carrier or cover it loosely with plastic wrap to keep it moist for up to five days. If you have leftover slices, you can freeze them individually by wrapping them tightly in parchment paper and then foil. When you are ready to eat, let the cake sit at room temperature for about 20 to 30 minutes to soften the frosting and bring out the best flavor.
Memories Made Around the Table
I remember the first time I made this cake for my family on Christmas Eve. My grandmother used to tell me that the secret to a good cake was the love you put into the stirring, and I think of her every time I see that bright red batter. We sat around the fireplace with our slices, laughing and sharing stories while the lights on the tree twinkled. Now, my kids look for this cake every year, and it has become a symbol of our holiday traditions and the warmth of being together.
FAQs
Why do I need to use vinegar in Red Velvet Cake?
The vinegar reacts with the baking soda and the small amount of cocoa powder to give the cake its signature light and fluffy texture. It also helps to brighten the red color of the cake, ensuring it looks spectacular for your holiday feast.
Can I make this cake a day in advance?
Yes, this cake actually tastes even better the next day as the flavors have time to meld together. You can bake and frost the cake, then keep it refrigerated overnight. Just be sure to take it out a little while before serving so it is not too cold.
What is the difference between Red Velvet and Chocolate Cake?
While Red Velvet does contain cocoa powder, it is a much smaller amount than what you would find in a traditional chocolate cake. The flavor profile is more focused on the tang of the buttermilk and the richness of the cream cheese frosting, resulting in a unique, mild chocolate taste.
How do I get the frosting perfectly smooth?
The key to smooth frosting is ensuring your butter and cream cheese are truly softened to room temperature before you start mixing. If the frosting feels too soft, you can pop it in the fridge for 15 minutes to firm up slightly before you finish decorating your Christmas masterpiece.
Can I use natural coloring instead of food dye?
You can use beet powder or highly concentrated beet juice if you prefer a natural alternative. Keep in mind that the color might be a more muted, earthy red rather than the bright crimson typically associated with holiday red velvet, but it will still taste delicious.
Final Thoughts
Baking this Red Velvet Cake is a wonderful way to bring a touch of elegance and tradition to your Christmas celebrations. Whether you are an experienced baker or trying your hand at a layer cake for the first time, the simple steps and classic flavors are sure to result in a dessert that everyone will remember. I hope this recipe brings as much joy and sweetness to your holiday table as it does to mine.
Red Velvet Cake
- Total Time: 1 hour 5 minutes
Ingredients
- 2 and 1/2 cups cake flour
- 1 and 1/2 cups granulated sugar
- 1 teaspoon baking soda
- 1 teaspoon fine salt
- 1 teaspoon unsweetened cocoa powder
- 1 cup buttermilk, room temperature
- 2 large eggs, room temperature
- 1 and 1/2 cups vegetable oil
- 1 teaspoon white distilled vinegar
- 1 tablespoon red food coloring
- 1 teaspoon alcohol-free vanilla extract
- 16 ounces cream cheese, softened (for frosting)
- 1/2 cup unsalted butter, softened (for frosting)
- 4 cups powdered sugar, sifted (for frosting)
- 1 teaspoon alcohol-free vanilla extract (for frosting)
Instructions
- Preheat your oven to 350 degrees Fahrenheit. Grease and lightly flour two 9 inch round cake pans, or line the bottoms with parchment paper to ensure the holiday layers come out cleanly. It is helpful to have all your ingredients at room temperature to ensure a smooth batter.
- In a medium bowl, whisk together the cake flour, sugar, baking soda, salt, and cocoa powder. Sifting these together helps to aerate the flour and ensures there are no lumps of cocoa powder in your festive cake layers.
- In a large mixing bowl, whisk together the vegetable oil, buttermilk, eggs, red food coloring, white vinegar, and alcohol-free vanilla extract. Mix until the color is vibrant and the ingredients are fully incorporated.
- Slowly add the dry ingredients into the wet ingredients. Mix by hand or with a mixer on low speed until just combined. Be careful not to overmix, as you want the cake to remain light and velvety rather than dense.
- Divide the batter evenly between the two prepared pans. Place them in the center of the oven and bake for 30 to 35 minutes. You will know they are done when a toothpick inserted into the center comes out clean. Let the cakes cool in the pans for about 10 minutes before transferring them to a wire rack to cool completely.
- While the cake cools, beat the softened cream cheese and butter together until the mixture is very smooth and creamy. Gradually add the powdered sugar and alcohol-free vanilla extract, beating on low speed then increasing to medium until the frosting is fluffy and spreadable.
- Once the cakes are entirely cool, place one layer on your serving plate. Spread a generous layer of frosting over the top. Place the second layer on top and cover the top and sides of the cake with the remaining frosting. You can smooth it out for a clean look or create swirls to mimic snow drifts.
- Cook Time: 65 minutes
- Diet: Vegetarian