
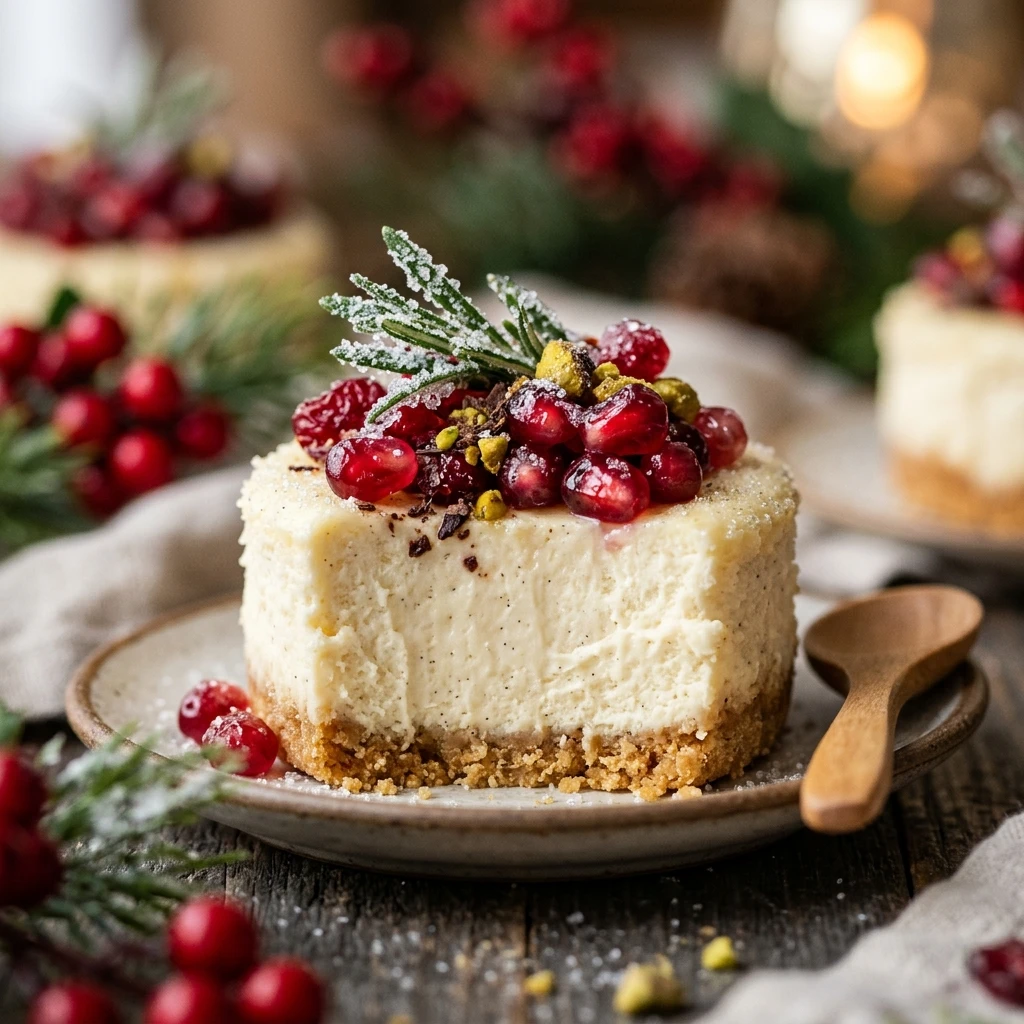
I love the holiday season because it means I can fill my kitchen with festive treats without spending all day at the oven. These No-Bake Christmas Cheesecake Bites are my favorite way to bring a little sparkle to the dessert table during the busy month of December. They are creamy, bite-sized, and decorated with festive colors that everyone in my family enjoys, making them the perfect addition to any holiday gathering.
Recipe Details
Recipe Information
- Prep Time: 20 minutes
- Cook Time: 0 minutes
- Total Time: 4 hours 20 minutes
- Servings: 24 bites
- Difficulty: Easy
Nutrition Information (Per Serving)
- Calories: 185
- Protein: 2g
- Carbs: 15g
- Fat: 14g
Why You’ll Love This No-Bake Christmas Cheesecake Bites
This recipe is a holiday lifesaver because it requires absolutely no oven space, which is a precious commodity during a Christmas feast. The texture is incredibly silky and rich, providing that classic cheesecake experience without the stress of water baths or cracked tops. Since they are served as small squares, they are easy for guests to grab and enjoy while mingling. Plus, the bright red and green decorations make them look like tiny, edible Christmas presents on your dessert platter.
No-Bake Christmas Cheesecake Bites Ingredients & Substitutions
- 1.5 cups graham cracker crumbs
- 6 tablespoons unsalted butter, melted
- 2 tablespoons granulated sugar
- 16 ounces cream cheese, softened to room temperature
- 1 cup powdered sugar
- 1 teaspoon alcohol-free vanilla extract
- 1 cup heavy whipping cream, cold
- 1/2 cup festive red and green sprinkles
- Optional: Whipped cream for garnish
If you prefer a different base, you can use crushed ginger cookies or chocolate wafers instead of graham crackers for a unique seasonal flavor. For those who enjoy a bit of tang, a teaspoon of fresh lemon juice can be added to the filling. If heavy cream is unavailable, a stabilized whipped topping can work as a convenient alternative, though the texture will be slightly airier and less rich. Always ensure your cream cheese is full-fat for the best setting results and the creamiest mouthfeel.
Step-by-Step Instructions to Make No-Bake Christmas Cheesecake Bites
Step 1: Prepare the Crust Base
Line an 8×8 inch square baking pan with parchment paper, leaving a slight overhang on the sides for easy removal later. In a medium bowl, combine the graham cracker crumbs, melted butter, and two tablespoons of sugar. Stir until the mixture looks like wet sand. Press the crumbs firmly into the bottom of the prepared pan using the back of a spoon or a flat measuring cup to create an even, solid layer. Place the pan in the freezer for 10 minutes to firm up while you make the filling.
Step 2: Cream the Filling
In a large mixing bowl, beat the softened cream cheese and powdered sugar together using a hand mixer or stand mixer. Continue mixing on medium speed until the mixture is completely smooth and no lumps remain. Stir in the alcohol-free vanilla extract until well combined. It is important that the cream cheese is truly at room temperature to ensure a velvety consistency.
Step 3: Whip the Cream
In a separate chilled bowl, whip the cold heavy cream until stiff peaks form. Be careful not to over-beat the cream, or it may turn grainy. Gently fold the whipped cream into the cream cheese mixture using a rubber spatula. Use a slow, circular motion to keep the filling light and fluffy. Once the mixture is uniform, fold in half of your festive sprinkles.
Step 4: Assemble and Chill
Remove the crust from the freezer and spread the cheesecake filling evenly over the top. Use an offset spatula to smooth the surface. Top the cheesecake with the remaining festive sprinkles, pressing them very lightly into the surface so they stick. Cover the pan loosely with plastic wrap and refrigerate for at least 4 hours, or overnight, until the cheesecake is firm and set.
Step 5: Cut and Serve
Once the cheesecake is fully set, use the parchment paper handles to lift the entire block out of the pan and onto a cutting board. Using a sharp knife dipped in warm water and wiped dry between each cut, slice the cheesecake into 24 small squares. Arrange the bites on a festive platter and keep them refrigerated until you are ready to serve.
Tips for Success
For the cleanest cuts, make sure the cheesecake is thoroughly chilled before you attempt to slice it. Dipping your knife in hot water and wiping it clean after every single cut prevents the filling from sticking and keeps the edges sharp. When pressing the crust, focus on the corners to ensure every bite has a sturdy base. If you want an even more festive look, you can pipe a small dollop of whipped cream on each square before adding the sprinkles.
Variations of No-Bake Christmas Cheesecake Bites
You can easily customize these treats by changing the flavor profile of the filling. Try adding a half teaspoon of peppermint extract for a cool, holiday mint version, or fold in crushed candy canes instead of sprinkles. For a more decadent twist, drizzle melted white or dark chocolate over the top after they have set. If you want a fruitier version, a swirl of raspberry or strawberry jam into the cream cheese mixture before chilling adds a beautiful color and a tart contrast to the sweetness.
Serving Suggestions: What to Pair with No-Bake Christmas Cheesecake Bites
These creamy bites pair beautifully with a warm mug of hot cocoa or a spiced apple cider. If you are serving them at a party, they look wonderful alongside other finger foods like gingerbread cookies or peppermint bark. For a formal dessert course, serve two or three bites on a small plate with a side of fresh berries and a sprig of mint. The richness of the cheesecake also goes very well with a cup of strong coffee or herbal tea.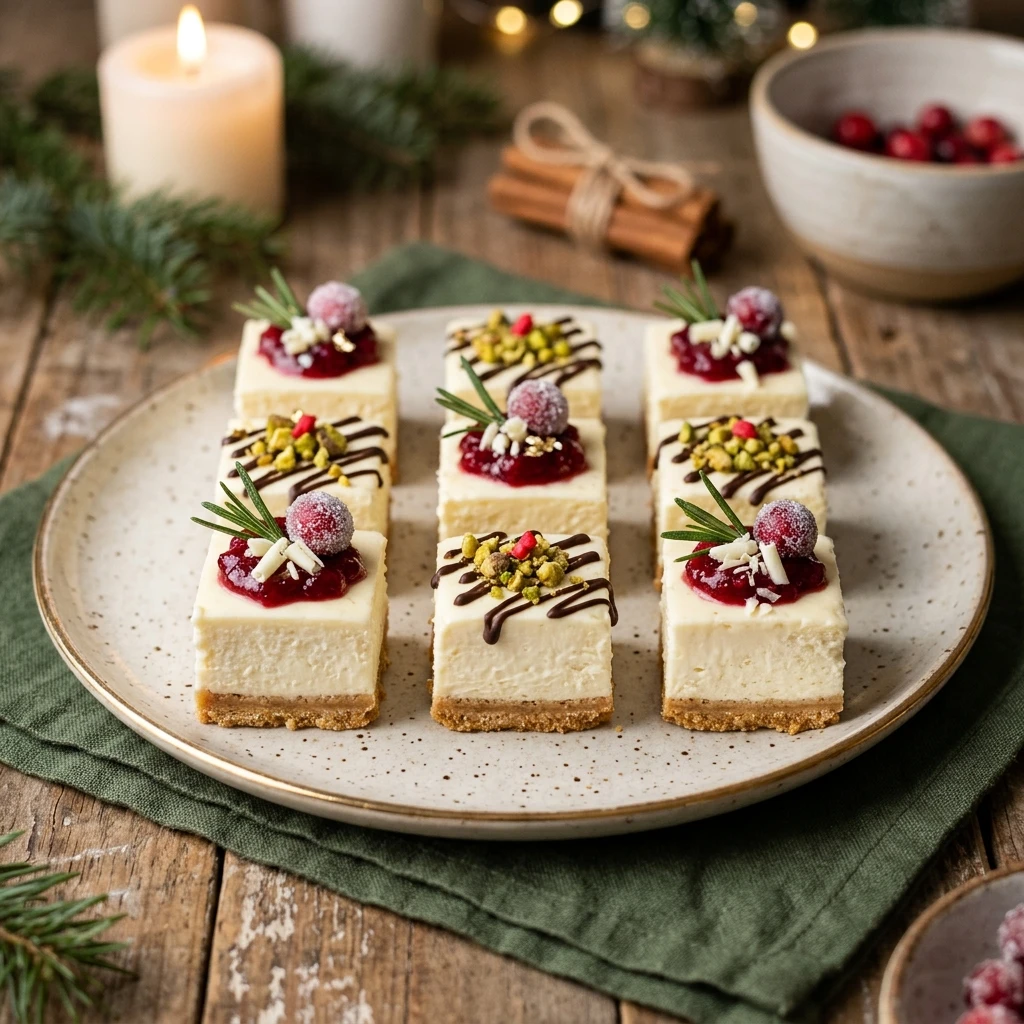
Storage & Reheating Instructions
These cheesecake bites should always be stored in the refrigerator in an airtight container to keep them from absorbing other fridge odors. They will stay fresh and delicious for up to 5 days. Since this is a no-bake dessert, it should never be reheated. If you need to store them for longer, you can freeze the bites for up to 2 months. To freeze, place the cut squares on a tray until solid, then transfer them to a freezer-safe bag. Thaw them in the refrigerator for about an hour before serving.
Memories Made Around the Table
I remember making these with my grandmother every Christmas Eve. She always told me that the best desserts are the ones shared with friends, and these bites are so easy to share during a busy party. We would spend the afternoon choosing the brightest sprinkles, and the house always felt so much more festive once these were chilling in the fridge. Now, every time I see those red and green sprinkles, I am reminded of the laughter and warmth of those holiday afternoons in her kitchen.
FAQs
Can I make these cheesecake bites in advance?
Yes, these are the perfect make-ahead treat. You can prepare them up to 24 hours in advance and keep them in the refrigerator until you are ready to slice and serve. This actually helps the flavors meld together and ensures the texture is perfectly firm.
How do I get clean cuts when slicing the bars?
The secret is using a very sharp knife and a tall glass of hot water. Dip the knife in the water, wipe it dry with a clean towel, and make one long cut. Repeat this process for every single slice to ensure the creamy filling does not smudge.
Do I need to use a specific type of cream cheese?
For the best results, use full-fat block cream cheese rather than the whipped version or the kind sold in tubs. The block style has the right consistency to set firmly without the need for baking or extra thickeners.
Can these bites be frozen for later?
Absolutely. These freeze very well. Just make sure to freeze them in a single layer first so they do not stick together, then move them to a container. They are actually quite tasty when eaten slightly semi-frozen on a warm day, too.
What can I use if I do not have alcohol-free vanilla?
If you do not have alcohol-free vanilla, you can use the seeds from a vanilla bean or a small amount of vanilla bean paste. Both provide an excellent, deep vanilla flavor that complements the cream cheese perfectly.
Final Thoughts
These No-Bake Christmas Cheesecake Bites are the ultimate stress-free holiday dessert. They combine the rich, nostalgic flavors of a classic cheesecake with the convenience of a finger food that requires no baking time. Whether you are hosting a large party or just want a sweet treat to enjoy while wrapping gifts, these festive bites are sure to bring a smile to everyone’s face. Enjoy the creamy texture and the joyful colors of the season in every single bite.
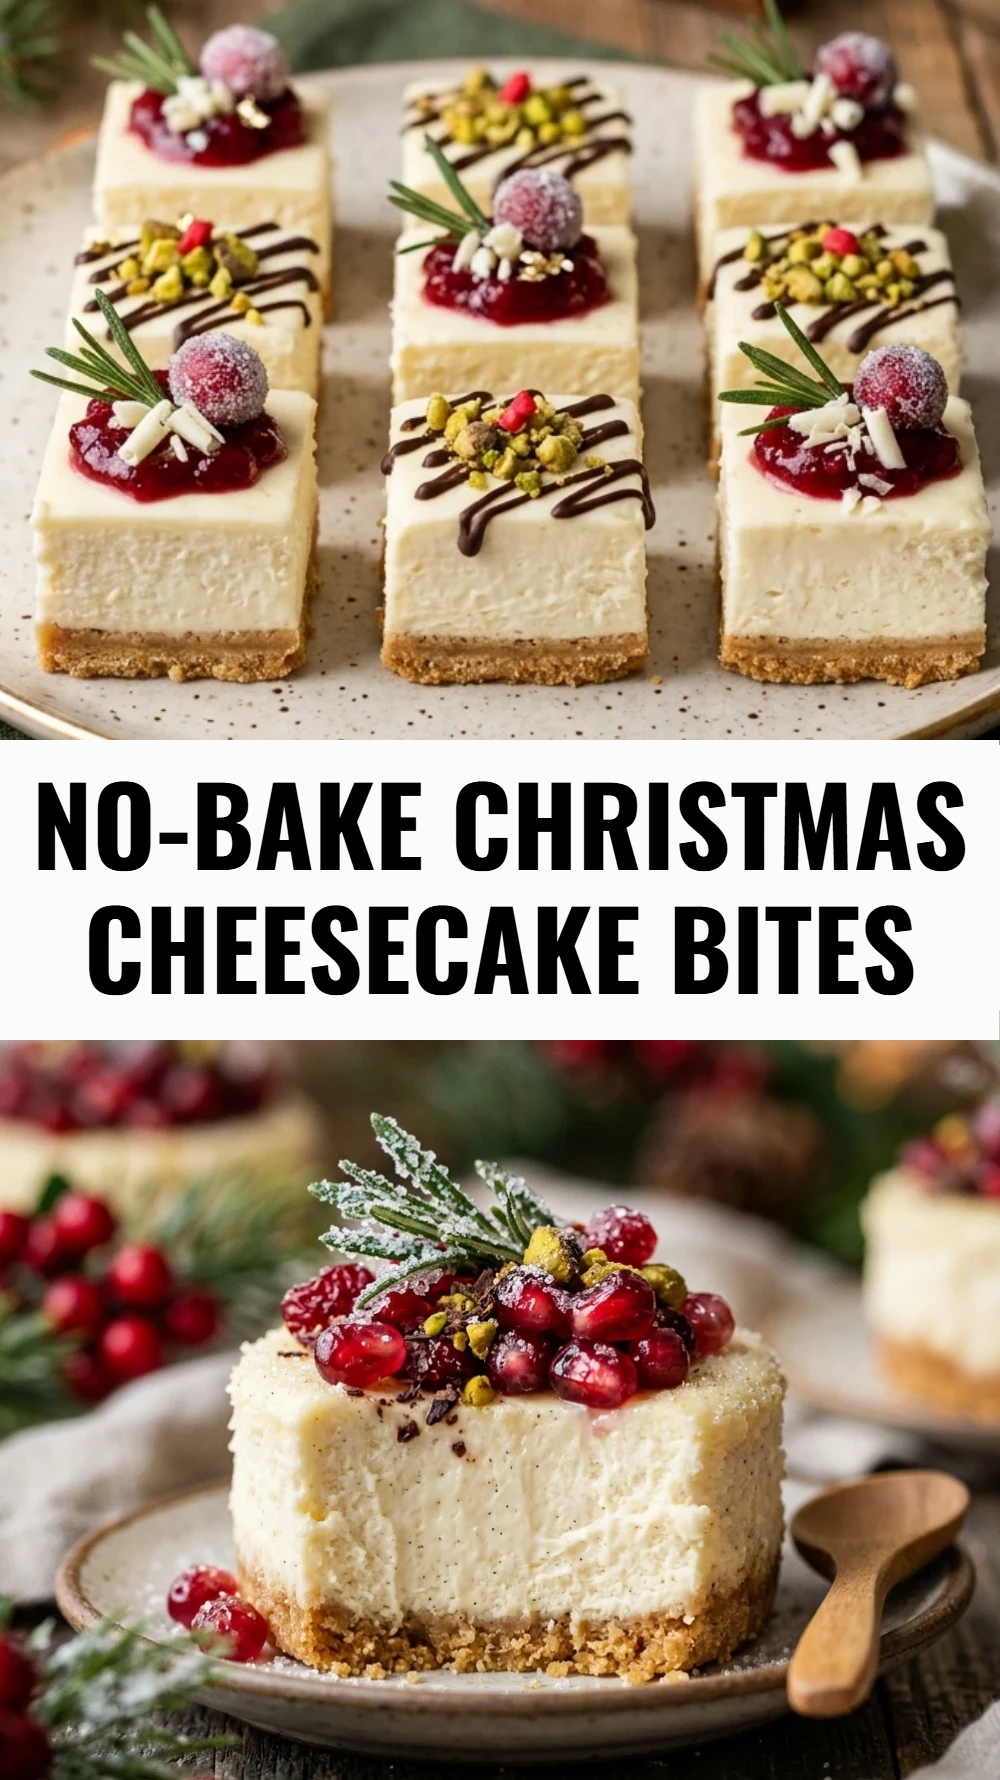
No-Bake Christmas Cheesecake Bites
- Total Time: 4 hours 20 minutes
Ingredients
- 1.5 cups graham cracker crumbs
- 6 tablespoons unsalted butter, melted
- 2 tablespoons granulated sugar
- 16 ounces cream cheese, softened to room temperature
- 1 cup powdered sugar
- 1 teaspoon alcohol-free vanilla extract
- 1 cup heavy whipping cream, cold
- 1/2 cup festive red and green sprinkles
- Optional: Whipped cream for garnish
Instructions
- Step 1: Prepare the Crust Base Line an 8×8 inch square baking pan with parchment paper, leaving a slight overhang on the sides for easy removal later. In a medium bowl, combine the graham cracker crumbs, melted butter, and two tablespoons of sugar. Stir until the mixture looks like wet sand. Press the crumbs firmly into the bottom of the prepared pan using the back of a spoon or a flat measuring cup to create an even, solid layer. Place the pan in the freezer for 10 minutes to firm up while you make the filling.
- Step 2: Cream the Filling In a large mixing bowl, beat the softened cream cheese and powdered sugar together using a hand mixer or stand mixer. Continue mixing on medium speed until the mixture is completely smooth and no lumps remain. Stir in the alcohol-free vanilla extract until well combined. It is important that the cream cheese is truly at room temperature to ensure a velvety consistency.
- Step 3: Whip the Cream In a separate chilled bowl, whip the cold heavy cream until stiff peaks form. Be careful not to over-beat the cream, or it may turn grainy. Gently fold the whipped cream into the cream cheese mixture using a rubber spatula. Use a slow, circular motion to keep the filling light and fluffy. Once the mixture is uniform, fold in half of your festive sprinkles.
- Step 4: Assemble and Chill Remove the crust from the freezer and spread the cheesecake filling evenly over the top. Use an offset spatula to smooth the surface. Top the cheesecake with the remaining festive sprinkles, pressing them very lightly into the surface so they stick. Cover the pan loosely with plastic wrap and refrigerate for at least 4 hours, or overnight, until the cheesecake is firm and set.
- Step 5: Cut and Serve Once the cheesecake is fully set, use the parchment paper handles to lift the entire block out of the pan and onto a cutting board. Using a sharp knife dipped in warm water and wiped dry between each cut, slice the cheesecake into 24 small squares. Arrange the bites on a festive platter and keep them refrigerated until you are ready to serve.
- Cook Time: 4 hours 20 minutes
- Diet: Vegetarian