
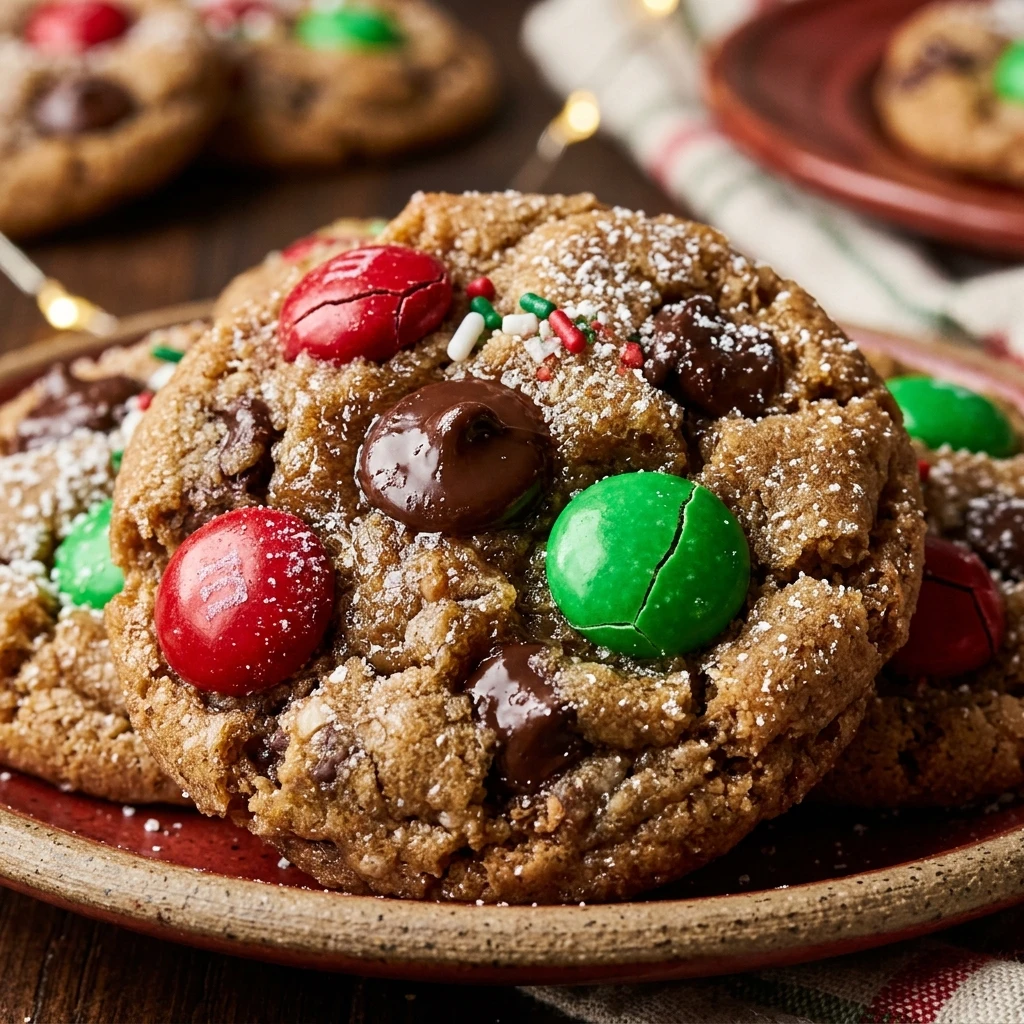
Every holiday season, my kitchen transforms into a festive workshop filled with the scent of sugar and spice. I have spent years perfecting this specific recipe, and it truly represents the warmth and joy of the Christmas spirit. I love seeing the excitement on everyone’s faces when I pull a fresh batch out of the oven, knowing these treats are a highlight of our celebrations. These cookies are soft, chewy, and packed with festive colors that make them the perfect addition to any holiday platter.
Recipe Details
Recipe Information
- Prep Time: 20 minutes
- Cook Time: 10 minutes
- Total Time: 30 minutes
- Servings: 24 cookies
- Difficulty: Easy
Nutrition Information (Per Serving)
- Calories: 185
- Protein: 2g
- Carbs: 24g
- Fat: 9g
Why You’ll Love Santa’s Favorite Christmas Cookies
These cookies are the ultimate holiday treat because they combine a classic, buttery dough with the playful crunch of festive chocolate candies. They have a perfectly balanced texture, with slightly crisp edges and a soft, melt in your mouth center that stays fresh for days. Beyond the taste, they are incredibly easy to customize, making them a stress free option for busy holiday schedules. Whether you are baking for a gift exchange or leaving a plate out on Christmas Eve, these cookies always bring a smile to everyone’s face.
Santa’s Favorite Christmas Cookies Ingredients & Substitutions
- 1 cup unsalted butter, softened to room temperature
- 3/4 cup granulated sugar
- 3/4 cup light brown sugar, packed
- 2 large eggs
- 1 teaspoon alcohol-free vanilla extract
- 3 cups all-purpose flour
- 1 teaspoon baking soda
- 1/2 teaspoon salt
- 1 cup red and green chocolate candies
- 1 cup semi-sweet chocolate chips
If you do not have unsalted butter, you can use salted butter and simply omit the extra salt from the recipe. For those who prefer a different texture, you can swap half of the chocolate chips for chopped walnuts or pecans to add a nice crunch. If you are looking for a different flavor profile, try using dark chocolate chips or even white chocolate chips instead of the semi-sweet variety. If all-purpose flour is unavailable, a standard one to one gluten free baking blend will work as a reliable alternative.
Step-by-Step Instructions to Make Santa’s Favorite Christmas Cookies
Step 1: Preparation
Preheat your oven to 350 degrees Fahrenheit. Line two large baking sheets with parchment paper or silicone baking mats to ensure the cookies do not stick and brown evenly on the bottom.
Step 2: Cream the Butter and Sugars
In a large mixing bowl, beat the softened butter, granulated sugar, and brown sugar together. Use a hand mixer or stand mixer on medium speed for about two to three minutes until the mixture is light, fluffy, and well combined.
Step 3: Add the Wet Ingredients
Add the eggs one at a time, beating well after each addition to ensure they are fully incorporated. Mix in the alcohol-free vanilla extract until the batter is smooth and fragrant.
Step 4: Combine the Dry Ingredients
In a separate medium bowl, whisk together the all-purpose flour, baking soda, and salt. Gradually add the dry ingredients to the wet mixture while mixing on low speed. Be careful not to overmix, stop as soon as the last streaks of flour disappear.
Step 5: Fold in the Mix-ins
Using a sturdy spatula, gently fold in the red and green chocolate candies and the semi-sweet chocolate chips. Ensure the candies are evenly distributed throughout the dough so every cookie gets a bit of chocolate in every bite.
Step 6: Scoop and Bake
Using a cookie scoop or a tablespoon, drop rounded balls of dough onto the prepared baking sheets, spacing them about two inches apart. Bake for 9 to 11 minutes or until the edges are just lightly golden. The centers may still look a bit soft, but they will firm up as they cool.
Step 7: Cool and Enjoy
Allow the cookies to rest on the baking sheet for five minutes before transferring them to a wire rack to cool completely. This resting period is crucial for achieving that perfect chewy texture.
Tips for Success
To get the best results, make sure your butter is truly at room temperature. It should be soft enough to leave a slight indentation when pressed but not so soft that it is greasy. Additionally, try not to overbake these cookies. Removing them from the oven while the centers still look slightly underdone is the secret to a soft, professional quality cookie. If you want them to look extra festive, press a few extra chocolate candies into the tops of the dough balls right before you put them into the oven.
Variations of Santa’s Favorite Christmas Cookies
You can easily put a unique twist on this classic recipe. For a Minty Christmas version, replace the alcohol-free vanilla extract with peppermint extract and use crushed candy canes instead of chocolate candies. For a White Christmas version, use white chocolate chips and dried cranberries for a beautiful red and white look. If you enjoy a deeper flavor, try browning the butter before mixing it with the sugars, which adds a wonderful nutty note to the finished product.
Serving Suggestions: What to Pair with Santa’s Favorite Christmas Cookies
These cookies are traditionally served with a tall, cold glass of milk, but they also pair wonderfully with other holiday beverages. They are excellent when dipped into a warm mug of hot cocoa or served alongside a spiced apple cider. If you are hosting a holiday party, arrange them on a platter with some fresh clementines and mixed nuts for a balanced snack board. They also make a fantastic base for an ice cream sandwich if you use a scoop of alcohol-free peppermint or bean vanilla ice cream between two cookies.
Storage & Reheating Instructions
Store your cookies in an airtight container at room temperature for up to five days to keep them soft. If you want to keep them longer, you can freeze the baked cookies for up to three months. To freeze, place them in a single layer on a tray until solid, then transfer them to a freezer safe bag. When you are ready to enjoy one, you can let it thaw at room temperature or pop it in the microwave for about ten seconds to get that just out of the oven warmth.
Memories Made Around the Table
I remember the first time I made these with my grandmother, her hands guiding mine as we folded in the bright red and green candies. We would sit by the fireplace, waiting for the timer to ding, and the house would feel so full of love and anticipation. Now, I carry on that tradition with my own family, making sure we leave the biggest, most colorful cookie right by the chimney for Santa. It is these small moments of baking together that truly define the holiday season for me, creating bonds that last long after the last crumb is gone.
FAQs
Can I make the dough ahead of time?
Yes, you can prepare the dough up to two days in advance. Simply wrap it tightly in plastic wrap and store it in the refrigerator. When you are ready to bake, let the dough sit at room temperature for about 20 minutes so it is easier to scoop.
Why did my cookies spread too much during baking?
Cookies often spread too much if the butter was too warm or melted when you started mixing. Another reason could be that the baking sheets were still hot from a previous batch. Always start with room temperature butter and cool baking sheets for the best shape.
Can I use a different type of sugar?
While the combination of granulated and brown sugar provides the best texture and flavor, you can use all of one or the other in a pinch. Note that using only white sugar will result in a crispier cookie, while using only brown sugar will make them much softer and darker.
How do I keep the cookies soft for several days?
The best trick for keeping cookies soft is to place a single slice of white bread in the airtight container with them. The cookies will absorb the moisture from the bread, keeping them perfectly chewy for a longer period of time.
Do I need to chill the dough before baking?
This specific recipe does not require chilling, which makes it perfect for a quick treat. However, if your kitchen is very warm and the dough feels sticky, chilling it for 30 minutes can help the cookies hold their shape better in the oven.
Final Thoughts
Santa’s Favorite Christmas Cookies are more than just a sweet treat, they are a way to share joy and create lasting memories with the people you love. With their vibrant colors and classic flavor, they are sure to become a staple in your holiday baking routine just as they have in mine. I hope your home is filled with the wonderful aroma of fresh cookies and the laughter of family this season. Happy baking!

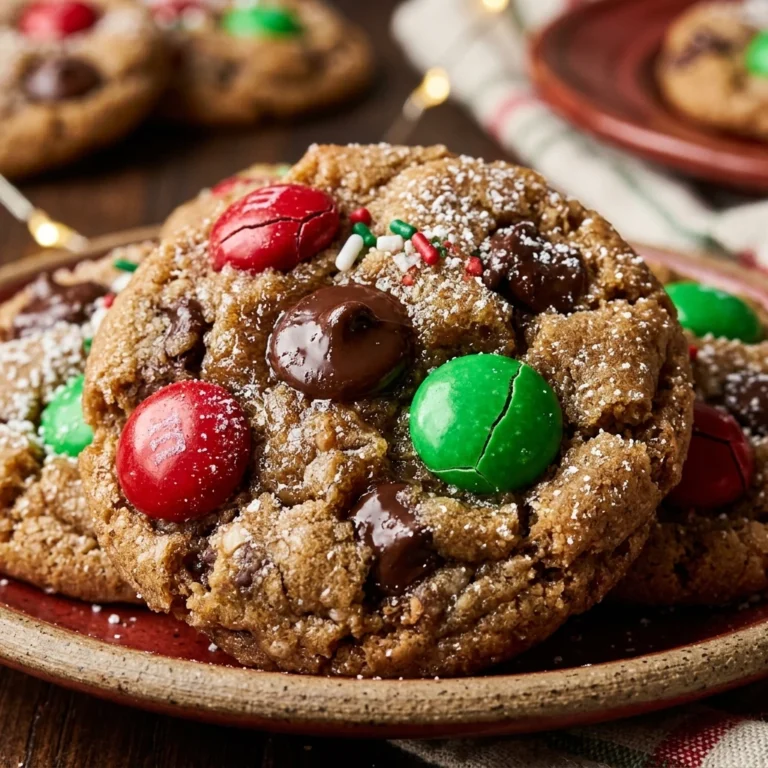
Santa’s Favorite Christmas Cookies
- Total Time: 30 minutes
Ingredients
- 1 cup unsalted butter, softened to room temperature
- 3/4 cup granulated sugar
- 3/4 cup light brown sugar, packed
- 2 large eggs
- 1 teaspoon alcohol-free vanilla extract
- 3 cups all-purpose flour
- 1 teaspoon baking soda
- 1/2 teaspoon salt
- 1 cup red and green chocolate candies
- 1 cup semi-sweet chocolate chips
Instructions
- Preheat your oven to 350 degrees Fahrenheit. Line two large baking sheets with parchment paper or silicone baking mats to ensure the cookies do not stick and brown evenly on the bottom.
- In a large mixing bowl, beat the softened butter, granulated sugar, and brown sugar together. Use a hand mixer or stand mixer on medium speed for about two to three minutes until the mixture is light, fluffy, and well combined.
- Add the eggs one at a time, beating well after each addition to ensure they are fully incorporated. Mix in the alcohol-free vanilla extract until the batter is smooth and fragrant.
- In a separate medium bowl, whisk together the all-purpose flour, baking soda, and salt. Gradually add the dry ingredients to the wet mixture while mixing on low speed. Be careful not to overmix, stop as soon as the last streaks of flour disappear.
- Using a sturdy spatula, gently fold in the red and green chocolate candies and the semi-sweet chocolate chips. Ensure the candies are evenly distributed throughout the dough so every cookie gets a bit of chocolate in every bite.
- Using a cookie scoop or a tablespoon, drop rounded balls of dough onto the prepared baking sheets, spacing them about two inches apart. Bake for 9 to 11 minutes or until the edges are just lightly golden. The centers may still look a bit soft, but they will firm up as they cool.
- Allow the cookies to rest on the baking sheet for five minutes before transferring them to a wire rack to cool completely. This resting period is crucial for achieving that perfect chewy texture.
- Cook Time: 30 minutes
- Diet: Vegetarian