
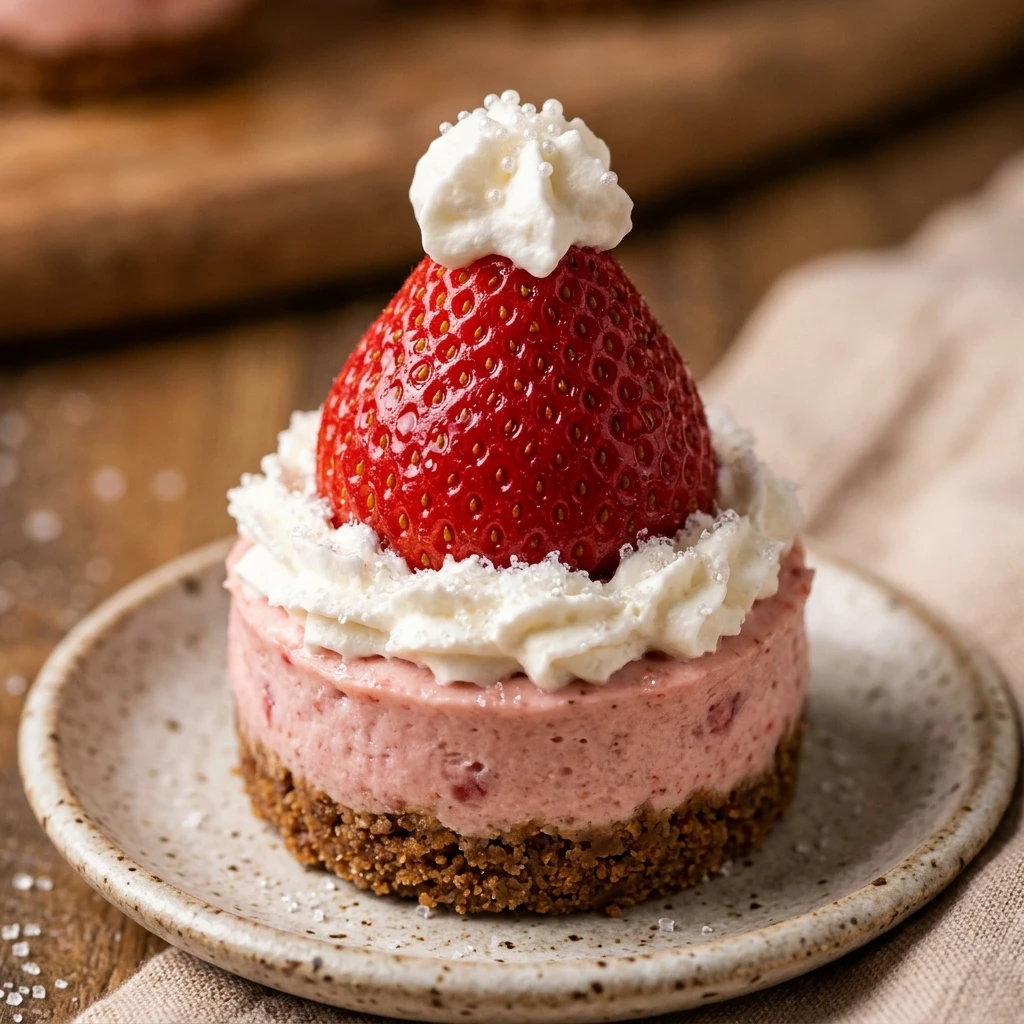
I absolutely love the magic of the Christmas season, especially when it comes to creating festive treats that look like they took hours but are actually quite simple to assemble. These creamy desserts have become a staple at my holiday gatherings because they bring so much joy to both kids and adults alike. I find that the bright red strawberries paired with the velvety white cheesecake base create the perfect festive aesthetic for any holiday dessert table.
Recipe Details
Recipe Information
- Prep Time: 30 minutes
- Cook Time: 0 minutes
- Total Time: 4 hours 30 minutes
- Servings: 12
- Difficulty: Easy
Nutrition Information (Per Serving)
- Calories: 265 kcal
- Protein: 4g
- Carbs: 21g
- Fat: 19g
Why You’ll Love This Treat
This festive dessert is the ultimate stress-free holiday recipe because it requires absolutely no oven time, leaving your kitchen cool and your stove free for the main Christmas meal. The combination of the buttery crust, tangy cream cheese, and fresh fruit offers a balanced flavor that is never too heavy after a large dinner. Plus, the adorable Santa hat design makes them an instant conversation starter that looks stunning in photos and on serving platters.
This Treat Ingredients & Substitutions
- 1.5 cups graham cracker crumbs
- 5 tablespoons melted butter
- 16 ounces cream cheese, softened to room temperature
- 1/2 cup granulated sugar
- 1 teaspoon alcohol-free vanilla
- 1 cup heavy whipping cream, chilled
- 12 fresh strawberries, tops removed and flattened
- 1/4 cup powdered sugar, for the whipped topping
You can easily substitute graham crackers with chocolate sandwich cookies for a darker crust or use gluten free biscuits if needed. If you prefer a different citrus note, a teaspoon of lemon zest can be added to the filling. For the topping, if you are short on time, a thick whipped topping from the store works well, but fresh whipped cream provides the best stability for the Santa hats.
Step-by-Step Instructions to Make This Treat
Step 1: Prepare the Crust
In a medium bowl, combine the graham cracker crumbs and the melted butter. Stir until the mixture looks like wet sand. Press about one tablespoon of the mixture into the bottom of 12 lined muffin tins, using the back of a spoon to pack it down firmly. Place the tray in the refrigerator to set while you prepare the filling.
Step 2: Mix the Cheesecake Filling
In a large mixing bowl, beat the softened cream cheese and granulated sugar together until the mixture is completely smooth and no lumps remain. Stir in the alcohol-free vanilla. In a separate chilled bowl, whip half a cup of the heavy cream until stiff peaks form, then gently fold this into the cream cheese mixture until fully combined and light.
Step 3: Fill the Molds
Spoon the cheesecake filling over the set graham cracker crusts in the muffin tin. Use an offset spatula or the back of a spoon to smooth out the tops so they are level with the edges of the liners. This creates a flat surface for our strawberry hats to sit on later.
Step 4: Chill and Set
Place the muffin tin in the refrigerator and allow the cheesecakes to set for at least four hours, or ideally overnight. This ensures they are firm enough to hold their shape when you remove the liners and add the decorations.
Step 5: Decorate with Santa Hats
Once set, remove the cheesecakes from the liners. Whip the remaining heavy cream with the powdered sugar until stiff. Pipe a small circle of whipped cream on top of each cheesecake and place a strawberry, point side up, in the center. Pipe a small dot of cream on the tip of the strawberry to finish the Santa hat look.
Tips for Success
To ensure your cheesecakes come out perfectly, always use room temperature cream cheese to avoid any unwanted lumps in your batter. When preparing the strawberries, make sure they are completely dry after washing so the whipped cream does not slide off the fruit. If you want a very clean look, use a piping bag with a star tip to create the fur trim of the Santa hats. Chilling the bowl and whisk before whipping your cream will also help you achieve those stiff peaks that hold up well during your Christmas party.
Variations of This Treat
You can get creative with this recipe by adding a layer of chocolate ganache between the crust and the cheesecake for a surprise rich flavor. Another fun idea is to dye the cheesecake filling a light peppermint green for a more colorful holiday look. If you want to make a larger version, you can follow the same steps using a springform pan and simply dot the entire top with strawberries to create a crowd of Santa hats.
Serving Suggestions: What to Pair with This Treat
These mini cheesecakes pair beautifully with a warm mug of hot cocoa or a festive spice tea. Since they are quite creamy, serving them alongside a platter of salty nuts or some dark chocolate bark creates a wonderful contrast in textures. They are also excellent when served as part of a larger dessert buffet featuring gingerbread cookies and fruitcake, providing a fresh and cold option for your guests.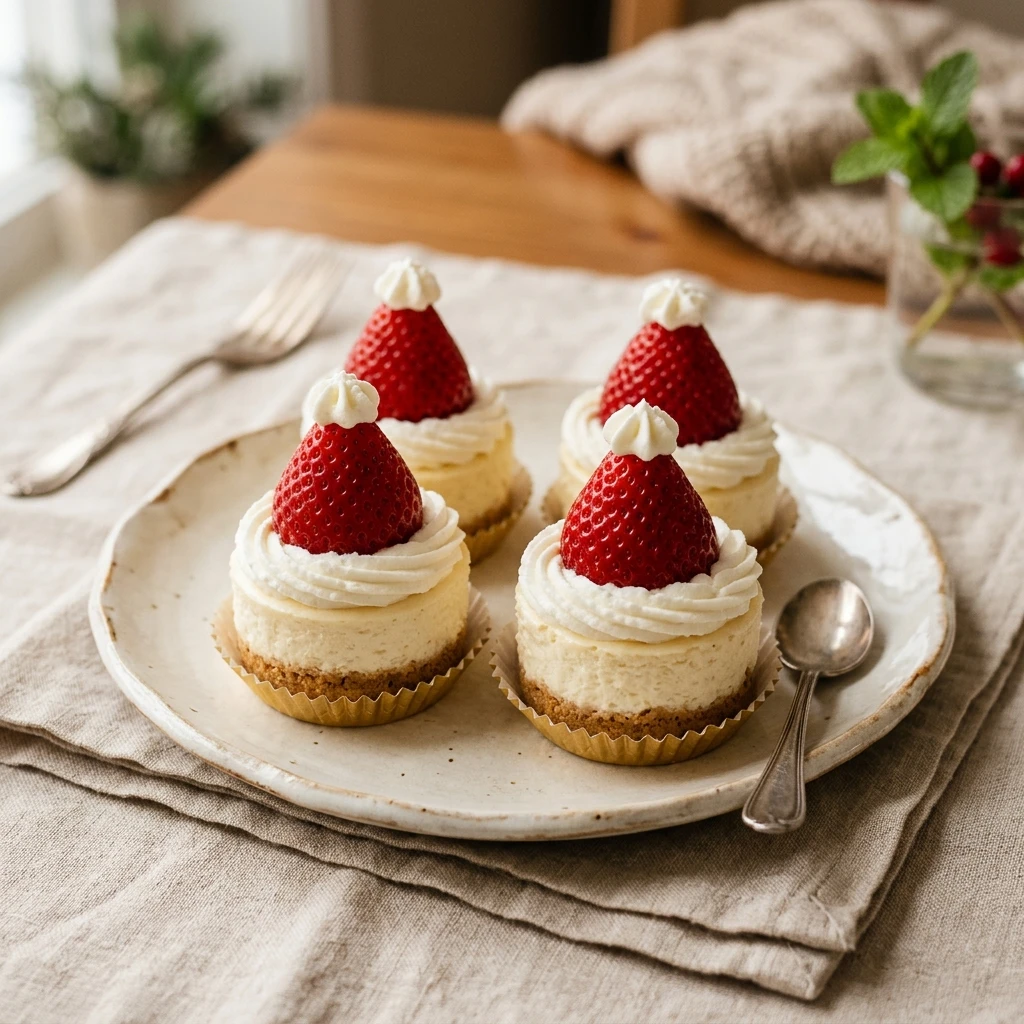
Storage & Reheating Instructions
Because these contain fresh dairy and fruit, they must be stored in the refrigerator in an airtight container. They will stay fresh for up to two days, though the strawberries are best when added right before serving to prevent them from softening. This recipe is served cold and should not be reheated. I do not recommend freezing the fully assembled cheesecakes as the texture of the strawberries will change significantly upon thawing.
Memories Made Around the Table
I remember the first time I brought these to a neighborhood holiday potluck. My children were so excited to help me place the little white pom-poms on top of each strawberry. It has since become a cherished tradition in our house to assemble these while listening to classic Christmas carols. Watching the smiles on everyone’s faces as they realize the cheesecakes look like little Santa hats is truly one of my favorite parts of the season.
FAQs
Can I make these cheesecakes a day in advance?
Yes, you can certainly prepare the cheesecake base and the crust a day before your event. I recommend waiting to add the strawberry and the final whipped cream decorations until the day you plan to serve them to ensure the fruit looks bright and fresh.
What happens if I cannot find alcohol-free vanilla?
If you cannot find alcohol-free vanilla extract, you can use the seeds from a fresh vanilla bean or a small amount of vanilla bean paste. These options provide a beautiful flavor and lovely little black specks throughout the filling.
How do I keep the cheesecakes from sticking to the liners?
Using paper or silicone liners is the best way to ensure easy removal. If you find they are still sticking, you can pop the tin into the freezer for about 15 minutes before peeling the liners off, which helps the edges stay perfectly smooth.
Can I use frozen strawberries for the hats?
I do not recommend using frozen strawberries for the decoration. Frozen fruit releases a lot of moisture as it thaws, which will cause the whipped cream to melt and the red color to bleed into the white cheesecake. Fresh, firm strawberries are definitely the way to go.
Do I need agar-agar to make the filling set?
This specific recipe relies on the thickness of the cream cheese and the stability of the whipped cream to set, so agar-agar is not required. However, if you are serving these in a very warm room, adding a small amount of prepared agar-agar can help them stay firm for longer periods.
Final Thoughts
These no-bake strawberry Santa hat mini cheesecakes are a delightful way to bring the spirit of Christmas to your table without the stress of complicated baking. They are simple, elegant, and absolutely delicious. I hope they become as much of a tradition in your home as they have in mine, providing a sweet and festive end to your holiday celebrations.
No-Bake Strawberry Santa Hat Mini Cheesecakes
- Total Time: 4 hours 30 minutes
Ingredients
- 1.5 cups graham cracker crumbs
- 5 tablespoons melted butter
- 16 ounces cream cheese, softened to room temperature
- 1/2 cup granulated sugar
- 1 teaspoon alcohol-free vanilla
- 1 cup heavy whipping cream, chilled
- 12 fresh strawberries, tops removed and flattened
- 1/4 cup powdered sugar, for the whipped topping
Instructions
- In a medium bowl, combine the graham cracker crumbs and the melted butter. Stir until the mixture looks like wet sand. Press about one tablespoon of the mixture into the bottom of 12 lined muffin tins, using the back of a spoon to pack it down firmly. Place the tray in the refrigerator to set while you prepare the filling.
- In a large mixing bowl, beat the softened cream cheese and granulated sugar together until the mixture is completely smooth and no lumps remain. Stir in the alcohol-free vanilla. In a separate chilled bowl, whip half a cup of the heavy cream until stiff peaks form, then gently fold this into the cream cheese mixture until fully combined and light.
- Spoon the cheesecake filling over the set graham cracker crusts in the muffin tin. Use an offset spatula or the back of a spoon to smooth out the tops so they are level with the edges of the liners. This creates a flat surface for our strawberry hats to sit on later.
- Place the muffin tin in the refrigerator and allow the cheesecakes to set for at least four hours, or ideally overnight. This ensures they are firm enough to hold their shape when you remove the liners and add the decorations.
- Once set, remove the cheesecakes from the liners. Whip the remaining heavy cream with the powdered sugar until stiff. Pipe a small circle of whipped cream on top of each cheesecake and place a strawberry, point side up, in the center. Pipe a small dot of cream on the tip of the strawberry to finish the Santa hat look.
- Cook Time: 4 hours 30 minutes
- Diet: Vegetarian