
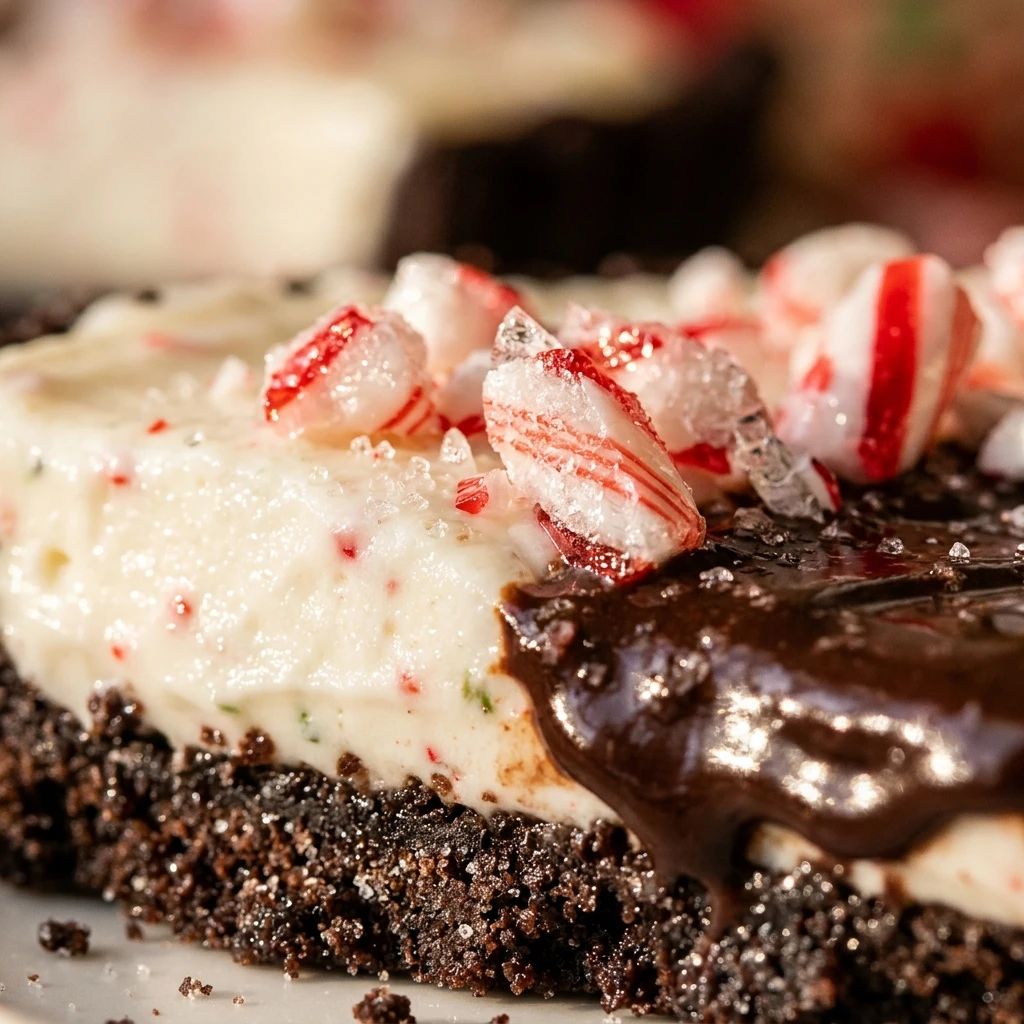
The holiday season always brings back memories of my grandmother’s kitchen, where the air was thick with the scent of pine and sweet treats. I remember how we would rush to the table for the final course, and this No-Bake Peppermint Tart was always the star of the show. It is the perfect refreshing finish to a heavy Christmas dinner, and I love that it gives me more time to spend with family rather than standing over a hot oven.
Recipe Details
Recipe Information
- Prep Time: 20 minutes
- Cook Time: 0 minutes
- Total Time: 20 minutes
- Servings: 8 servings
- Difficulty: Easy
Nutrition Information (Per Serving)
- Calories: 345 kcal
- Protein: 3 grams
- Carbs: 38 grams
- Fat: 21 grams
Why You’ll Love This No-Bake Peppermint Tart
This dessert is a holiday lifesaver because it combines the classic winter flavors of cooling peppermint and rich chocolate without any of the stress of baking. You will love the silky, mousse-like texture that melts in your mouth, providing a light alternative to traditional heavy fruitcakes. It is incredibly easy to customize with different toppings, and the bright white filling against the dark crust makes for a stunning centerpiece on any Christmas dessert spread. Plus, because it needs to set in the fridge, you can make it a full day in advance to save time on the big day.
No-Bake Peppermint Tart Ingredients & Substitutions
- 24 chocolate sandwich cookies with cream filling
- 5 tablespoons melted unsalted butter
- 8 ounces cream cheese, softened to room temperature
- 1 cup powdered sugar, sifted
- 1 teaspoon alcohol-free vanilla extract
- 1/2 teaspoon peppermint extract
- 1 cup cold heavy whipping cream
- 1/4 cup crushed candy canes for garnish
- 2 drops red food coloring, optional for a pink tint
If you prefer a different base, graham crackers or ginger snaps make an excellent crust substitute for the chocolate cookies. For the filling, you can use a dairy-free cream cheese and coconut whipped cream if you are catering to guests who avoid dairy. If you cannot find peppermint extract, a tiny amount of crushed mint candies folded directly into the batter provides a similar flavor profile and a bit of extra crunch.
Step-by-Step Instructions to Make No-Bake Peppermint Tart
Step 1: Prepare the Cookie Crust
Place the chocolate sandwich cookies into a food processor and pulse until they become fine crumbs. Pour the crumbs into a medium bowl and stir in the melted butter until the mixture looks like wet sand. Press the mixture firmly into the bottom and up the sides of a 9-inch tart pan with a removable bottom, then place it in the freezer to firm up while you make the filling.
Step 2: Beat the Cream Cheese Base
In a large mixing bowl, beat the softened cream cheese until it is completely smooth and free of lumps. Gradually add the powdered sugar, alcohol-free vanilla extract, and peppermint extract. Continue to mix until the ingredients are well combined and the texture is creamy.
Step 3: Whip the Heavy Cream
In a separate chilled bowl, whip the cold heavy cream until stiff peaks form. Be careful not to over-beat the cream, as it can quickly turn into butter. Gently fold about a third of the whipped cream into the cream cheese mixture to lighten it up, then fold in the remaining whipped cream until no white streaks remain.
Step 4: Fill and Smooth
Remove the tart crust from the freezer. Pour the peppermint filling into the crust and use an offset spatula or the back of a spoon to smooth the top into an even layer. If you are using food coloring to create a swirl, drop a few small dots onto the top and use a toothpick to gently marble the colors together.
Step 5: Chill and Garnish
Place the tart in the refrigerator for at least 4 hours, or ideally overnight, to allow it to set completely. Just before serving, sprinkle the crushed candy canes over the top. This ensures the candy remains crunchy and does not melt into the cream filling.
Tips for Success
For the smoothest filling, ensure your cream cheese is truly at room temperature before you start mixing, otherwise you might end up with small lumps that are hard to beat out later. When pressing the crust into the pan, use the bottom of a flat measuring cup to get a tight, even layer that will not crumble when sliced. If you find the peppermint flavor too strong, start with only a quarter teaspoon of the extract and taste as you go. Always wait to add the candy cane garnish until the very last moment, as the moisture from the fridge can cause the sugar to weep and lose its festive sparkle.
Variations of No-Bake Peppermint Tart
For a more decadent version, you can drizzle melted dark chocolate over the top in a zig-zag pattern once the tart has set. If you enjoy a bit of texture, fold half a cup of mini chocolate chips into the peppermint filling before spreading it into the crust. For a White Christmas theme, use golden sandwich cookies for the crust and top with white chocolate shavings and silver sprinkles. You can even make individual mini tarts using a muffin tin for a party-friendly serving option that guests can grab and enjoy easily.
Serving Suggestions: What to Pair with No-Bake Peppermint Tart
This tart is wonderfully rich, so it pairs beautifully with a warm cup of cocoa or a steaming mug of coffee. For a truly festive experience, serve it alongside a bowl of fresh berries to provide a tart contrast to the sweet peppermint cream. If you are serving this at a holiday party, a side of alcohol-free sparkling cider offers a refreshing crispness that cleanses the palate between bites of the creamy filling.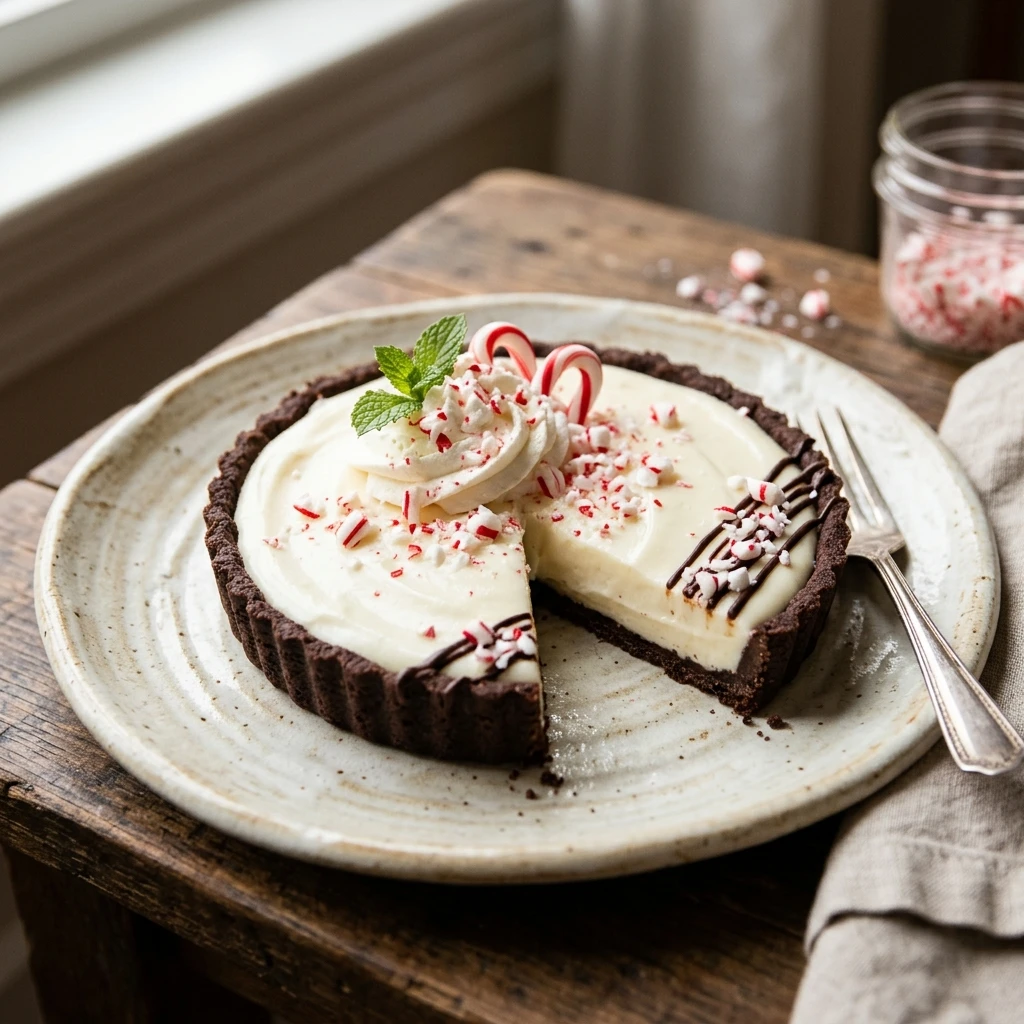
Storage & Reheating Instructions
Since this is a cold dessert, no reheating is required. Store any leftovers in the refrigerator in an airtight container for up to 3 days. If you want to keep it longer, this tart actually freezes quite well. Simply wrap the entire tart, or individual slices, tightly in plastic wrap and then aluminum foil. It can be frozen for up to one month. When you are ready to eat, let it thaw in the refrigerator for an hour before serving for the best texture.
Memories Made Around the Table
I still remember the first time I made this for my friends during our annual Secret Santa exchange. The house was filled with laughter and the sound of carols, and when I brought this tart out, everyone went silent just to take in the sight of it. We spent the rest of the evening sharing stories and enjoying the cool, minty treat by the glow of the Christmas tree. It is those quiet moments of connection that make the holidays so special to me, and this recipe is now a permanent part of those traditions.
FAQs
Can I make this tart without a food processor?
Yes, you can certainly make the crust without a food processor. Simply place the cookies in a large zip-top bag and crush them with a rolling pin or a heavy pan until they reach a fine crumb consistency. It takes a little more muscle, but the result is just as delicious.
What if I cannot find a tart pan with a removable bottom?
If you do not have a specialized tart pan, a standard 9-inch pie dish or even a springform pan will work perfectly. If using a pie dish, you will simply serve slices directly from the dish rather than removing the entire tart before cutting.
Why is my filling too soft?
The filling might be soft if the heavy cream was not whipped to stiff peaks or if the cream cheese was too warm when the whipped cream was folded in. Ensure the tart has had at least 4 hours to chill in the refrigerator, as the cold temperature is what helps the fats in the cream and cheese to solidify.
Can I use peppermint oil instead of extract?
Peppermint oil is much more concentrated than peppermint extract. If you are using oil, start with only one or two drops and taste the mixture before adding more. Generally, extract is preferred for this recipe as it is easier to measure accurately.
Is there a way to make the crust less sweet?
To reduce the sweetness of the crust, you can use plain chocolate wafers instead of cream-filled sandwich cookies. If you do this, you may need to add an extra tablespoon of melted butter to ensure the crumbs hold together well.
Final Thoughts
The No-Bake Peppermint Tart is a celebration of everything that makes the holidays wonderful, simple, festive, and sweet. Whether you are hosting a large gathering or just want a special treat for a quiet night in, this recipe delivers maximum flavor with minimal effort. I hope it brings as much joy to your holiday table as it has to mine, and that it helps you create your own wonderful memories this Christmas season.
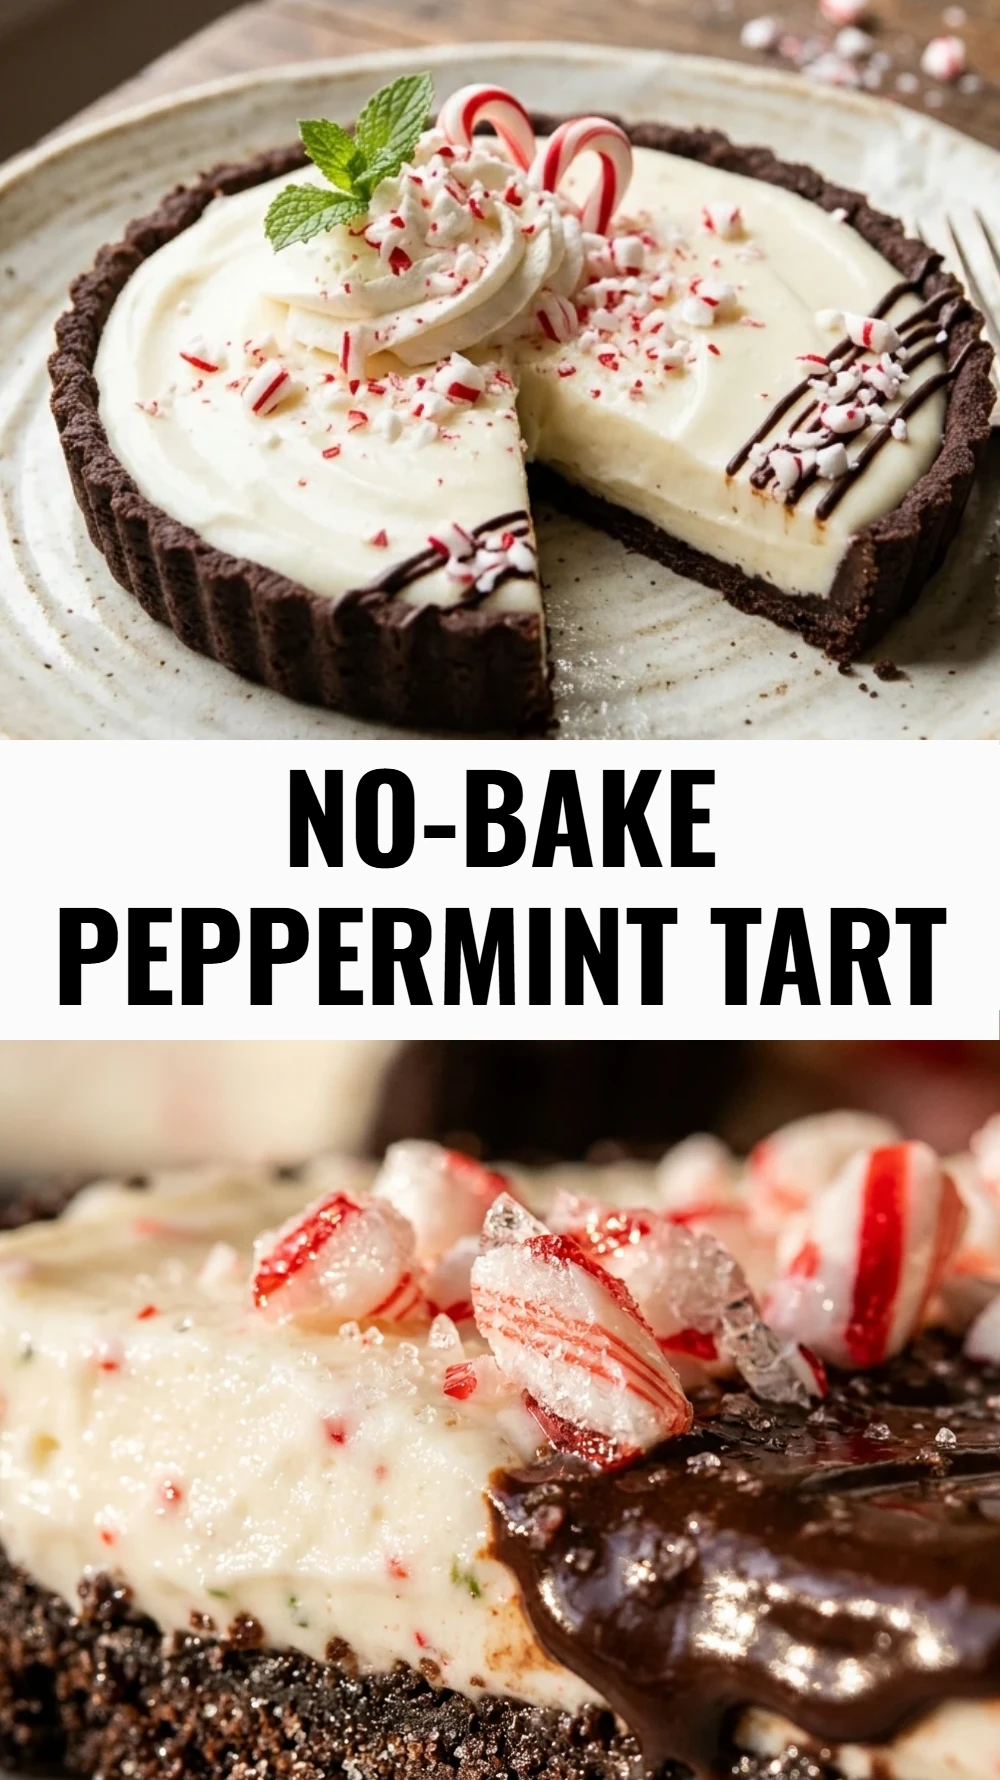
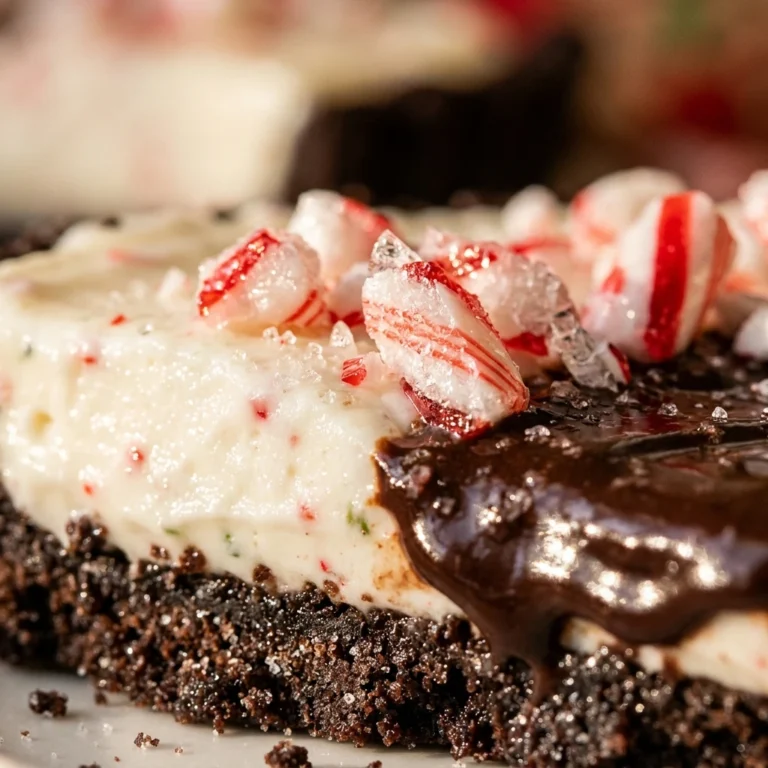
No-Bake Peppermint Tart
- Total Time: 20 minutes
Ingredients
- 24 chocolate sandwich cookies with cream filling
- 5 tablespoons melted unsalted butter
- 8 ounces cream cheese, softened to room temperature
- 1 cup powdered sugar, sifted
- 1 teaspoon alcohol-free vanilla extract
- 1/2 teaspoon peppermint extract
- 1 cup cold heavy whipping cream
- 1/4 cup crushed candy canes for garnish
- 2 drops red food coloring, optional for a pink tint
Instructions
- Place the chocolate sandwich cookies into a food processor and pulse until they become fine crumbs. Pour the crumbs into a medium bowl and stir in the melted butter until the mixture looks like wet sand. Press the mixture firmly into the bottom and up the sides of a 9-inch tart pan with a removable bottom, then place it in the freezer to firm up while you make the filling.
- In a large mixing bowl, beat the softened cream cheese until it is completely smooth and free of lumps. Gradually add the powdered sugar, alcohol-free vanilla extract, and peppermint extract. Continue to mix until the ingredients are well combined and the texture is creamy.
- In a separate chilled bowl, whip the cold heavy cream until stiff peaks form. Be careful not to over-beat the cream, as it can quickly turn into butter. Gently fold about a third of the whipped cream into the cream cheese mixture to lighten it up, then fold in the remaining whipped cream until no white streaks remain.
- Remove the tart crust from the freezer. Pour the peppermint filling into the crust and use an offset spatula or the back of a spoon to smooth the top into an even layer. If you are using food coloring to create a swirl, drop a few small dots onto the top and use a toothpick to gently marble the colors together.
- Place the tart in the refrigerator for at least 4 hours, or ideally overnight, to allow it to set completely. Just before serving, sprinkle the crushed candy canes over the top. This ensures the candy remains crunchy and does not melt into the cream filling.
- Cook Time: 20 minutes
- Diet: Vegetarian