

Every year, I look for a treat that makes my holiday table feel extra magical and these little reindeer berries always do the trick. They are so simple to put together, but the way they look on a platter always brings a smile to everyone’s face during our Christmas celebrations. I find that the combination of juicy fruit and crunchy chocolate is the perfect light finish after a heavy holiday dinner.
Recipe Details
Recipe Information
- Prep Time: 20 minutes
- Cook Time: 5 minutes
- Total Time: 25 minutes
- Servings: 12 strawberries
- Difficulty: Easy
Nutrition Information (Per Serving)
- Calories: 85
- Protein: 1g
- Carbs: 11g
- Fat: 4g
Why You’ll Love This Rudolph Chocolate Covered Strawberries
You will absolutely adore this recipe because it combines festive charm with incredible ease. It is a fantastic way to get the kids involved in the kitchen without any complicated baking steps. These berries offer a fresh alternative to the usual heavy Christmas cookies and cakes, providing a refreshing burst of sweetness that balances out the rich holiday meals. Plus, they look like professional gourmet treats even if you are not an expert in the kitchen.
Rudolph Chocolate Covered Strawberries Ingredients & Substitutions
- 12 large fresh strawberries
- 1 cup milk chocolate or semi-sweet chocolate chips
- 1 teaspoon coconut oil or vegetable oil
- 24 mini pretzels
- 12 small red round candies
- 24 candy eyes
- 1/2 teaspoon alcohol-free vanilla extract
If you cannot find candy eyes, you can use small dots of white icing or white chocolate with a tiny drop of dark chocolate in the center. Dark chocolate chips work just as well as milk chocolate if you prefer a less sweet taste, and any small red candy like a cinnamon drop or a tiny piece of a maraschino cherry can serve as Rudolph’s nose. You can also use gluten-free pretzels if you have guests with specific preferences, or swap the chocolate for a dairy-free version to accommodate everyone at your holiday gathering.
Step-by-Step Instructions to Make Rudolph Chocolate Covered Strawberries
Step 1: Prepare the Strawberries
Wash the strawberries thoroughly under cold water. It is vital to pat them completely dry with a paper towel afterward. If the berries are even slightly damp, the chocolate will not stick properly and may seize up. Leave the green leaves attached as they provide a good handle for dipping.
Step 2: Melt the Chocolate
Place your chocolate chips and coconut oil in a microwave-safe bowl. Heat in 30-second intervals, stirring well between each session, until the mixture is completely smooth and glossy. Stir in the alcohol-free vanilla extract for a subtle depth of flavor. Be careful not to overheat the chocolate, as it can become grainy.
Step 3: Dip the Berries
Line a baking sheet with parchment paper. Hold a strawberry by its stem or leaves and dip it into the melted chocolate, swirling it around until it is mostly coated. Let the excess chocolate drip off back into the bowl before placing the strawberry onto the parchment paper.
Step 4: Add the Antlers
While the chocolate is still wet, gently break your mini pretzels in half to create the antler shapes. Press one half-pretzel into the top of each side of the strawberry near the stem. You may need to hold them for a second to ensure they stay upright while the chocolate begins to set.
Step 5: Create the Face
Carefully place two candy eyes near the top of the strawberry. Finally, add a red candy nose near the tip of the strawberry to complete the Rudolph look. Repeat this for all strawberries and then place the tray in the refrigerator for at least 15 minutes to allow the chocolate to fully harden.
Tips for Success
The most important tip is to ensure your fruit is at room temperature before dipping. If the berries are too cold, the chocolate can set too fast, making it hard to attach the eyes and nose. If your chocolate starts to thicken while you are working, simply pop it back in the microwave for 10 seconds. Using a tall, narrow glass for the melted chocolate can also make dipping much easier and ensure a more even coating on the fruit.
Variations of Rudolph Chocolate Covered Strawberries
You can vary this recipe by using white chocolate for a “snowy” reindeer look or even dark chocolate for a more sophisticated flavor profile. If you want to add a bit more texture, try dipping the bottom of the strawberry in crushed nuts or sprinkles before adding the face. For a different look, you can use tiny chocolate chips for the eyes instead of candy eyes, or use a bit of melted white chocolate in a piping bag to draw on little mouths or eyebrows.
Serving Suggestions: What to Pair with Rudolph Chocolate Covered Strawberries
These adorable treats are perfect when served on a festive platter alongside other Christmas favorites like gingerbread men or sugar cookies. They also pair wonderfully with a warm mug of hot cocoa or a glass of sparkling apple cider. If you are hosting a holiday party, consider placing them on a dessert charcuterie board with marshmallows, grapes, and small cubes of pound cake for a beautiful and interactive display.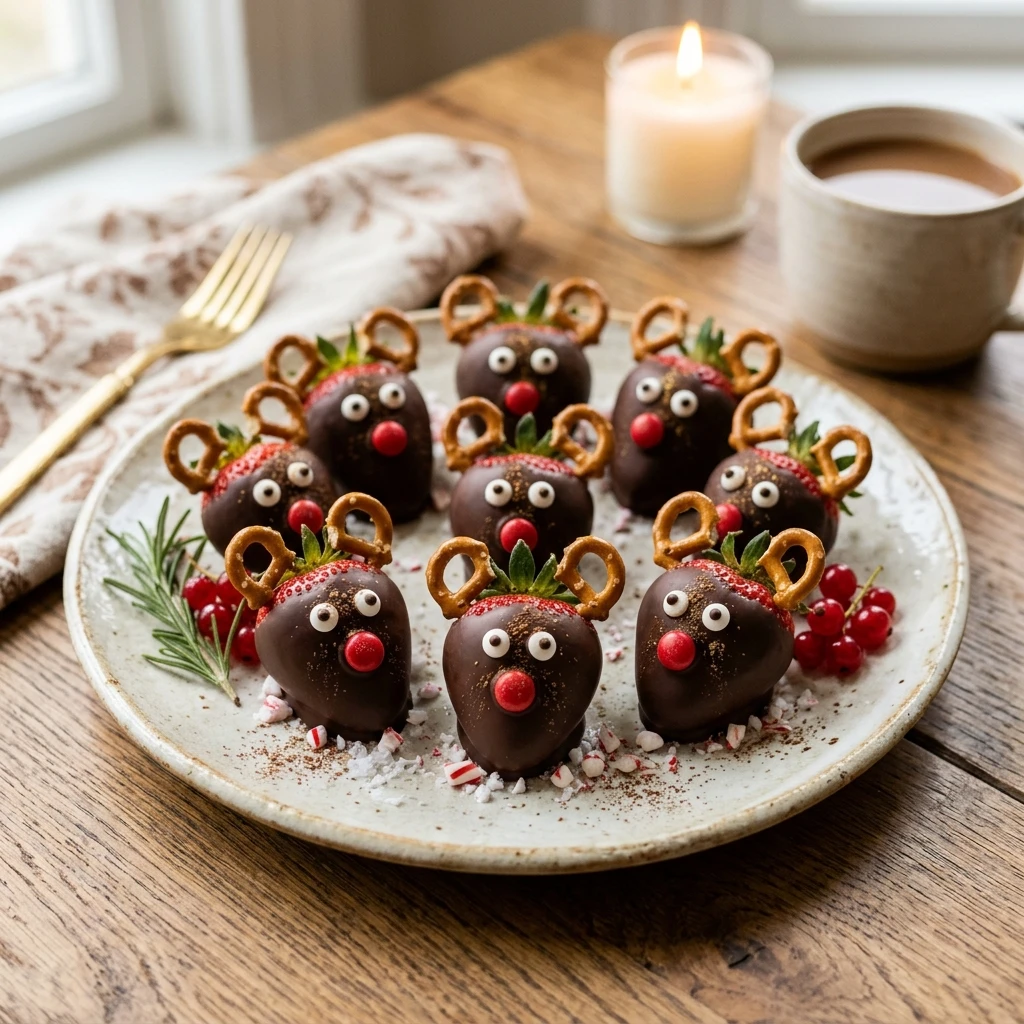
Storage & Reheating Instructions
Chocolate covered strawberries are best enjoyed on the day they are made. However, you can store them in the refrigerator in an airtight container for up to 24 hours. I recommend lining the container with a paper towel to absorb any moisture that might leak from the berries. Do not freeze them, as the strawberries will become mushy once thawed. There is no need for reheating, as these are meant to be served chilled or at room temperature.
Memories Made Around the Table
I remember one Christmas when my kitchen was filled with the scent of melting chocolate and the sounds of laughter as we tried to get the pretzel antlers to stand up straight. My little ones were so proud of their “strawberry reindeer,” and seeing their faces light up when they showed them to their grandparents is a memory I will always cherish. It is these simple, hands-on activities that turn into the traditions we look forward to year after year.
FAQs
Can I make these a day in advance?
While they are best fresh, you can make them the night before. Keep them in the fridge and try to avoid stacking them, as the antlers and noses might fall off. Be aware that strawberries naturally release moisture over time, so the chocolate might start to sweat a little if kept too long.
What do I do if the pretzels won’t stick?
If the chocolate has already started to set, you can use a toothpick to dab a small amount of fresh melted chocolate onto the back of the pretzel pieces. This acts like edible glue to help them stay in place on the strawberry.
Why did my chocolate turn white?
This is called chocolate bloom and usually happens if the chocolate is stored in an environment that is too humid or if there were extreme temperature changes. It is still perfectly safe to eat, though it might not look as shiny as you hoped.
Can I use frozen strawberries for this recipe?
It is highly recommended to use fresh strawberries only. Frozen berries release too much moisture as they thaw, which will prevent the chocolate from sticking and result in a very messy and watery treat.
How do I get the smoothest chocolate coating?
Adding a tiny bit of coconut oil or vegetable oil to the chocolate chips before melting is the secret. It thins the chocolate just enough to make it pourable and gives it a professional, glossy finish that looks beautiful on the berries.
Final Thoughts
Creating these Rudolph Chocolate Covered Strawberries is such a joyful way to celebrate the holiday season. They are cute, delicious, and bring a bit of whimsical fun to any Christmas gathering. Whether you are making them for a school party, a family dinner, or just a fun afternoon activity, these treats are sure to be a hit. Enjoy the process of decorating and the happy smiles that follow when you serve these festive delights.

Rudolph Chocolate Covered Strawberries
- Total Time: 25 minutes
Ingredients
- 12 large fresh strawberries
- 1 cup milk chocolate or semi-sweet chocolate chips
- 1 teaspoon coconut oil or vegetable oil
- 24 mini pretzels
- 12 small red round candies
- 24 candy eyes
- 1/2 teaspoon alcohol-free vanilla extract
Instructions
- Wash the strawberries thoroughly under cold water. It is vital to pat them completely dry with a paper towel afterward. If the berries are even slightly damp, the chocolate will not stick properly and may seize up. Leave the green leaves attached as they provide a good handle for dipping.
- Place your chocolate chips and coconut oil in a microwave-safe bowl. Heat in 30-second intervals, stirring well between each session, until the mixture is completely smooth and glossy. Stir in the alcohol-free vanilla extract for a subtle depth of flavor. Be careful not to overheat the chocolate, as it can become grainy.
- Line a baking sheet with parchment paper. Hold a strawberry by its stem or leaves and dip it into the melted chocolate, swirling it around until it is mostly coated. Let the excess chocolate drip off back into the bowl before placing the strawberry onto the parchment paper.
- While the chocolate is still wet, gently break your mini pretzels in half to create the antler shapes. Press one half-pretzel into the top of each side of the strawberry near the stem. You may need to hold them for a second to ensure they stay upright while the chocolate begins to set.
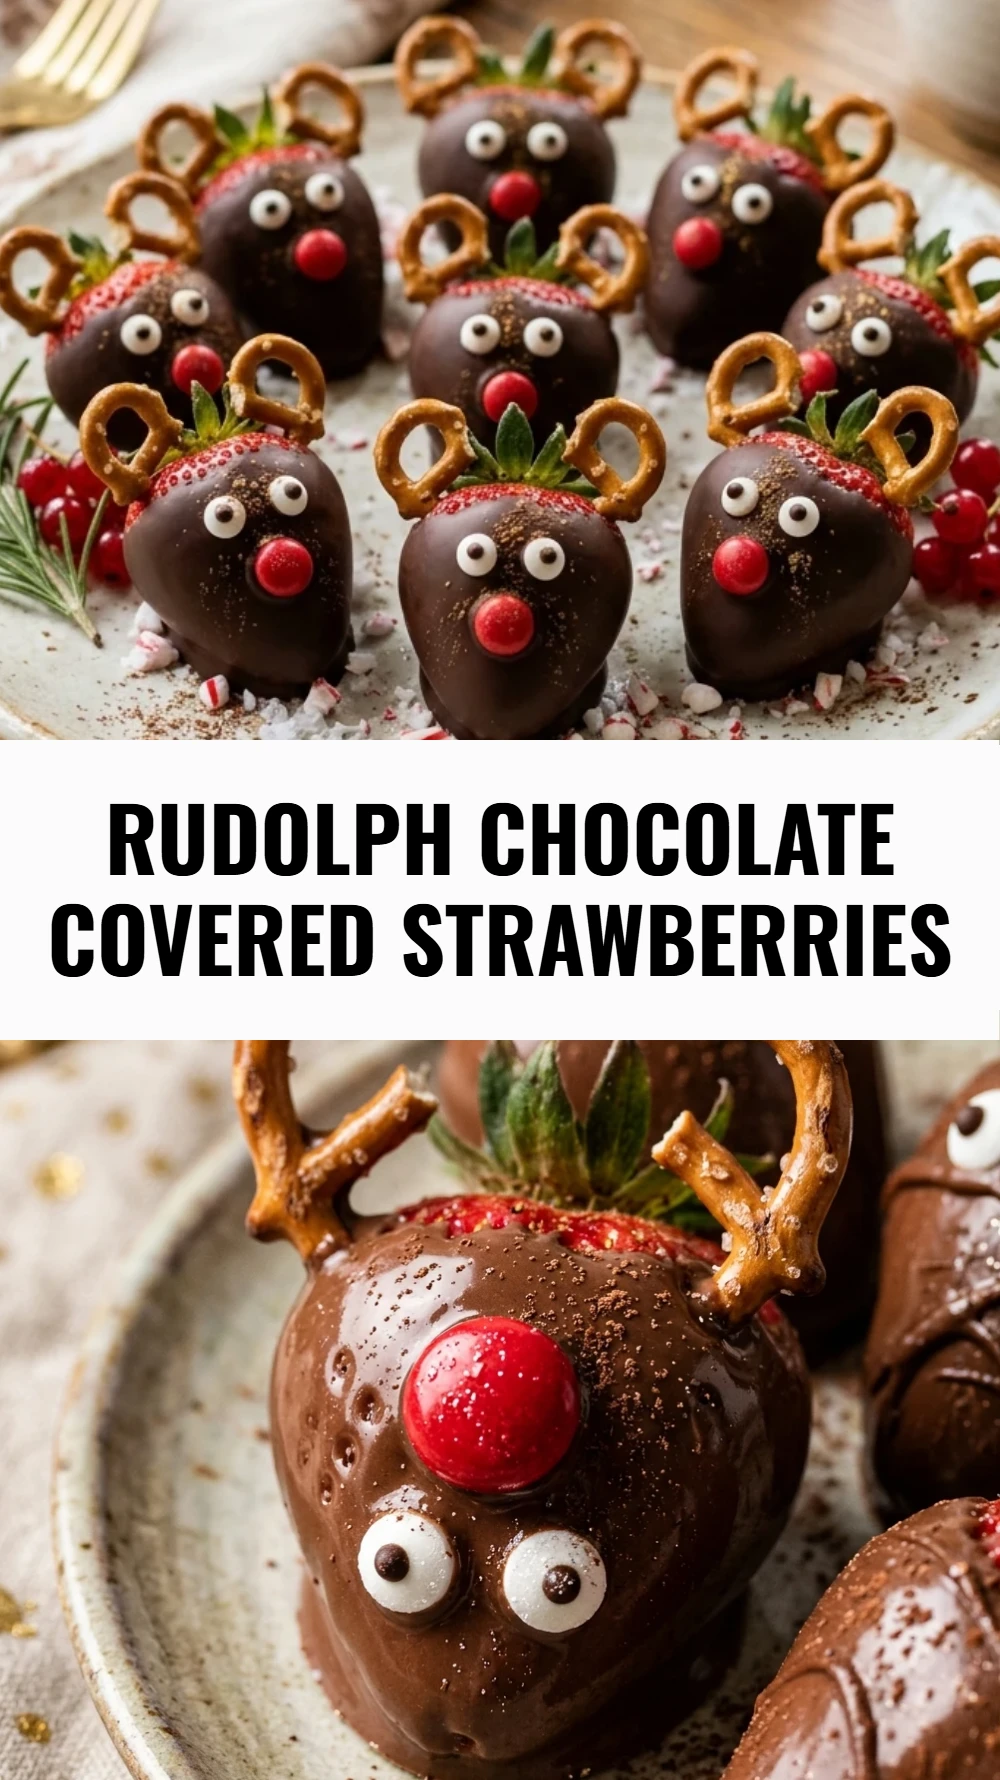
- Carefully place two candy eyes near the top of the strawberry. Finally, add a red candy nose near the tip of the strawberry to complete the Rudolph look. Repeat this for all strawberries and then place the tray in the refrigerator for at least 15 minutes to allow the chocolate to fully harden.
- Cook Time: 25 minutes
- Diet: Vegetarian